Savory Baked Italian Sub Sandwiches Recipe That Wow Every Time
Crafting the perfect baked italian sub sandwiches demands creativity and passion for hearty flavors.
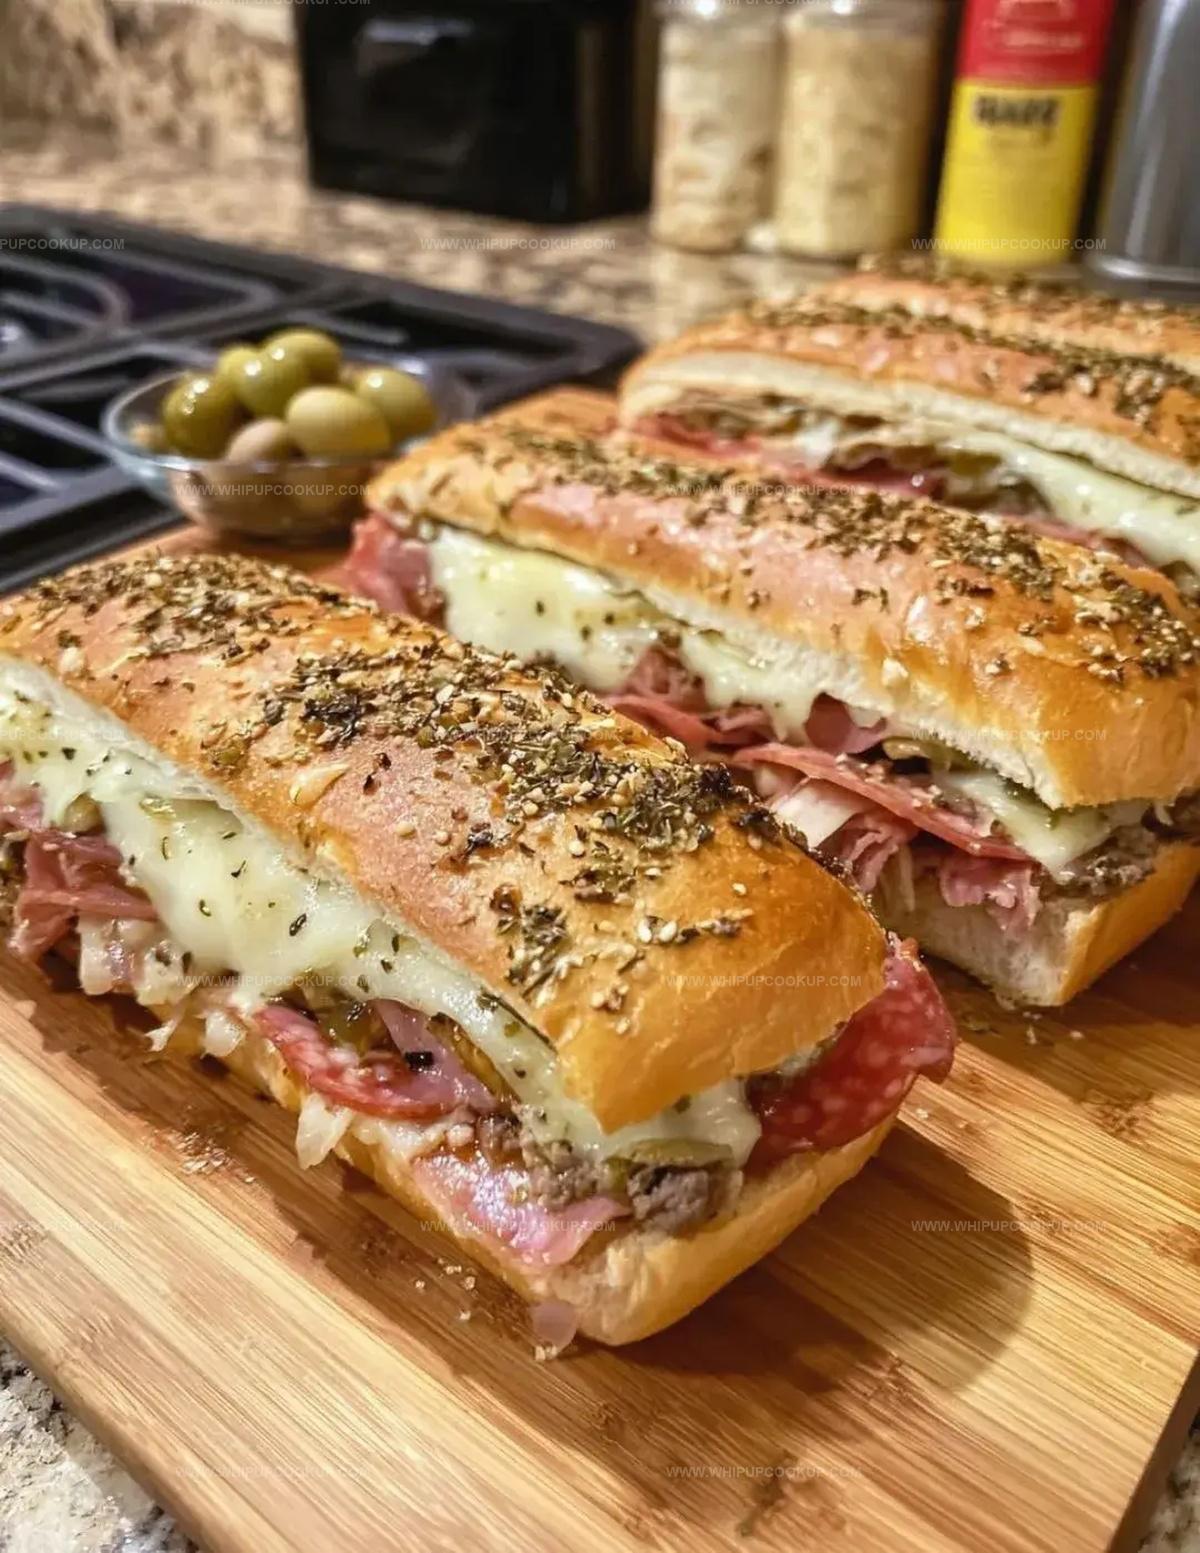
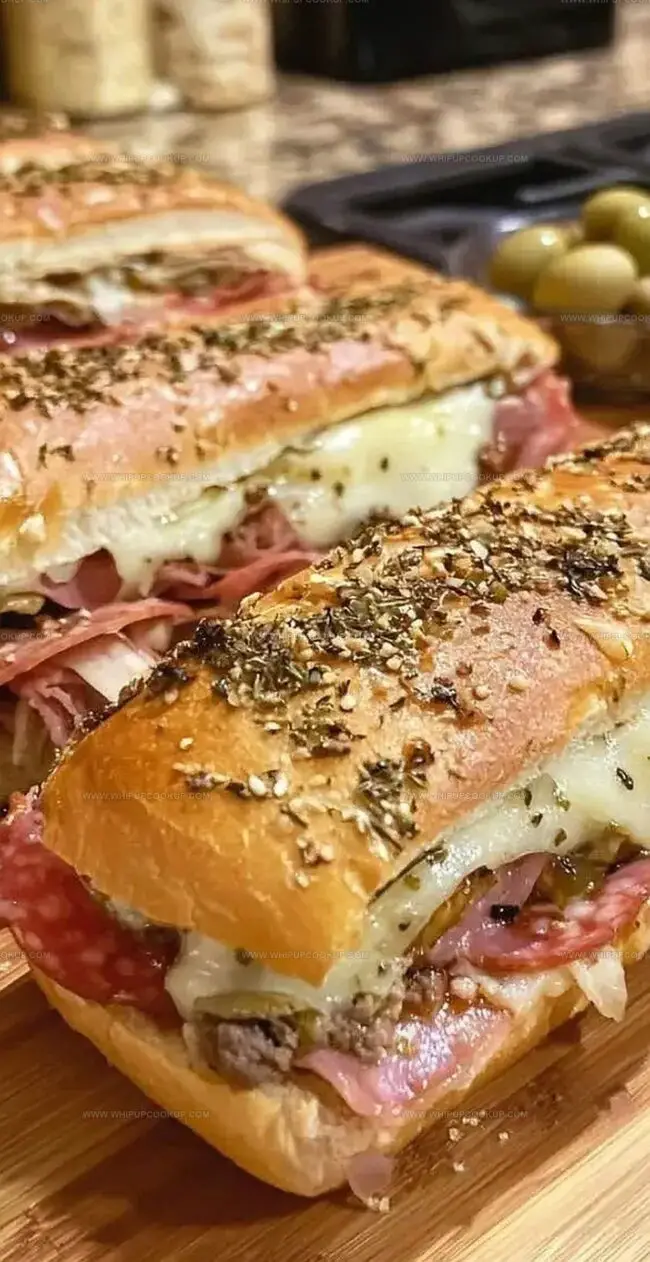
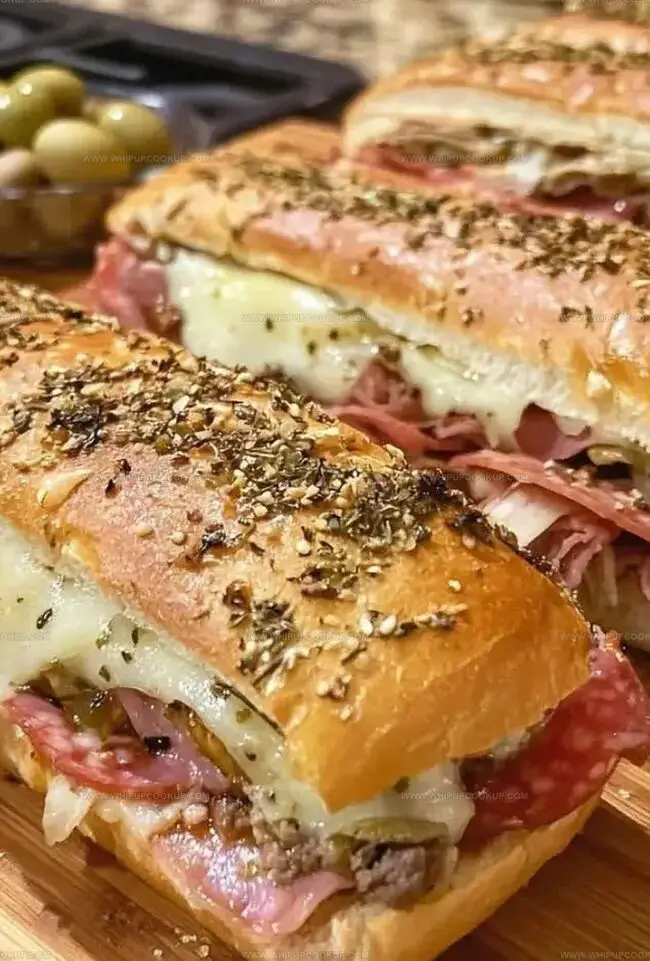
Layers of premium meats, melted cheese, and zesty condiments create a mouthwatering experience.
Crisp bread cradles savory ingredients that promise pure satisfaction.
Mediterranean influences shine through each carefully assembled bite.
Robust provolone and salami dance together, promising a delightful culinary adventure.
Warm, golden-brown edges hint at the delectable meal waiting to surprise you.
Dive into this irresistible recipe that brings authentic italian deli magic right to your kitchen.
What Sets These Baked Italian Subs Apart
Baked Italian Subs Ingredient Guide
Bread:Meats:Cheese:Flavor Enhancers:Topping Ingredients:Baked Italian Sub Sandwiches Steps
Step 1: Warm Up the Oven
Fire up your oven to a toasty 375°F (190°C) to prepare for these delectable sandwiches.
Step 2: Prepare the Hoagie Rolls
Slice each hoagie roll carefully lengthwise, keeping the bottom intact so the roll opens like a delightful book of flavors.
Step 3: Layer Savory Meats
Build your sandwich foundation with an irresistible combination of meats:Step 4: Add Cheesy Goodness
Crown your meaty base with two generous cheese slices for maximum melty deliciousness.
Step 5: Include Zesty Extras
Jazz up your sandwich with these flavor boosters:Step 6: Prepare for Baking
Arrange the loaded sandwiches on a parchment-lined baking sheet for hassle-free cleanup.
Step 7: Season and Butter
Brush the hoagie roll tops with melted butter and sprinkle a generous amount of Italian seasoning for an aromatic punch.
Step 8: Initial Baking
Cover the sandwiches loosely with foil and bake for 10-15 minutes until the cheese transforms into a molten blanket and the fillings are wonderfully warm.
Step 9: Crisp and Golden Finish
Remove the foil and bake for an additional 2-3 minutes to achieve a perfectly crisp, golden-brown top.
Step 10: Serve and Enjoy
Plate your hot, mouthwatering subs alongside crisp chips, briny olives, or a fresh, crisp side salad for a complete meal that’ll have everyone asking for seconds!
Sub Sandwich Tips That Make Every Layer Bake to Perfection
Storage Tips for Italian Sub Sandwiches
Side Picks for Italian Sub Sandwiches
Italian Sub Sandwich Twists
FAQs
The classic combination of ham, salami, roast beef, and pepperoni creates a rich, savory flavor profile that perfectly captures traditional Italian deli-style ingredients.
Absolutely! While provolone and mozzarella are traditional, you can swap in Swiss, cheddar, or your favorite melting cheese to suit your taste preferences.
Yes, fresh rolls make a significant difference. Look for soft, slightly crusty rolls that can hold the meats and cheese without falling apart during baking.
Consider using lean meats, reducing cheese portions, adding more vegetables like bell peppers or spinach, and choosing whole wheat hoagie rolls for additional nutrition.
Print
Baked Italian Sub Sandwiches Recipe
- Total Time: 33 minutes
- Yield: 6 1x
Description
Hearty “Baked Italian Sub Sandwiches” deliver classic Italian flavors in a comforting one-pan meal. Layers of savory meats, melted cheese, and zesty marinara create a satisfying dinner you’ll crave again and again.
Ingredients
Meats:
- 1/2 pound deli ham
- 1/2 pound salami
- 1/2 pound roast beef or cooked ground beef
- 1/4 pound sliced pepperoni (optional but tasty)
Breads and Cheeses:
- 4 hoagie rolls (keep them hinged, do not slice all the way through)
- 8 slices provolone or mozzarella cheese
Seasonings and Additional Ingredients:
- 1/2 cup pickled banana peppers or pepperoncini
- 1/2 cup sauteed onions (optional, but adds great flavor)
- 1 tablespoon Italian seasoning
- 2 tablespoons melted butter
Instructions
- Preheat the oven to 375°F (190°C), ensuring the rack is positioned in the middle for even heating.
- Carefully slice each hoagie roll horizontally, keeping the bottom intact to create a hinged vessel for the fillings.
- Create a robust meat foundation by layering ham, salami, and roast beef inside the partially split rolls, allowing the meats to nestle comfortably.
- Strategically place pepperoni across the meats for an additional flavor dimension.
- Crown the sandwich with precisely arranged cheese slices, ensuring complete coverage of the underlying ingredients.
- Enhance the sandwich’s complexity by scattering banana peppers and caramelized onions throughout the layers.
- Arrange the prepared sandwiches on a parchment-lined baking sheet to facilitate effortless cleanup and prevent sticking.
- Generously brush the exterior of the hoagie rolls with melted butter, creating a golden pathway for flavor and crispness.
- Liberally dust the buttered surface with Italian seasoning, allowing the herbs to infuse during baking.
- Loosely tent the sandwiches with aluminum foil, protecting them from excessive direct heat.
- Bake for 10-15 minutes, allowing the cheese to melt and ingredients to warm thoroughly.
- Remove the foil for the final 2-3 minutes, enabling the rolls to develop a crisp, appetizing golden-brown exterior.
- Serve immediately alongside complementary accompaniments like crisp chips, briny olives, or a vibrant side salad.
Notes
- Customize the meat selection by swapping deli meats with vegetarian alternatives like grilled portobello mushrooms or plant-based protein slices.
- Choose gluten-free hoagie rolls for a celiac-friendly version without compromising the classic Italian sub experience.
- Prep ingredients in advance and assemble sandwiches quickly during busy weeknights for a stress-free meal solution.
- Control sodium levels by selecting low-sodium deli meats and using fresh herbs instead of pre-mixed seasoning blends.
- Prep Time: 15 minutes
- Cook Time: 18 minutes
- Category: Lunch, Dinner, Snacks
- Method: Baking
- Cuisine: Italian
Nutrition
- Serving Size: 6
- Calories: 570
- Sugar: 2 g
- Sodium: 1500 mg
- Fat: 30 g
- Saturated Fat: 12 g
- Unsaturated Fat: 16 g
- Trans Fat: 0 g
- Carbohydrates: 50 g
- Fiber: 2 g
- Protein: 28 g
- Cholesterol: 80 mg
Marcus Hale
Founder & Recipe Storyteller
Expertise
Education
Holyoke Community College – HCC-MGM Culinary Arts Institute
Marcus grew up surrounded by maple trees, farm stands, and the smell of Sunday stew simmering on the stove. After earning his Culinary Arts Certificate from the HCC-MGM Culinary Arts Institute, he knew he didn’t want to work in fancy kitchens, he wanted to cook for real people.
At Whip Up Cook Up, Marcus is the guy turning memories into meals. His recipes are fast, full of flavor, and built for home cooks who want big taste without the drama.