
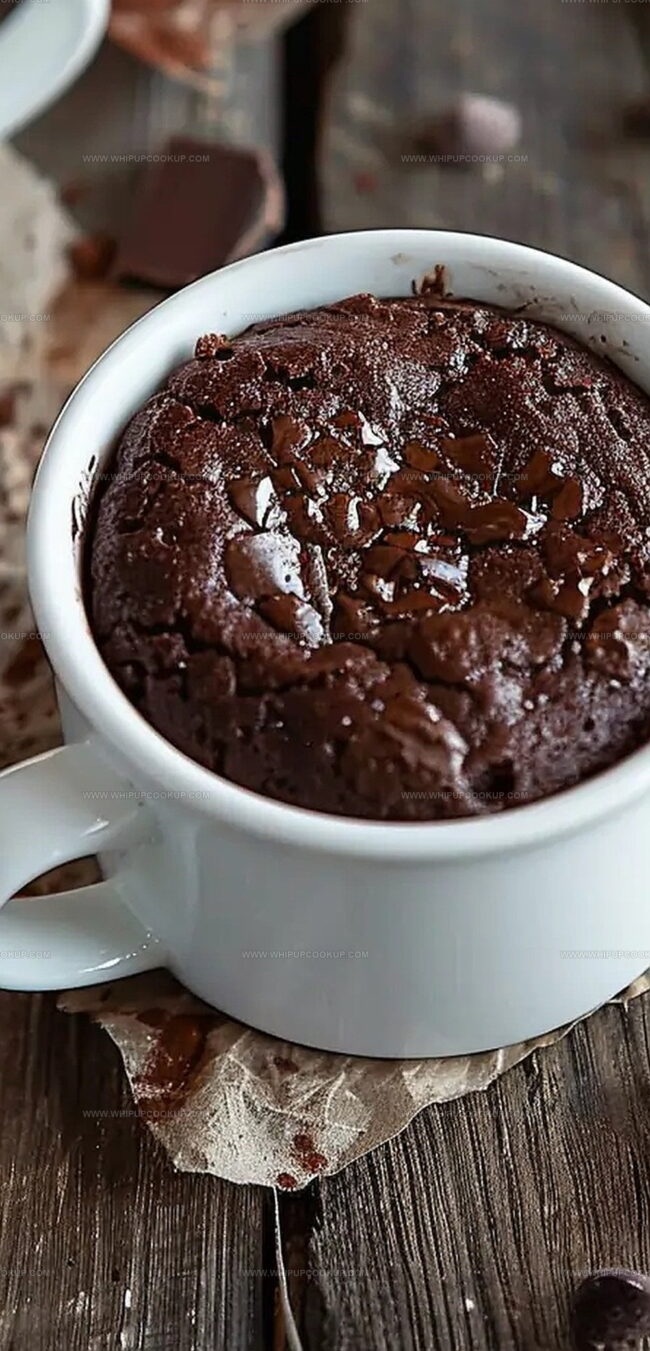
Try This Cozy Brownie in a Mug Recipe Tonight
Whipping up a decadent brownie in a mug can satisfy your chocolate cravings in mere minutes.
Chocolate lovers know the magic of quick desserts that deliver instant gratification.
Microwaves make this sweet treat possible with minimal effort and maximum deliciousness.
a single serving means you enjoy rich, gooey goodness without overwhelming temptation.
Pantry staples create this indulgent snack that feels like a luxurious restaurant dessert.
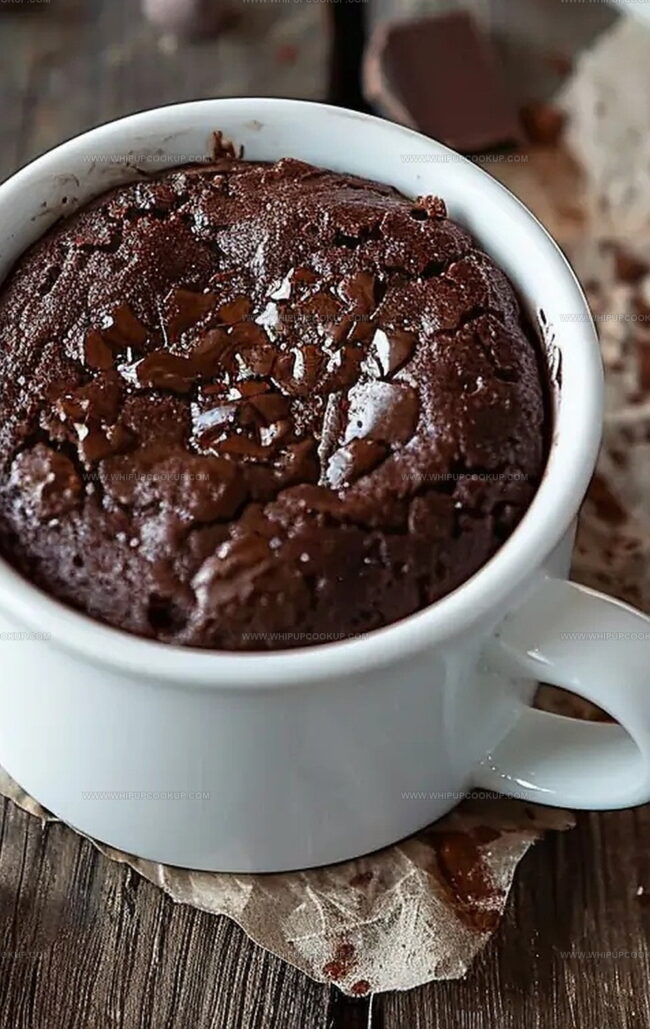
Each bite promises intense chocolate flavor and a warm, comforting experience.
Let’s transform your kitchen into a gourmet chocolate paradise with this simple, irresistible recipe.
Why You’ll Want to Make Brownie in a Mug Again
What Goes Into Brownie in a Mug
Main Ingredients:Liquid Ingredients:Flavor Enhancers:Steps to Make a Brownie in a Mug
Step 1: Whisk Wet and Dry Ingredients
Grab a microwave-safe mug and combine cocoa powder, granulated sugar, brown sugar, water, vegetable oil, vanilla extract, and salt.
Use a small whisk to blend everything until smooth and no dry pockets remain.
Step 2: Incorporate Flour
Sprinkle flour into the mug and gently stir with a fork.
Mix until just combined, being careful not to overmix the batter.
The mixture should look slightly lumpy and not completely smooth.
Step 3: Add Chocolate Goodness
Toss in chocolate chips and give a quick stir to distribute them evenly throughout the batter.
Make sure the chips are scattered throughout the mixture for maximum chocolate enjoyment.
Step 4: Microwave to Perfection
Place the mug in the microwave and cook on high power.
Start with 45 seconds, then check the consistency.
If needed, continue cooking in 15-second intervals.
Watch carefully to prevent overcooking.
The center should look set but still slightly gooey.
Step 5: Garnish and Serve
Once cooked, let the mug brownie cool for a minute.
Top with a scoop of vanilla ice cream or a dollop of whipped cream if desired.
Enjoy immediately while warm and decadent.
Key Tips for the Best Mug Brownie
Storing and Reheating Brownie in a Mug
Favorite Sides for Mug Brownies
Delicious Mix-In Ideas for Your Mug Brownie
FAQs
Yes, you can substitute granulated sugar with brown sugar or coconut sugar. However, this might slightly alter the texture and sweetness of your brownie.
Absolutely! You can skip the chocolate chips or replace them with chopped nuts, dried fruit, or white chocolate chips depending on your preference.
If you’re out of cocoa powder, you can use melted chocolate or chocolate syrup as an alternative. Keep in mind that this might change the brownie’s consistency and flavor profile.
Yes, simply replace the all-purpose flour with a gluten-free flour blend or almond flour. The texture might be slightly different, but it will still be delicious.
Print
Brownie in a Mug Recipe
- Total Time: 6 minutes
- Yield: 1 1x
Description
Chocolate lovers rejoice with this quick Brownie in a Mug, delivering rich, gooey indulgence in just minutes. Microwave magic turns simple ingredients into a warm, personal dessert that satisfies sweet cravings with minimal effort.
Ingredients
Main Ingredients:
- 1/4 cup (60 ml) all-purpose flour
- 3 tablespoons (22.5 g) unsweetened natural cocoa powder
- 1/3 cup (60 g) semi-sweet chocolate chips
Sweeteners:
- 1/4 cup (50 g) granulated sugar
- 2 tablespoons (25 g) light brown sugar
Additional Ingredients:
- 3 tablespoons (45 ml) water
- 2 tablespoons (30 ml) canola or vegetable oil
- 1/2 teaspoon vanilla extract
- pinch salt (to taste)
Optional Serving:
- ice cream or whipped topping
Instructions
- Whisk together granulated sugar, cocoa, water, oil, brown sugar, vanilla, and salt in a microwave-safe bowl until smooth and well-blended.
- Gently fold in flour, stirring just until incorporated without overmixing to maintain a tender texture.
- Sprinkle chocolate chips throughout the batter, distributing evenly with a light fold.
- Microwave on high for approximately 1 minute, watching carefully. For precision, pause at 45 seconds and check consistency. Continue cooking in 15-second increments until the center sets and reaches desired firmness, typically 60-90 seconds total.
- Allow the mug brownie to rest for 30 seconds after microwaving to complete internal cooking and stabilize texture.
- Enhance serving with a dollop of vanilla ice cream or fluffy whipped cream, presenting immediately while warm for optimal enjoyment.
Notes
- Customize chocolate intensity by adjusting cocoa quantity for deeper or milder flavor profiles.
- Consider using dark chocolate chips or adding nuts for extra texture and complexity.
- Control portion size and cooking time precisely to prevent overcooking and maintain moist, gooey consistency.
- Prep Time: 5 minutes
- Cook Time: 1 minute
- Category: Desserts, Snacks
- Method: Microwaving
- Cuisine: American
Nutrition
- Serving Size: 1
- Calories: 410
- Sugar: 30 g
- Sodium: 150 mg
- Fat: 18 g
- Saturated Fat: 3 g
- Unsaturated Fat: 15 g
- Trans Fat: 0 g
- Carbohydrates: 58 g
- Fiber: 2 g
- Protein: 5 g
- Cholesterol: 0 mg
Olivia Bennett
Recipe Developer & Culinary Educator
Expertise
Education
Schoolcraft College
With an Associate Degree in Culinary Arts from Schoolcraft College and a natural knack for teaching, Olivia Bennett’s all about making home cooking feel possible, even on your busiest day.
Her thing? Recipes that are budget-friendly, season-forward, and full of Southern warmth. Whether it’s a roasted veggie bowl or a five-ingredient skillet bake, Olivia makes sure it’s simple, satisfying, and something you’ll want to make again tomorrow.
When she’s not shooting step-by-step videos or testing spice blends, she’s out foraging, flipping through old cookbooks, or throwing laid-back dinner parties with a BYO-mason-jar theme.