Whip Up a Creamy Butterfinger Milkshake Recipe Today
Creamy, indulgent milkshakes have a special way of making any day feel extraordinary, especially when you blend in a beloved butterfinger milkshake recipe that promises pure dessert bliss.
Candy bars crushed into silky smooth ice cream create a nostalgic treat that sparks joy with every sip.
The combination of rich vanilla ice cream and crunchy chocolate-peanut butter candy pieces delivers an irresistible texture.
Chocolate lovers and sweet tooth enthusiasts will absolutely adore this decadent drink that comes together in minutes.
Each sip offers a delightful crunch and sweet symphony of flavors that dance across your palate.
Cold, smooth, and packed with candy bar goodness, this milkshake transforms an ordinary moment into something magical.
You won’t be able to resist the temptation of this creamy, candy-loaded sensation that’s sure to become your new favorite indulgence.
Why Butterfinger Milkshakes Are a Hit
What You Need for a Butterfinger Milkshake
Main Ingredients:Optional Toppings:How to Make a Butterfinger Milkshake
Step 1: Prepare Blender Base
Get your blender ready and add vanilla ice cream and whole milk.
Blend on high speed until the mixture transforms into a silky smooth consistency.
Let the ice cream soften slightly at room temperature for easier blending.
Step 2: Crush Butterfinger Bars
Grab your Butterfinger candy bars and break them into rustic chunks.
Gently pulse the chocolate-peanut butter pieces into the creamy mixture.
Keep some chunks intact to maintain a delightful textural crunch throughout the milkshake.
Step 3: Pour and Garnish
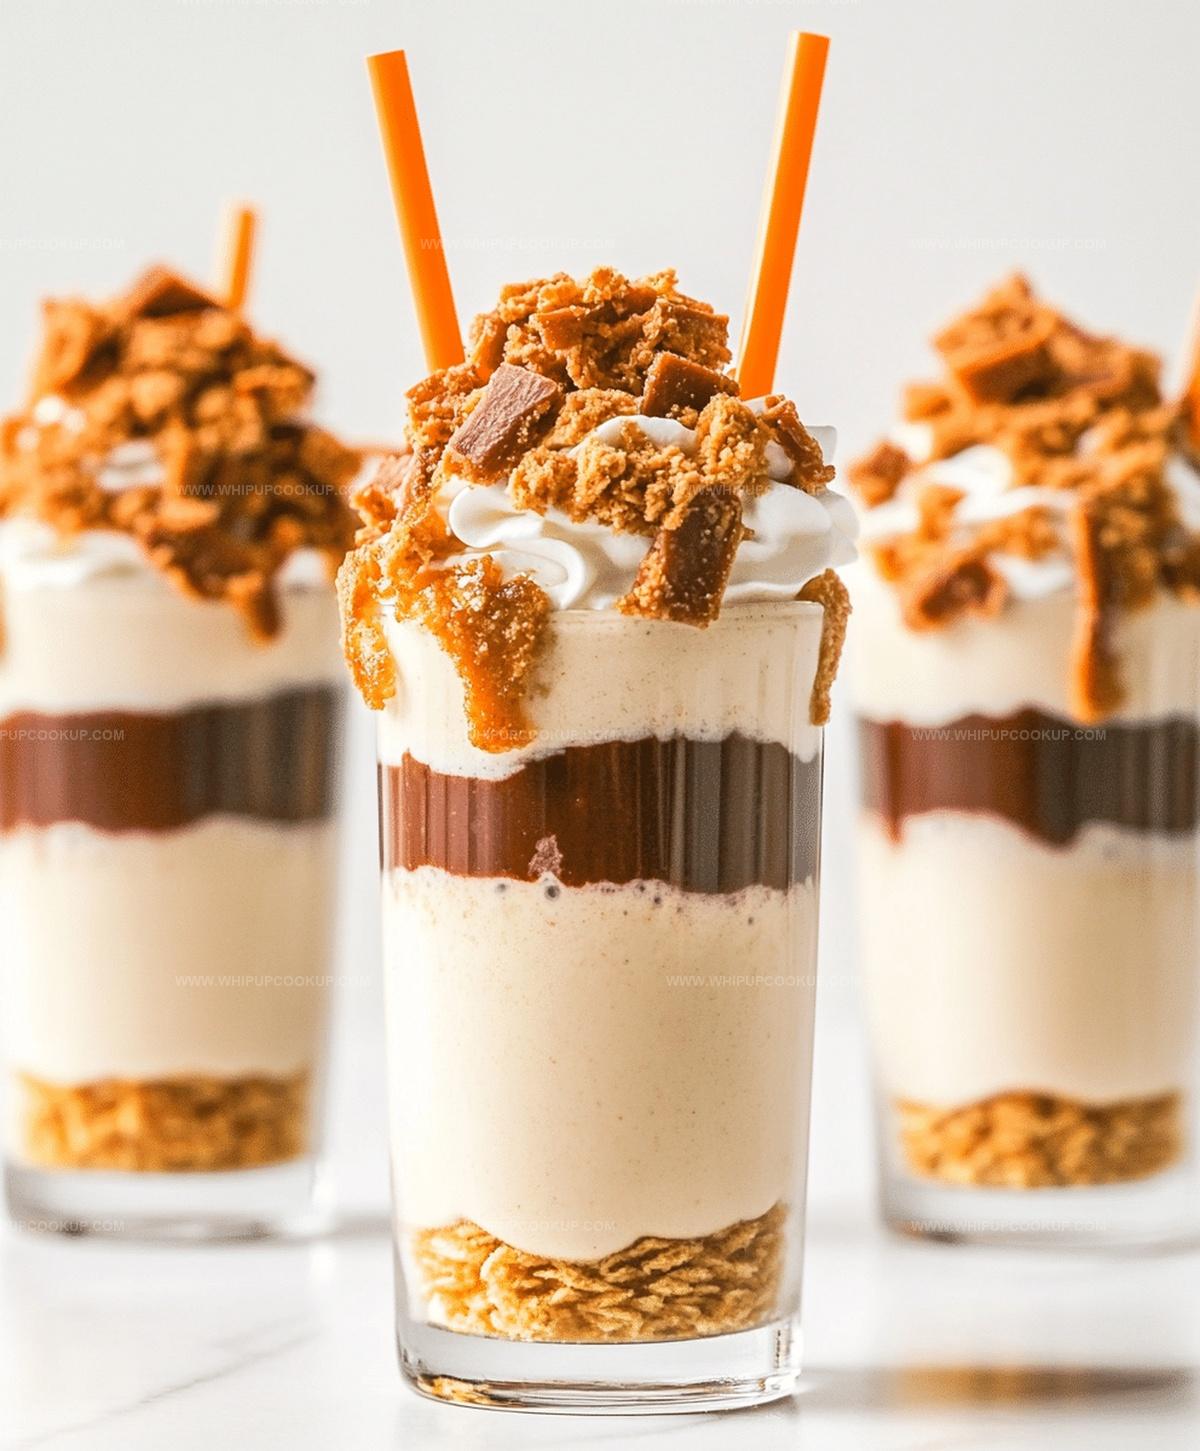
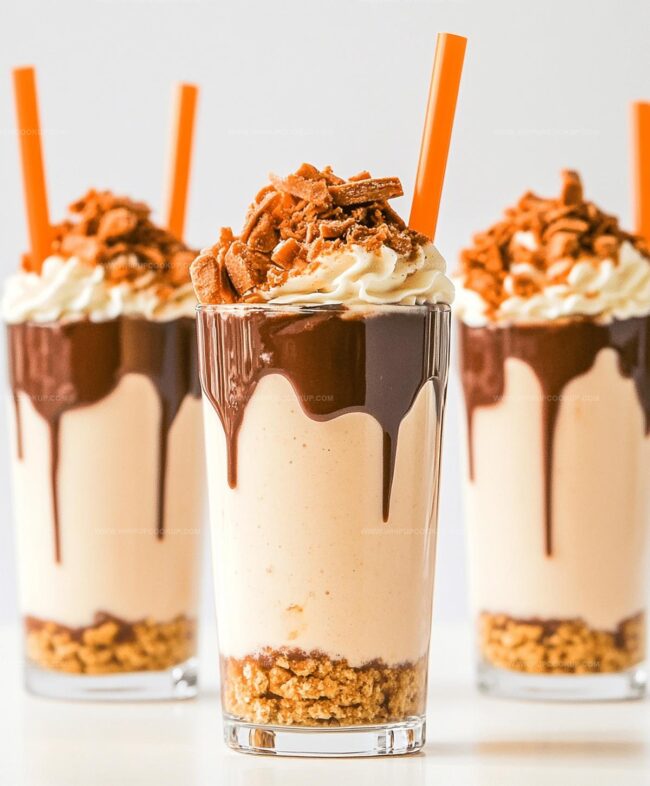
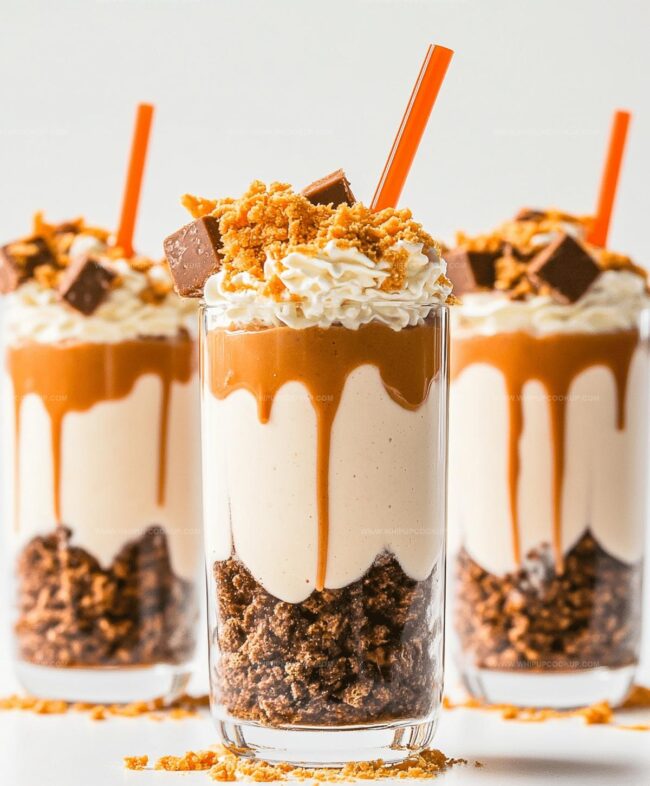
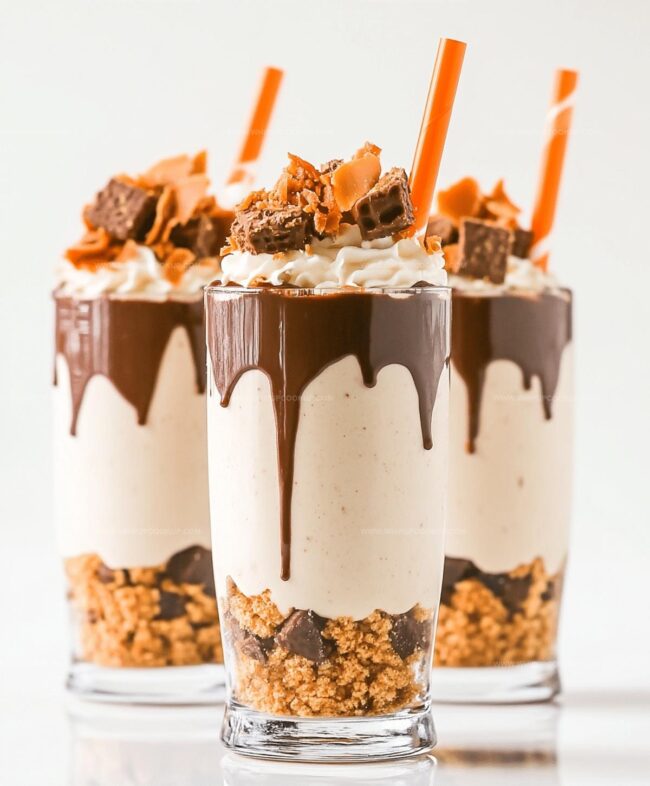
Select chilled glasses for serving.
Pour the luscious milkshake carefully, ensuring an even distribution.
For an elevated presentation, consider these optional garnishes:Step 4: Final Styling
Complete your milkshake with an artistic touch of additional Butterfinger fragments scattered on top.
The extra crumbs provide a delectable visual and textural enhancement to your indulgent drink.
Butterfinger Milkshake Pro Tips
Storing and Serving Butterfinger Milkshakes
What Goes Well with Butterfinger Milkshakes
Flavor Twists on Butterfinger Milkshakes
FAQs
Yes, you can substitute with similar chocolate and peanut butter candy bars like Reese’s Pieces or Crunch bars. The key is to choose a candy that adds both texture and flavor to your milkshake.
No, a standard blender works fine. Just make sure to let the ice cream soften slightly and pulse the candy bars gently to maintain some chunky texture.
Most kids love it, but be aware of potential allergies, especially with peanut butter-based candy. Always check ingredients if serving to children with food sensitivities.
Reduce the amount of candy or use less ice cream. You could also substitute some of the vanilla ice cream with plain yogurt to cut down on sweetness while maintaining creaminess.
Print
Butterfinger Milkshake Recipe
- Total Time: 10 minutes
- Yield: 2 1x
Description
Creamy butterfinger milkshake combines classic diner nostalgia with rich chocolate and peanut butter flavors. Cool and indulgent, this dessert drink invites you to savor a delightful blend of crunchy candy and smooth ice cream.
Ingredients
Main Ingredients:
- 4 cups vanilla ice cream
- 1 cup whole milk
- 2 full size butterfinger candy bars
Toppings (Optional):
- whipped cream
- butterfinger crumbs
Instructions
- Gather a blender and prepare ingredients for a velvety vanilla Butterfinger milkshake. Allow vanilla ice cream to soften slightly at room temperature for easier blending.
- Combine vanilla ice cream and whole milk in the blender. Pulse on high speed until the mixture transforms into a smooth, creamy liquid with no visible ice cream chunks.
- Break Butterfinger candy bars into rustic pieces directly over the blender. Pulse the mixture briefly to maintain delightful candy crunch, avoiding over-pulverizing the chocolate and peanut butter fragments.
- Chill serving glasses in the freezer for 2-3 minutes to enhance the milkshake’s temperature retention and drinking experience.
- Pour the blended milkshake into the chilled glasses, ensuring an even distribution of candy pieces throughout the beverage.
- Optional but recommended: Crown the milkshake with a generous dollop of whipped cream. Sprinkle additional crushed Butterfinger pieces on top for a decadent finishing touch that amplifies the candy’s textural appeal.
- Serve immediately while the milkshake remains cold and the candy pieces retain their distinctive crunch.
Notes
- Customize the milkshake by adjusting milk quantity for thicker or thinner consistency, ensuring perfect texture every time.
- Freeze Butterfinger bars briefly before chopping to prevent messy crumbling and achieve cleaner, more precise pieces.
- Use dairy-free vanilla ice cream and almond milk to create a delectable vegan version without compromising the creamy, indulgent experience.
- Prep Time: 10 minutes
- Cook Time: 0 minutes
- Category: Milkshake, Desserts
- Method: Blending
- Cuisine: American
Nutrition
- Serving Size: 2
- Calories: 660
- Sugar: 66 g
- Sodium: 260 mg
- Fat: 30 g
- Saturated Fat: 18 g
- Unsaturated Fat: 12 g
- Trans Fat: 0 g
- Carbohydrates: 83 g
- Fiber: 1 g
- Protein: 10 g
- Cholesterol: 90 mg
Olivia Bennett
Recipe Developer & Culinary Educator
Expertise
Education
Schoolcraft College
With an Associate Degree in Culinary Arts from Schoolcraft College and a natural knack for teaching, Olivia Bennett’s all about making home cooking feel possible, even on your busiest day.
Her thing? Recipes that are budget-friendly, season-forward, and full of Southern warmth. Whether it’s a roasted veggie bowl or a five-ingredient skillet bake, Olivia makes sure it’s simple, satisfying, and something you’ll want to make again tomorrow.
When she’s not shooting step-by-step videos or testing spice blends, she’s out foraging, flipping through old cookbooks, or throwing laid-back dinner parties with a BYO-mason-jar theme.