
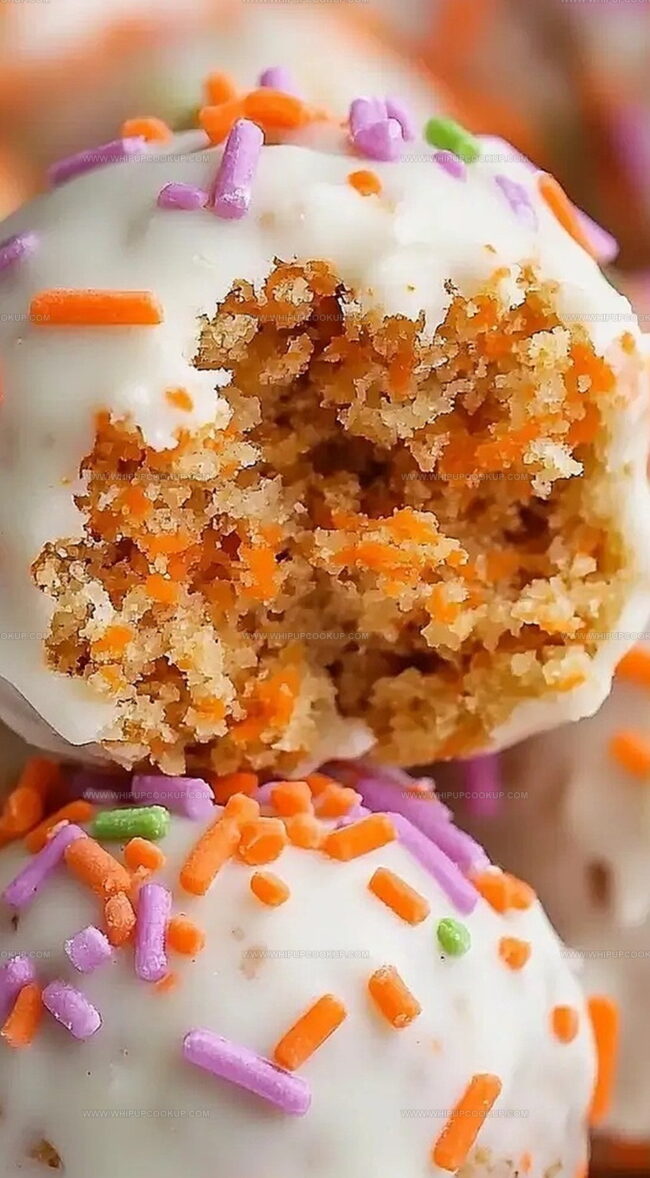
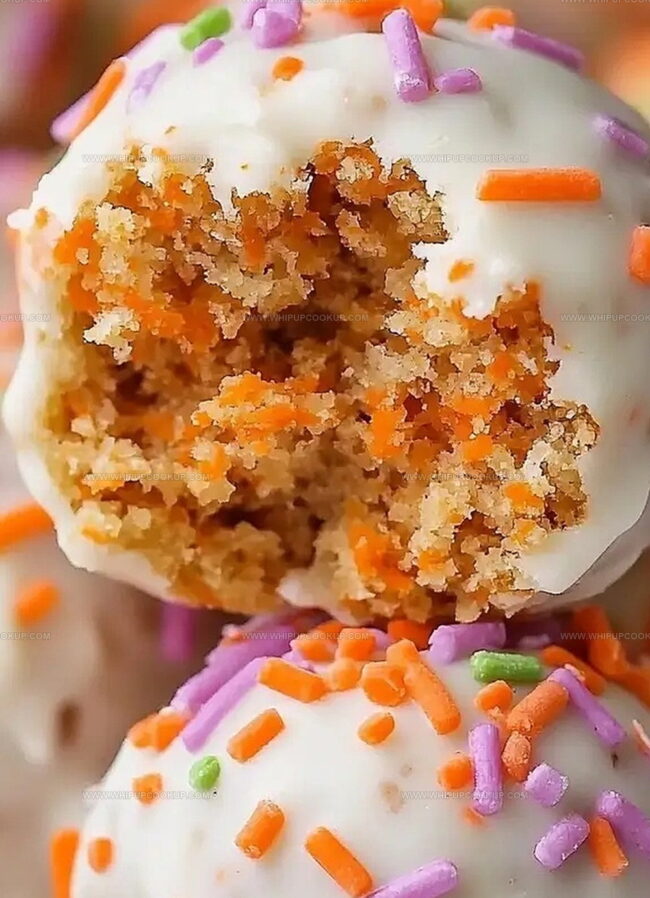
Heavenly Carrot Cake Truffles Recipe: Bite-Sized Bliss
Mixing creamy carrot cake truffles into bite-sized delights creates pure magic in your kitchen.
Cream cheese and spices dance together, promising a dessert that melts hearts instantly.
Sweet carrots blend seamlessly with rich frosting, creating an irresistible treat.
Soft cake crumbs combine with smooth chocolate coating for a luxurious experience.
Dessert enthusiasts will adore these decadent morsels that pack intense flavor in every tiny bite.
Crafting these little gems requires minimal effort but delivers maximum satisfaction.
Ready to impress everyone with a playful twist on classic carrot cake?
You’ll fall in love with these adorable, pop-in-your-mouth sensations.
What Makes Carrot Cake Truffles a Must-Try
Carrot Cake Truffles What You’ll Need
Core Ingredients:Spice and Flavor Enhancers:Coating and Finishing Ingredients:Rolling Up Carrot Cake Truffles
Step 1: Blend Creamy Cake Mixture
In a large mixing bowl, combine shredded carrots, finely crushed vanilla wafers, softened cream cheese, powdered sugar, ground cinnamon, nutmeg, and vanilla extract. Mix thoroughly with a spatula or electric mixer until all ingredients are well incorporated and form a cohesive dough-like consistency.
Step 2: Shape Bite-Sized Delights
Gently roll the mixture into small, uniform balls about the size of a walnut. Carefully place each truffle on a parchment-lined baking sheet, ensuring they are not touching each other.
Step 3: Chill and Set
Transfer the baking sheet to the refrigerator and let the truffles firm up for approximately 30 minutes. This cooling period helps the truffles maintain their shape during the chocolate coating process.
Step 4: Prepare Smooth Chocolate Coating
In a microwave-safe bowl, combine white chocolate chips and coconut oil. Microwave in short 20-second bursts, stirring between each interval until the mixture becomes completely smooth and glossy.
Step 5: Coat and Embellish
Using a fork or dipping tool, carefully submerge each chilled truffle into the melted white chocolate. Gently tap to remove excess coating. Before the chocolate sets, sprinkle decorative toppings like colorful sugar crystals or finely chopped nuts. Allow the truffles to harden completely at room temperature or in the refrigerator.
Truffle Tips That Deliver Rich Carrot Cake Flavor in Bites
Carrot Cake Truffles Storage and Reuse Advice
Treats to Pair with Carrot Cake Truffles
Carrot Cake Truffle Twists
FAQs
No, they’re super easy! You just mix ingredients, roll into balls, chill, and coat with chocolate. Basic baking skills are all you need.
Definitely! Graham crackers or gingersnaps work great as substitutes. They’ll add a similar crumbly texture to the truffles.
About 5-7 days when stored in an airtight container in the refrigerator. Just keep them cool and covered to maintain their delicious taste and texture.
Not at all. You’ll only need basic kitchen tools like a mixing bowl, baking sheet, parchment paper, and a microwave or double boiler for melting chocolate.
Print
Carrot Cake Truffles Recipe
- Total Time: 45 minutes
- Yield: 12 1x
Description
Indulgent carrot cake truffles blend classic dessert flavors into bite-sized bliss, combining cream cheese, spices, and crushed pecans. Sweet nostalgia meets modern confectionery, offering you a delightful treat that promises pure dessert magic.
Ingredients
Main Ingredients:
- 4 ounces (113 grams) cream cheese, softened
- 1 cup (240 milliliters) finely shredded carrots, pat dry to remove excess moisture
- 1 cup (240 milliliters) crushed vanilla wafers (or graham crackers)
Spices and Flavoring:
- 1/2 teaspoon cinnamon
- 1/4 teaspoon nutmeg
- 1/2 teaspoon vanilla extract
Sweeteners:
- 2 tablespoons (30 milliliters) powdered sugar
Instructions
- In a spacious mixing bowl, combine finely grated carrots, crushed vanilla wafers, softened cream cheese, powdered sugar, ground cinnamon, nutmeg, and pure vanilla extract, blending thoroughly until a cohesive, slightly sticky dough emerges.
- Using clean hands or a small cookie scoop, carefully form the mixture into uniform bite-sized spheres, approximately one inch in diameter, gently placing each truffle onto a parchment-lined baking sheet.
- Transfer the baking sheet to the refrigerator and allow the truffles to chill and solidify for approximately 30 minutes, which will help maintain their shape during the coating process.
- Prepare the chocolate coating by melting white chocolate and coconut oil together in a microwave-safe bowl, heating in short 20-second intervals and stirring between each interval until the mixture becomes completely smooth and glossy.
- Using a dipping fork or skewer, delicately immerse each chilled truffle into the melted white chocolate, ensuring complete coverage and allowing excess chocolate to drip off smoothly.
- Before the chocolate sets, sprinkle decorative elements like colorful sprinkles or finely chopped nuts over the coated truffles to add visual appeal and texture.
- Place the decorated truffles back on the parchment-lined sheet and allow them to rest at room temperature until the chocolate coating hardens completely, creating a crisp, elegant finish.
Notes
- Swap crushed vanilla wafers with gluten-free graham crackers for a celiac-friendly version.
- Add finely chopped walnuts or pecans to the mixture for extra crunch and nutty flavor.
- Use dairy-free cream cheese and vegan white chocolate to create a plant-based alternative that’s equally delicious.
- For a lower-sugar option, reduce powdered sugar and replace with monk fruit sweetener or stevia.
- Prep Time: 15 minutes
- Cook Time: 30 minutes
- Category: Desserts, Snacks
- Method: Blending
- Cuisine: American
Nutrition
- Serving Size: 12
- Calories: 130
- Sugar: 6 g
- Sodium: 45 mg
- Fat: 5 g
- Saturated Fat: 3 g
- Unsaturated Fat: 2 g
- Trans Fat: 0 g
- Carbohydrates: 19 g
- Fiber: 1 g
- Protein: 2 g
- Cholesterol: 15 mg
Marcus Hale
Founder & Recipe Storyteller
Expertise
Education
Holyoke Community College – HCC-MGM Culinary Arts Institute
Marcus grew up surrounded by maple trees, farm stands, and the smell of Sunday stew simmering on the stove. After earning his Culinary Arts Certificate from the HCC-MGM Culinary Arts Institute, he knew he didn’t want to work in fancy kitchens, he wanted to cook for real people.
At Whip Up Cook Up, Marcus is the guy turning memories into meals. His recipes are fast, full of flavor, and built for home cooks who want big taste without the drama.