The Ultimate Cheesy Pepperoni Rolls Recipe You’ll Crave Forever
Crafting delectable cheesy pepperoni rolls brings pure comfort to hungry souls seeking a quick, satisfying bite.
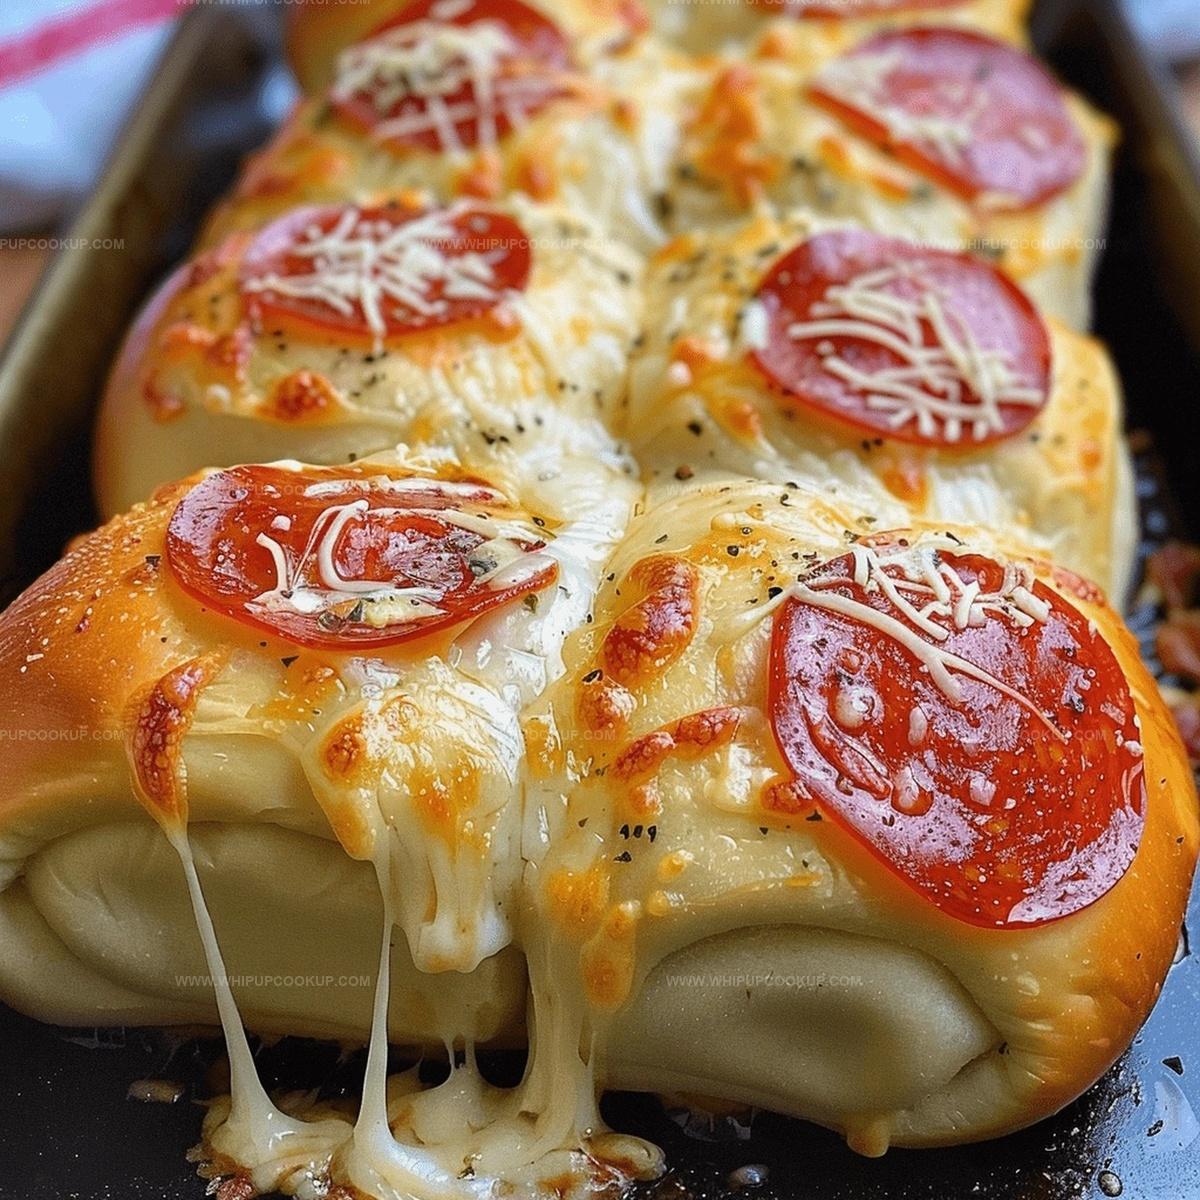
Soft dough hugs layers of zesty meat and melted cheese in a delightful embrace.
Memories of childhood kitchens flood back with each warm, savory morsel.
West Virginia’s beloved snack transforms simple ingredients into something magical and irresistible.
Crispy edges and gooey centers promise a flavor explosion that keeps everyone coming back for more.
Packed with nostalgic charm, these rolls deliver maximum happiness in minimal time.
Let’s roll up our sleeves and create something deliciously unforgettable that will make taste buds dance with joy.
FAQs
Yes! Cheddar, provolone, or a blend of cheeses work great. Just ensure they melt well and complement the pepperoni flavor.
Absolutely! Kids love these cheesy rolls. They’re easy to eat, fun to make, and perfect for lunch boxes or after-school snacks.
You can prepare the rolls in advance and refrigerate before baking. Just add 2-3 extra minutes to the baking time when cooking from cold.
No. You can use store-bought pizza dough, refrigerated crescent roll dough, or even homemade pizza dough for this recipe.
Pepperoni Rolls That Are Cheesy and Perfectly Snackable
Cheesy Pepperoni Rolls Ingredient Guide
Dough Base:Cheese Layer:Protein Layer:Butter and Seasoning:Dipping Sauce:Rolling Cheesy Pepperoni Snacks the Easy Way
Step 1: Warm Up the Oven
Fire up your oven to 375°F (190°C). Prepare a baking sheet by lining it with parchment paper or giving it a light coating of cooking spray.
Step 2: Stretch the Dough
On a clean, flat workspace, gently roll out the pizza dough into a beautiful rectangular shape measuring 12×8 inches.
Step 3: Create Cheesy Layers
Spread a generous blanket of mozzarella cheese across the entire surface of the dough. Artfully arrange pepperoni slices on top of the cheese, covering the entire area.
Step 4: Master the Perfect Roll
Begin at one of the longer edges and carefully roll the dough into a tight, delicious cylinder. Slice the rolled log into bite-sized pieces, creating about 12-15 delectable swirls.
Step 5: Add Flavor Boost
Carefully position the rolls cut-side down on the prepared baking sheet. Create a magical butter mixture with:Lovingly brush this flavor-packed mixture over the tops of the rolls.
Step 6: Bake to Golden Perfection
Slide the baking sheet into the oven and bake for 12-15 minutes until the rolls transform into a beautiful golden brown with bubbly cheese peeking through.
Step 7: Enjoy the Moment
Allow the rolls to cool briefly, then serve with a side of marinara sauce for dipping. Watch as everyone can’t resist these irresistible treats!
Pepperoni Roll Tips That Keep It Cheesy and Snackable
Save Cheesy Pepperoni Rolls for Later
Cheesy Pepperoni Rolls Serving Suggestions
Pepperoni Roll Snack Combos
Print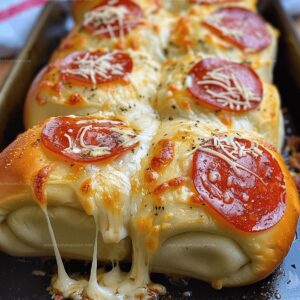
Cheesy Pepperoni Rolls Recipe
- Total Time: 30 minutes
- Yield: 8 1x
Description
Pepperoni rolls bring West Virginia’s hearty comfort to your kitchen, blending melted cheese and spicy pepperoni in golden, pillowy dough. Warm, savory slices promise a satisfying meal you’ll crave again and again.
Ingredients
Main Ingredients:
- 1 tube refrigerated pizza dough
- 1 cup (237 ml) shredded mozzarella cheese
- 1/2 cup (118 ml) pepperoni slices
Seasonings:
- 1/2 teaspoon garlic powder
- 1/2 teaspoon dried oregano
Finishing Ingredients:
- 1/4 cup (59 ml) butter, melted
- Marinara sauce (for dipping)
Instructions
- Unroll the pizza dough onto a clean, lightly floured surface, creating a rectangular shape with smooth, even edges.
- Distribute shredded mozzarella cheese uniformly across the entire surface of the dough, leaving a small border around the edges to prevent overflow during rolling.
- Arrange pepperoni slices strategically over the cheese layer, ensuring comprehensive coverage for consistent flavor in each bite.
- Carefully roll the dough from the longer side, maintaining a tight, compact cylindrical shape while pressing gently to seal the ingredients inside.
- Using a sharp knife, slice the rolled log into uniform segments approximately one inch thick, creating individual pepperoni roll portions.
- Transfer the sliced rolls onto a prepared baking sheet, positioning them cut-side downward to prevent unraveling during cooking.
- Whisk melted butter with aromatic garlic powder and dried oregano, then delicately brush the exterior of each roll to enhance flavor and promote golden browning.
- Place the baking sheet in the preheated oven at 375°F, allowing the rolls to transform into crispy, bubbling delicacies over 12-15 minutes.
- Remove from the oven and permit slight cooling to prevent burning, then serve alongside warm marinara sauce for an irresistible dipping experience.
Notes
- Customize the dough by using whole wheat or gluten-free pizza dough for a healthier alternative that accommodates different dietary needs.
- Enhance flavor by adding a sprinkle of red pepper flakes or Italian seasoning between the cheese and pepperoni layers for an extra kick.
- Prep ahead by assembling the rolls and refrigerating them before baking, which makes them perfect for meal prep or unexpected guests.
- Experiment with different cheese combinations like adding a bit of parmesan or provolone to create a more complex flavor profile that elevates the classic pepperoni roll.
- Prep Time: 15 minutes
- Cook Time: 15 minutes
- Category: Snacks, Appetizer
- Method: Baking
- Cuisine: American
Nutrition
- Serving Size: 8
- Calories: 210
- Sugar: 1 g
- Sodium: 480 mg
- Fat: 12 g
- Saturated Fat: 6 g
- Unsaturated Fat: 4 g
- Trans Fat: 0 g
- Carbohydrates: 20 g
- Fiber: 1 g
- Protein: 7 g
- Cholesterol: 25 mg
Marcus Hale
Founder & Recipe Storyteller
Expertise
Education
Holyoke Community College – HCC-MGM Culinary Arts Institute
Marcus grew up surrounded by maple trees, farm stands, and the smell of Sunday stew simmering on the stove. After earning his Culinary Arts Certificate from the HCC-MGM Culinary Arts Institute, he knew he didn’t want to work in fancy kitchens, he wanted to cook for real people.
At Whip Up Cook Up, Marcus is the guy turning memories into meals. His recipes are fast, full of flavor, and built for home cooks who want big taste without the drama.