Sizzling Cheesy Taco Breadsticks Recipe: A Tasty Family Favorite
Crafting delectable cheesy taco breadsticks brings together comfort and excitement in one irresistible bite.
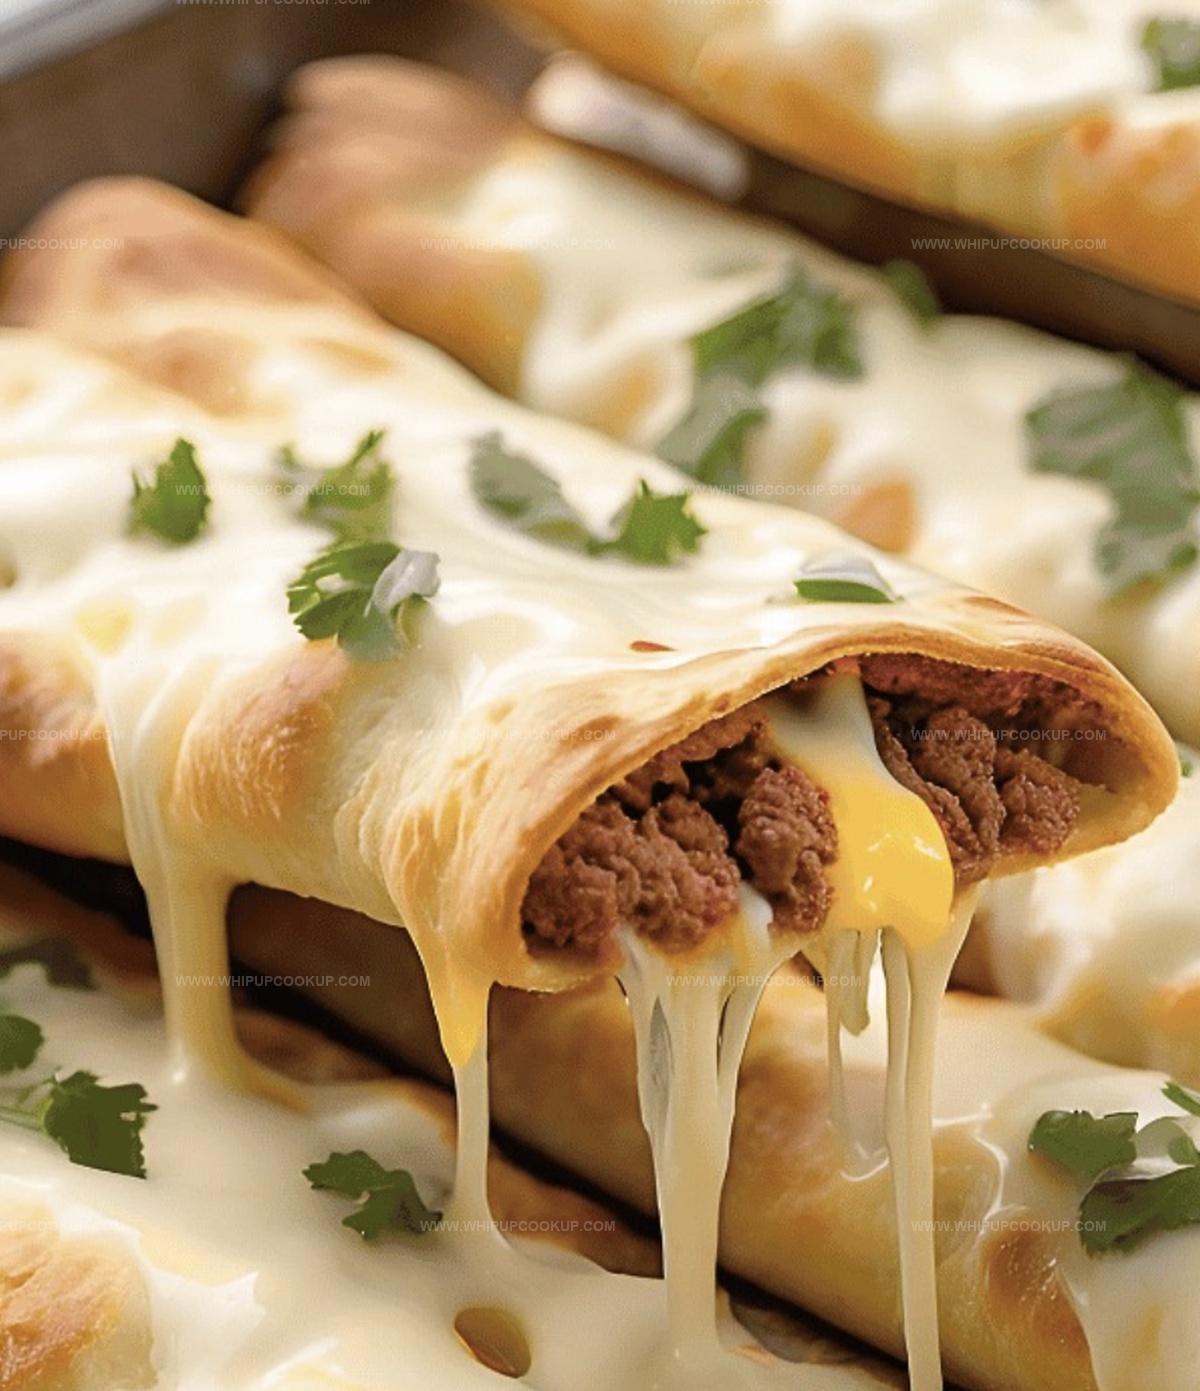
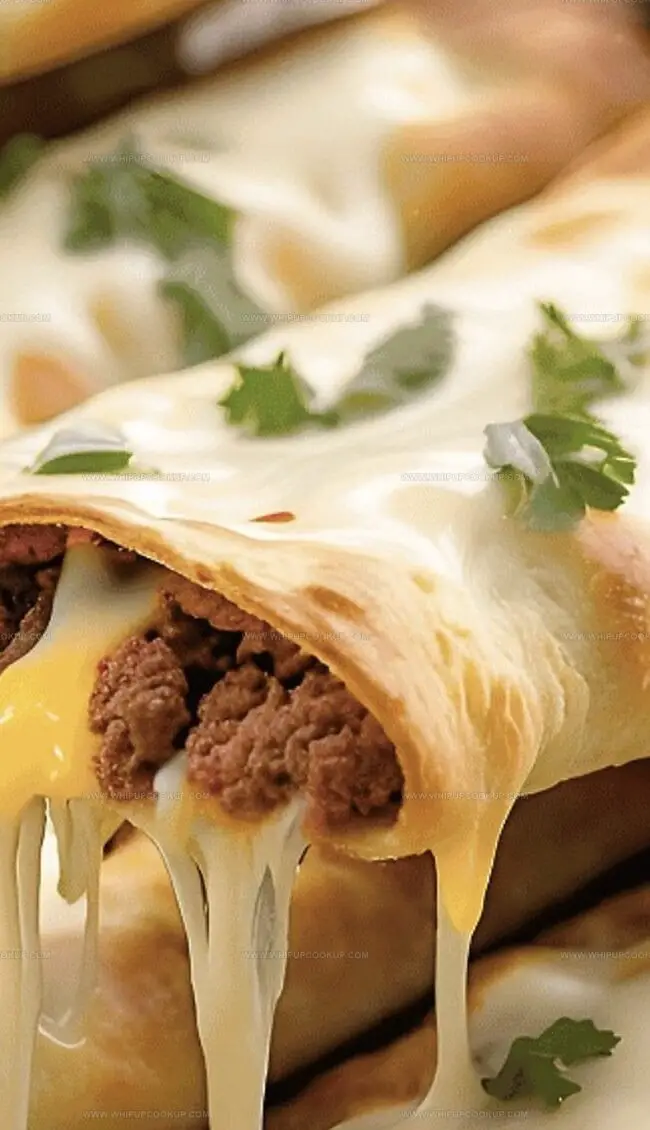
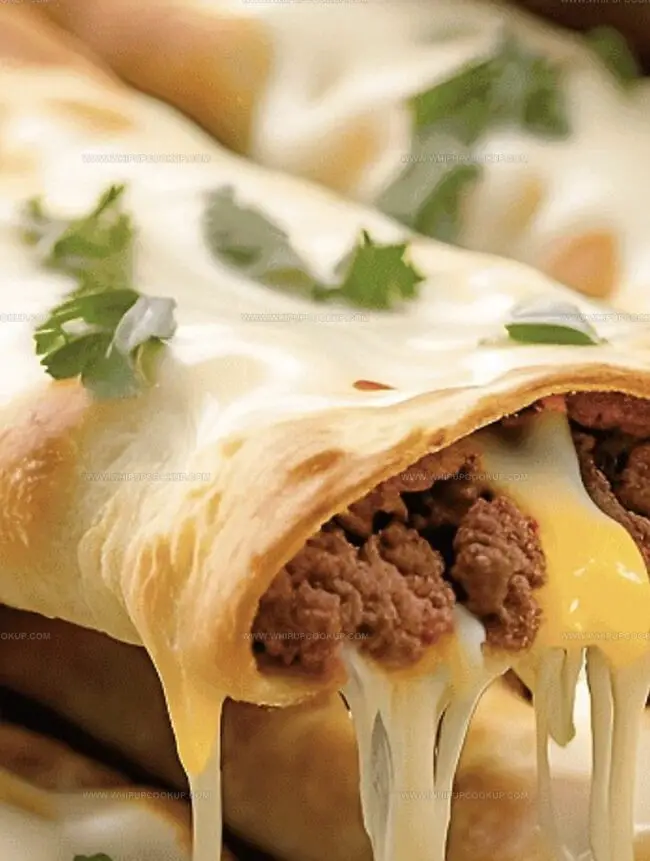
Crispy edges and melted cheese promise a flavor explosion that will make mouths water.
Inspired by classic mexican street food, this recipe combines familiar ingredients with unexpected twists.
Spices dance across golden dough, creating a sensational appetizer you can’t resist.
Warm, gooey, and packed with zesty goodness, these breadsticks will become your new go-to snack.
Home cooks of all skill levels can master this simple yet impressive dish.
Prepare to transform an ordinary evening into a culinary celebration that sparks joy at the table.
What Makes Cheesy Taco Breadsticks a Crowd Favorite
Cheesy Taco Breadsticks Ingredients
Main Ingredients:Seasoning Ingredients:Butter and Coating Ingredients:Taco Breadsticks with Cheese Instructions
Step 1: Brown the Savory Meat
Start by heating a skillet over medium-high heat. Cook the ground beef until it’s perfectly browned and crumbly. Carefully drain any excess fat from the pan. Sprinkle in the zesty taco seasoning and splash of water. Let the mixture simmer, allowing the flavors to meld together for about 5 minutes.
Step 2: Prepare the Dough Canvas
Get your oven nice and toasty by preheating to 425°F (220°C). Grab a baking sheet and line it with parchment paper for easy cleanup. Take your pizza dough and roll it out into a beautiful rectangular shape, aiming for about 12×10 inches.
Step 3: Craft Flavor-Packed Butter
In a small saucepan, melt the butter until it’s smooth and silky. Whisk in:Stir until everything is perfectly combined and fragrant.
Step 4: Build Your Flavor Masterpiece
Spread the seasoned ground beef across one half of the dough, leaving a small border around the edges. Generously sprinkle shredded cheese over the meat. Carefully fold the other half of the dough over the filling, creating a delicious pocket. Use your fingers to pinch and seal the edges, trapping all that amazing flavor inside.
Step 5: Slice and Prepare for Baking
Using a sharp knife, cut the filled dough into strips about 1-1½ inches wide. Arrange the strips on the prepared baking sheet, giving them a little breathing room. Brush each strip generously with the flavor-packed butter mixture.
Step 6: Bake to Golden Perfection
Slide the baking sheet into the preheated oven. Bake for about 17 minutes, or until the breadsticks turn a gorgeous golden brown and become wonderfully crispy. Once done, let them cool for 5 minutes to set. Serve immediately with your favorite dipping sauces and watch them disappear!
Breadstick Tips That Add Taco Flavor in Every Cheesy Bite
Cheesy Taco Breadsticks: Save for Later
Bites That Go with Taco Breadsticks
Cheesy Taco Breadstick Combos
FAQs
Seal the edges completely by pinching them firmly with your fingers, and make sure there are no gaps when folding the dough over the taco meat and cheese.
Absolutely! Ground turkey, chicken, or plant-based crumbles work great as substitutes for ground beef in this recipe.
You can use premade crescent roll dough or even homemade bread dough as an alternative to pizza dough for these breadsticks.
The spice level depends on your taco seasoning and optional Slap Ya Mama seasoning. Use mild seasoning for less heat or add more spicy seasonings if you want extra kick.
Print
Cheesy Taco Breadsticks Recipe
- Total Time: 42 minutes
- Yield: 4 1x
Description
Crispy, cheesy taco breadsticks bring Mexican street flavors straight to your kitchen with zesty spices and melted cheese. Packed with bold taste and easy preparation, these irresistible breadsticks will make you the star of any gathering or casual meal.
Ingredients
Meat:
- 1 pound ground beef (or turkey/chicken)
Main Ingredients:
- 1 refrigerated pizza crust (or homemade dough)
- 1.5 cups shredded cheese (cheddar, Mexican blend, or pepper jack)
Seasonings and Extras:
- 1 packet taco seasoning (or 2 tablespoons homemade)
- 0.5 stick (0.25 cup) butter, melted
- 1 teaspoon garlic powder
- 1 teaspoon taco seasoning (extra for butter)
- 0.5 teaspoon Slap Ya Mama seasoning (or Cajun/pepper)
Dipping Sauces:
- salsa
- queso
- sour cream
- ranch
Instructions
- Sizzle ground beef in a large skillet over medium-high heat until thoroughly browned and crumbly, ensuring no pink remains visible.
- Eliminate excess fat by draining beef, then infuse with zesty taco seasoning and a splash of water, allowing the mixture to simmer and develop rich flavors for approximately 5 minutes.
- Warm the oven to a precise 425°F and strategically line a baking sheet with parchment paper for optimal cooking performance.
- Carefully stretch pizza dough into a rectangular shape, aiming for dimensions around 12×10 inches, creating a smooth and even surface.
- Craft a tantalizing garlic-taco butter by gently melting butter and whisking in aromatic garlic powder, robust taco seasoning, and a hint of Slap Ya Mama spice blend.
- Distribute the seasoned taco meat across one half of the stretched dough, leaving a small border around the edges.
- Generously sprinkle shredded cheese over the meat, ensuring even coverage.
- Fold the bare dough half over the meat and cheese, creating a sealed pocket, and firmly press edges to prevent filling from escaping during baking.
- Slice the filled dough into uniform strips approximately 1-1½ inches wide, maintaining consistent sizing.
- Arrange strips on the prepared baking sheet, leaving adequate space between each piece.
- Liberally brush the strips with the prepared garlic-taco butter, guaranteeing a golden, flavorful exterior.
- Bake in the preheated oven for 17 minutes, watching for a perfect golden-brown transformation.
- Allow breadsticks to rest for 5 minutes after removing from oven, then serve alongside preferred dipping sauces for a delectable experience.
Notes
- Customize the taco seasoning intensity by adjusting the amount or choosing mild, medium, or spicy blends to suit different taste preferences.
- Swap ground beef with ground turkey, chicken, or plant-based crumbles for a leaner or vegetarian alternative that maintains the delicious taco flavor.
- Use gluten-free pizza dough or cauliflower crust to make this recipe suitable for those with gluten sensitivities or following a low-carb diet.
- Enhance the cheese variety by mixing mozzarella, cheddar, and pepper jack for a more complex and exciting flavor profile that adds depth to the breadsticks.
- Prep Time: 15 minutes
- Cook Time: 27 minutes
- Category: Snacks, Appetizer
- Method: Baking
- Cuisine: Mexican
Nutrition
- Serving Size: 4
- Calories: 400
- Sugar: 2 g
- Sodium: 800 mg
- Fat: 25 g
- Saturated Fat: 12 g
- Unsaturated Fat: 10 g
- Trans Fat: 0 g
- Carbohydrates: 30 g
- Fiber: 1 g
- Protein: 20 g
- Cholesterol: 70 mg
Marcus Hale
Founder & Recipe Storyteller
Expertise
Education
Holyoke Community College – HCC-MGM Culinary Arts Institute
Marcus grew up surrounded by maple trees, farm stands, and the smell of Sunday stew simmering on the stove. After earning his Culinary Arts Certificate from the HCC-MGM Culinary Arts Institute, he knew he didn’t want to work in fancy kitchens, he wanted to cook for real people.
At Whip Up Cook Up, Marcus is the guy turning memories into meals. His recipes are fast, full of flavor, and built for home cooks who want big taste without the drama.