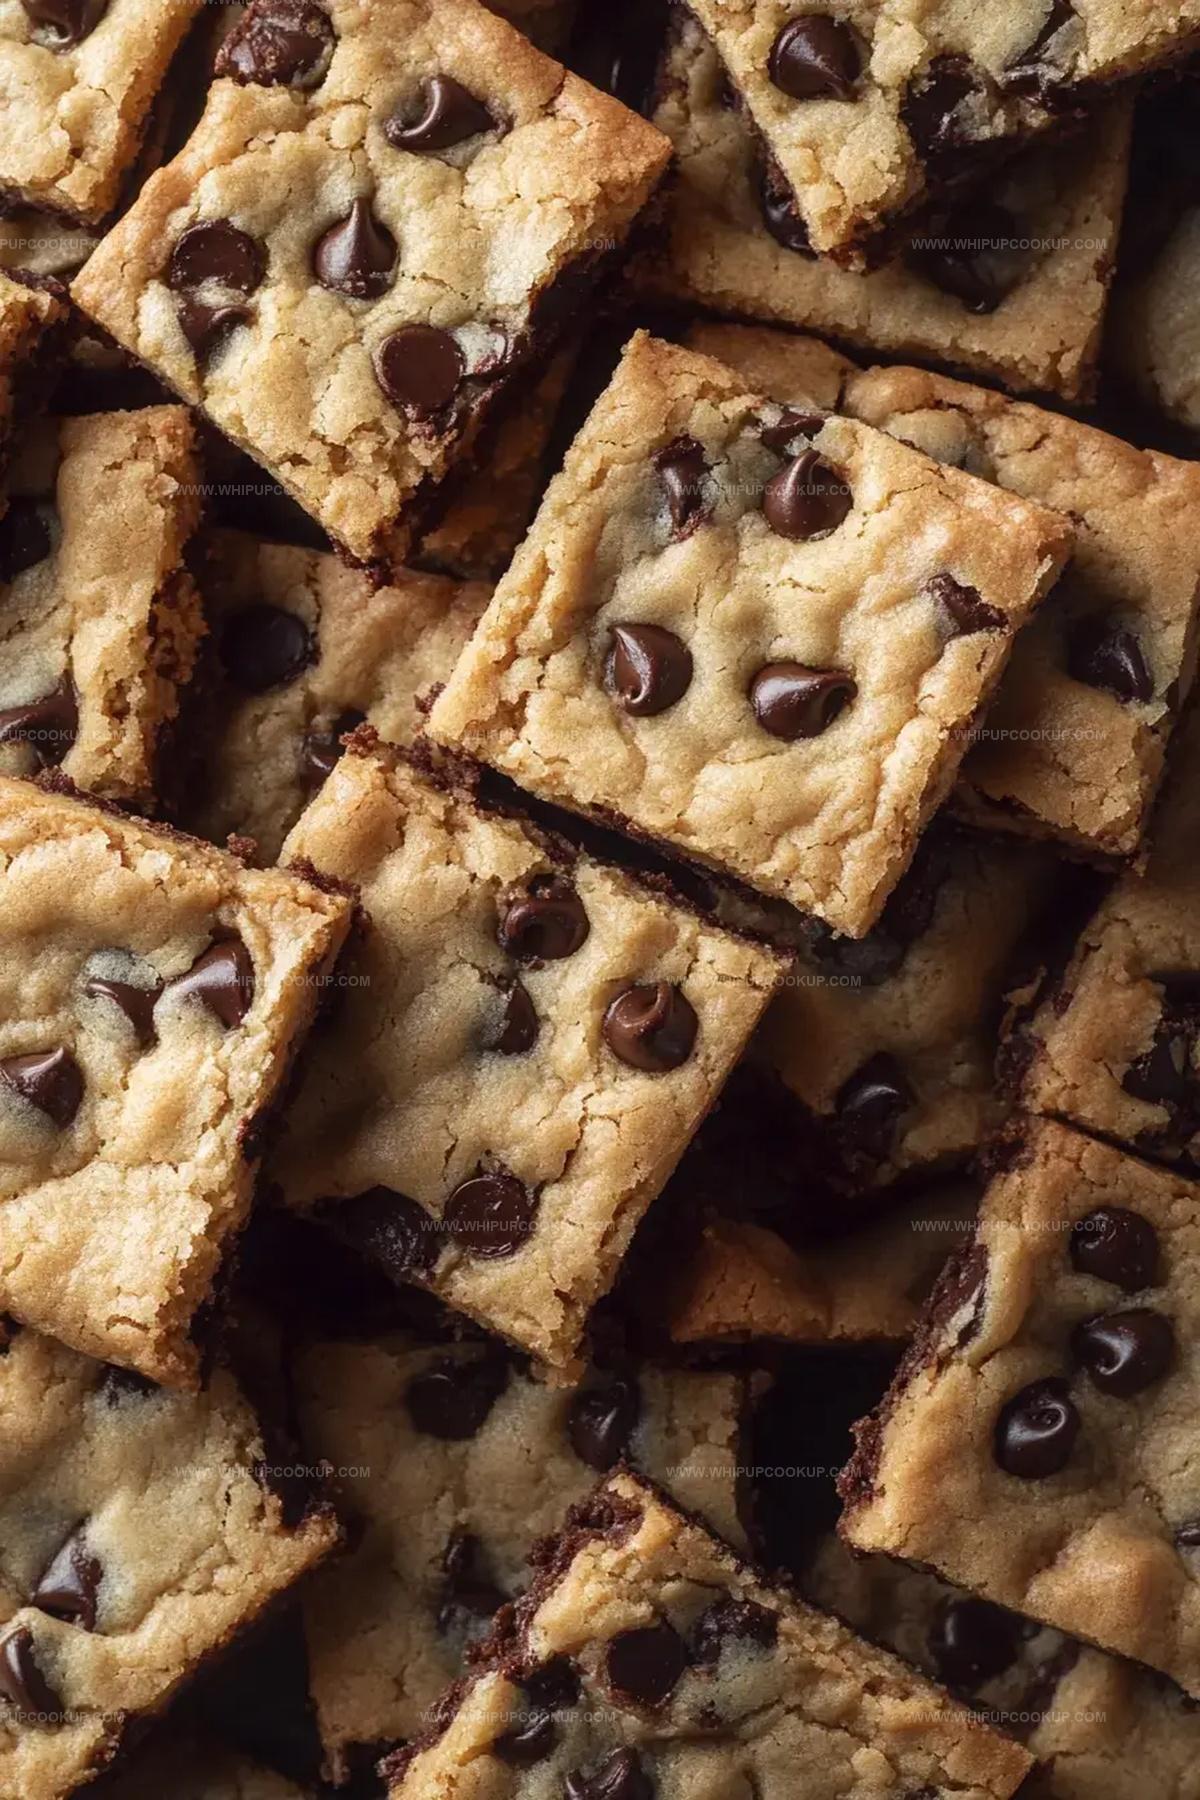
The Chewiest Chocolate Chip Cookie Bars Recipe Ever Made
Crafting the perfect chewy chocolate chip cookie bars has become my weekend passion.
Sweet moments often start with a batch of these delectable treats.
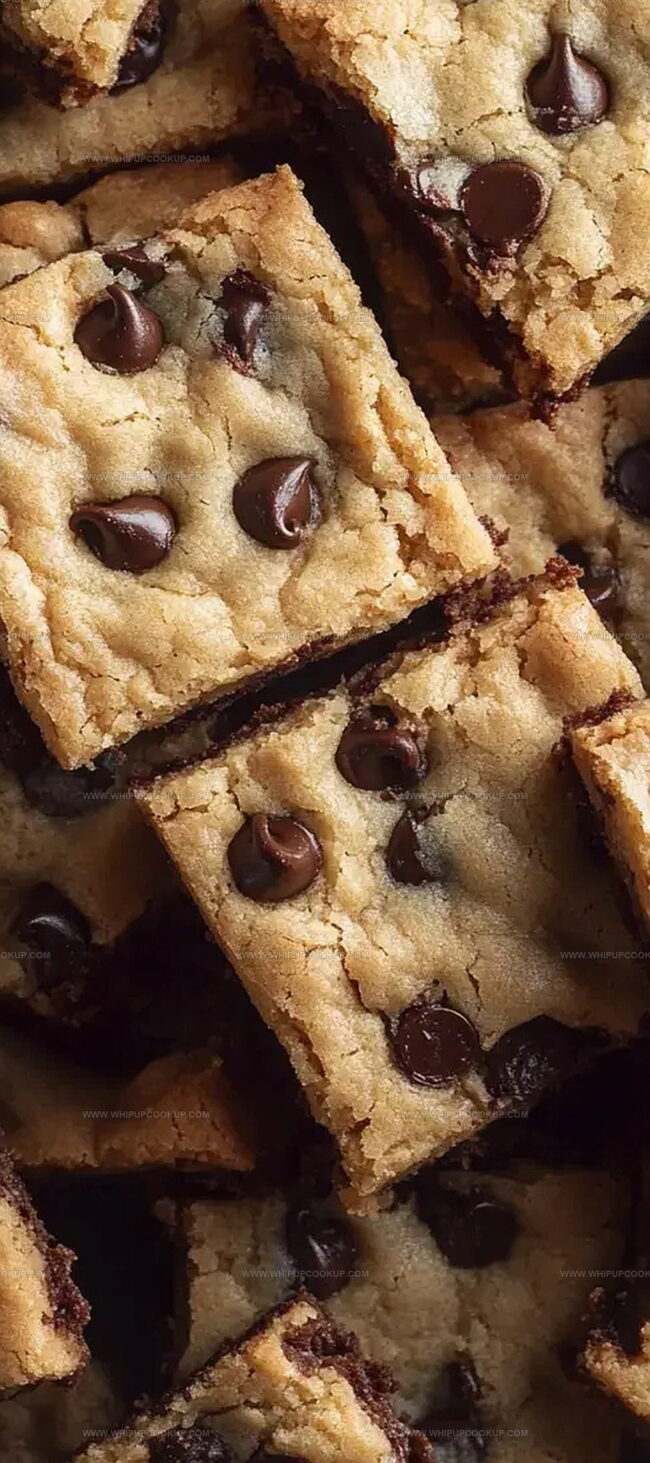
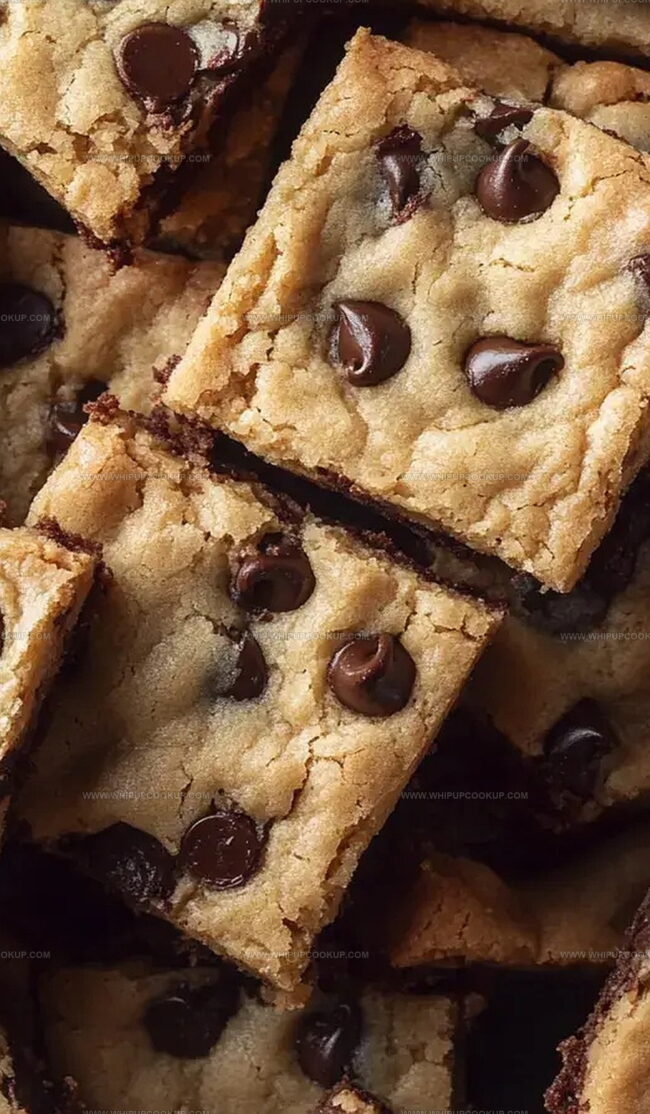
Chocolate chips scattered generously throughout create pockets of pure delight.
Soft, rich textures invite you to savor each incredible bite.
Home kitchens come alive with the warm, comforting aroma of freshly baked goodness.
Crisp edges and gooey centers make these bars an irresistible indulgence.
Cookie Bars That Are Chewy, Chocolatey, and Easy
Chewy Chocolate Chip Cookie Bars What You’ll Need
Base Ingredients:Dry Ingredients:Mix-In Ingredients:Chewy Chocolate Chip Cookie Bars Baking Directions
Step 1: Warm Up the Oven
Crank your oven to a toasty 350°F. Grab your 9×13-inch baking pan and give it a quick spray with cooking oil or line it with parchment paper for easy cleanup.
Step 2: Whip Up the Base
In a big mixing bowl, blend together:Whip these ingredients until they become light and fluffy like a cloud.
Step 3: Add Moisture and Flavor
Crack the eggs into the mixture one at a time, mixing well after each addition. Pour in the vanilla extract for that irresistible aroma.
Step 4: Combine Dry Ingredients
In a separate bowl, mix together:Gently fold the dry ingredients into the wet mixture, stirring just until everything is combined.
Step 5: Boost with Mix-Ins
Toss in chocolate chips and optional nuts. Stir gently to distribute them evenly throughout the dough.
Step 6: Spread the Love
Pour the dough into your prepared pan, spreading it out evenly with a spatula.
Step 7: Bake to Perfection
Slide the pan into the preheated oven. Bake for 25-30 minutes until the edges turn golden brown and a toothpick comes out clean when inserted in the center.
Step 8: Cool and Slice
Let the bars cool completely in the pan. This helps them set and makes cutting easier. Slice into squares and devour your delicious creation!
Cookie Bar Tips for Perfect Chocolate Chip Chewiness
Store Chewy Chocolate Chip Cookie Bars Properly
Chocolate Chip Cookie Bars Enjoyment Tips
Chewy Cookie Bar Flavor Twists
FAQs
Use room temperature ingredients, don’t overmix the dough, and avoid overbaking. Pull the bars out when the edges are golden and the center is slightly soft for a chewy texture.
Absolutely! Mix semi-sweet, milk, dark chocolate chips, or chocolate chunks. You can even combine different types for a more complex flavor profile.
Look for golden edges, a slightly set center, and use the toothpick test. When inserted, the toothpick should have a few moist crumbs but not wet batter. The bars will continue cooking slightly after removing from the oven.
Yes, brown sugar adds moisture and creates a chewier texture, while white sugar helps with crispness. The combination gives these bars their perfect soft and chewy consistency.
Print
Chewy Chocolate Chip Cookie Bars Recip Recipe
- Total Time: 45 minutes
- Yield: 12 1x
Description
Chocolate chip cookie bars deliver pure comfort with their irresistible blend of gooey chocolate and buttery goodness. Rich layers of sweet indulgence melt perfectly in your mouth, promising delightful moments of pure baking bliss.
Ingredients
Primary Ingredients:
- 3 cups all-purpose flour
- 2 cups chocolate chips
- 2 large eggs
- 1 cup unsalted butter, softened
Sweet Enhancers:
- 1 cup brown sugar, packed
- 1/2 cup granulated sugar
- 2 teaspoons vanilla extract
Baking Essentials:
- 1 teaspoon baking soda
- 1/2 teaspoon salt
- 1 cup chopped nuts (optional)
Instructions
- Prepare the oven environment by heating to 350°F (175°C) and establishing a non-stick surface in a 9×13-inch baking vessel using parchment paper or cooking spray.
- Create a decadent base by thoroughly blending softened butter with brown and granulated sugars until the mixture achieves a light, airy consistency.
- Incorporate eggs individually, ensuring complete integration after each addition, then infuse the mixture with vanilla extract for enhanced flavor complexity.
- Construct the dry foundation by meticulously whisking flour, baking soda, and salt in a separate container.
- Merge the dry ingredients with the wet mixture, using gentle folding techniques to prevent overmixing and maintain a tender texture.
- Distribute chocolate chips and optional nuts throughout the dough, ensuring even dispersion for consistent flavor in every bite.
- Transfer the prepared dough into the prepared baking pan, smoothing the surface to create an uniform layer that will bake evenly.
- Position the pan in the preheated oven and bake for 25-30 minutes, monitoring until the edges transform to a golden hue and a inserted toothpick emerges clean.
- Allow the baked bars to cool completely within the pan, enabling them to set and develop a perfect chewy consistency before slicing into delectable squares.
Notes
- Soften butter at room temperature for smooth, even mixing and better texture.
- Use room temperature eggs to ensure proper incorporation and prevent clumping.
- Adjust chocolate chip quantity based on personal preference, experimenting with dark, milk, or white chocolate variations.
- For gluten-free option, substitute all-purpose flour with gluten-free flour blend and add xanthan gum for binding.
- Prep Time: 15 minutes
- Cook Time: 30 minutes
- Category: Desserts, Snacks
- Method: Baking
- Cuisine: American
Nutrition
- Serving Size: 12
- Calories: 300
- Sugar: 22 g
- Sodium: 150 mg
- Fat: 15 g
- Saturated Fat: 9 g
- Unsaturated Fat: 6 g
- Trans Fat: 0 g
- Carbohydrates: 40 g
- Fiber: 1 g
- Protein: 3 g
- Cholesterol: 30 mg
Marcus Hale
Founder & Recipe Storyteller
Expertise
Education
Holyoke Community College – HCC-MGM Culinary Arts Institute
Marcus grew up surrounded by maple trees, farm stands, and the smell of Sunday stew simmering on the stove. After earning his Culinary Arts Certificate from the HCC-MGM Culinary Arts Institute, he knew he didn’t want to work in fancy kitchens, he wanted to cook for real people.
At Whip Up Cook Up, Marcus is the guy turning memories into meals. His recipes are fast, full of flavor, and built for home cooks who want big taste without the drama.