Spooky-Sweet Chocolate Chip Halloween Cookies Recipe
Baking delectable chocolate chip halloween cookies sparks joy in every kitchen adventurer’s heart.
Spooky decorations add whimsical charm to these sweet treats.
Children giggle with excitement when magical sprinkles dance across crisp surfaces.
Creepy cookie designs invite playful creativity and imagination.
Dark chocolate chunks create haunting patterns amid orange and black frosting.
Festive baking becomes an enchanting ritual that connects generations through delightful memories.
Halloween Cookies with Classic Chocolate Chip Flavor
Chocolate Chip Halloween Cookies Ingredient Breakdown
Main Ingredients:
Dry Ingredients:Wet Ingredients:Chocolate and Decoration:Chocolate Chip Halloween Cookies Baking Steps
Step 1: Prepare Baking Station
Get your oven warmed up to 350°F. Line a baking sheet with parchment paper to prevent sticky situations.
Step 2: Mix Dry Ingredients
Grab a medium bowl and whisk together:Set this magical mixture aside.
Step 3: Create Creamy Base
In a large mixing bowl, blend:Whip until the mixture looks light and fluffy like a cloud.
Step 4: Add Moisture Magic
Crack an egg into the sugar mixture and splash in some vanilla. Mix until everything looks smooth and happy.
Step 5: Combine Ingredients
Slowly fold the dry ingredients into the wet mixture. Stir gently until just combined. Toss in chocolate chips and give a gentle mix.
Step 6: Shape Delightful Cookies
Scoop out tablespoon-sized dough balls onto the prepared baking sheet. Softly press down each ball with a spoon to create perfect cookie shapes.
Step 7: Bake to Perfection
Slide the baking sheet into the oven. Bake for 10-12 minutes until edges turn a beautiful golden brown.
Step 8: Cool Down
Transfer cookies to a wire rack and let them chill completely.
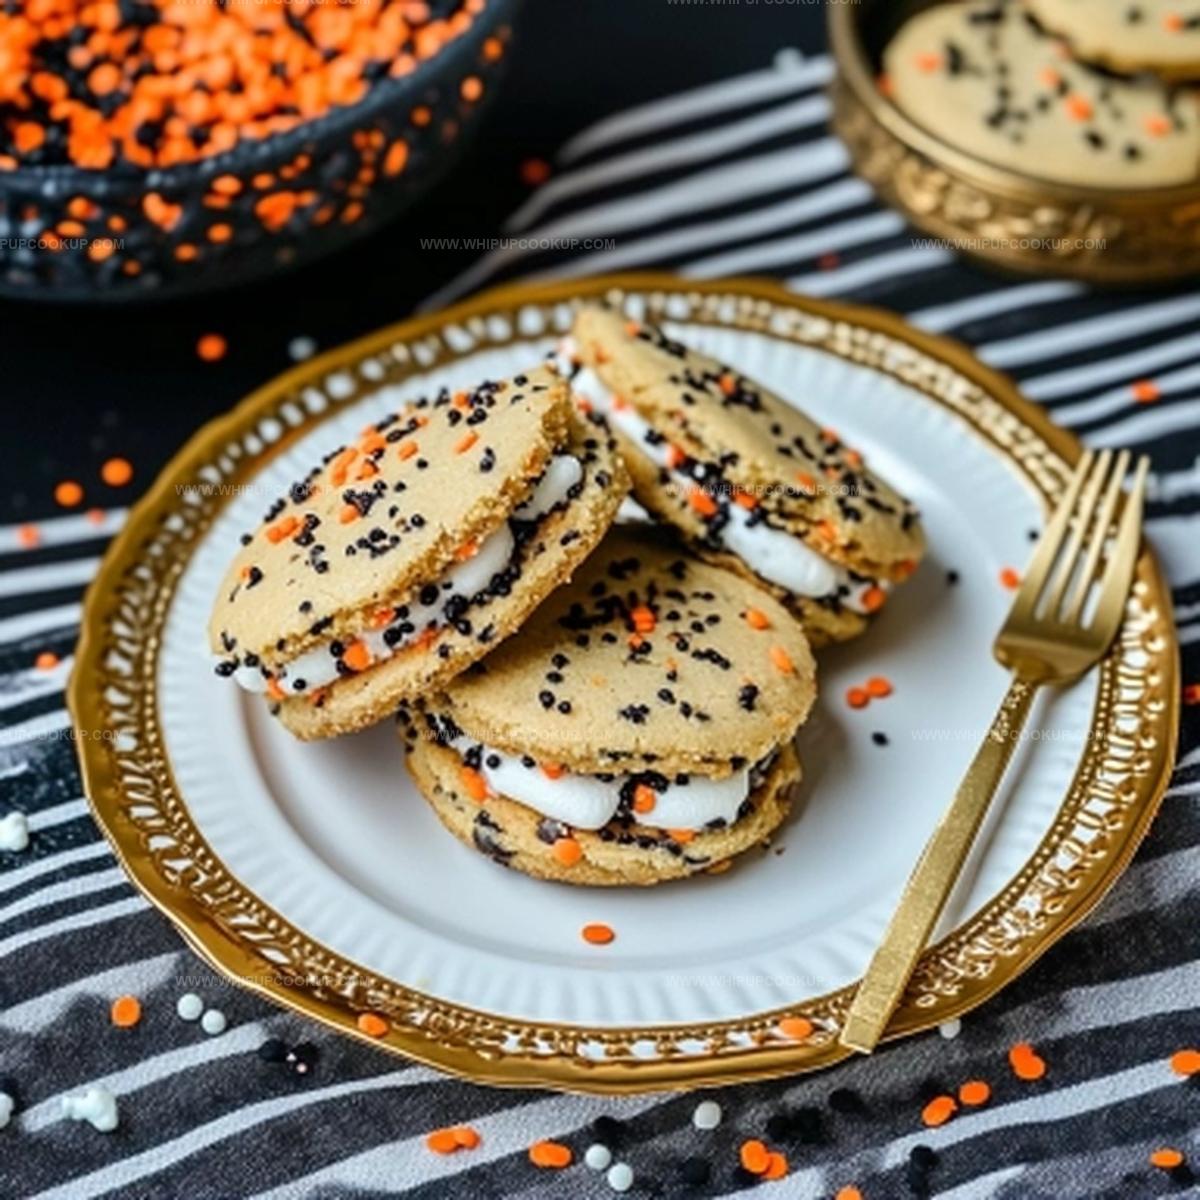
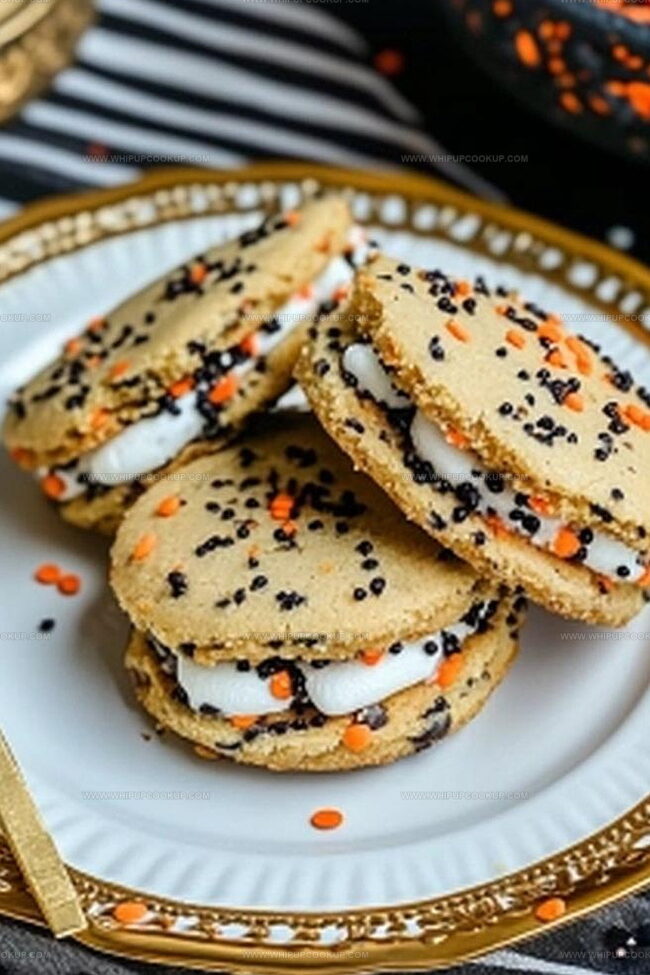
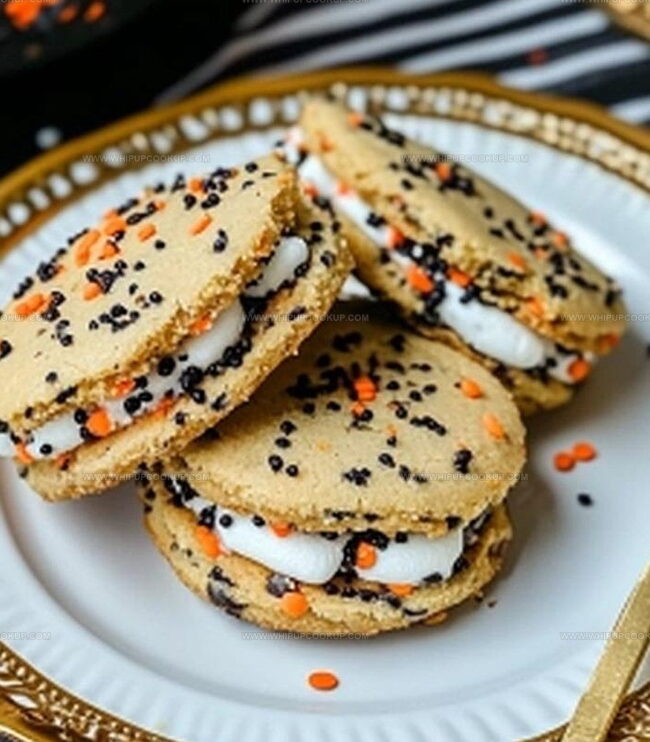
Step 9: Create Spooky Sandwiches
Spread vanilla frosting on half the cookies. Sandwich them together and roll the edges in festive Halloween sprinkles for a frightfully delicious treat!
Halloween Cookie Tips with Chocolate Chip Flavor
Storing Chocolate Chip Halloween Cookies for Later
Halloween Chocolate Chip Cookies Matches
Halloween Chip Cookies Fun Options
FAQs
Yes, simply substitute the all-purpose flour with a gluten-free flour blend that contains xanthan gum for best results.
Chill the dough for 30 minutes before baking and ensure your butter isn’t too soft. This helps maintain the cookie’s shape during baking.
Absolutely! These Halloween cookies are a fun baking project for children, especially when decorating with sprinkles and making cookie sandwiches.
Yes, you can prepare the cookie dough and refrigerate it for up to 3 days before baking, or freeze the dough balls for up to 2 months.
Print
Chocolate Chip Halloween Cookies Recipe
- Total Time: 32 minutes
- Yield: 12 1x
Description
Spooky chocolate chip halloween cookies blend festive Halloween spirit with classic cookie comfort. Playful decorations and rich chocolate create a delightful treat you can’t resist sharing with friends and family.
Ingredients
Main Ingredients:
- 1/2 cups all-purpose flour
- 1/2 cup butter (at room temperature)
- 1 egg
- 1/2 cup granulated sugar
- 1/4 cup brown sugar
Chocolate and Flavor Enhancers:
- 1/4 cup chocolate chips
- 1/2 teaspoon vanilla extract
Leavening and Seasoning:
- 1/2 teaspoon baking soda
- 1/2 teaspoon salt
Decoration:
- Vanilla frosting
- Halloween sprinkles
Instructions
- Preheat the oven to 350°F (175°C) and prepare a baking sheet with parchment paper, creating a non-stick surface for your festive treats.
- Sift together flour, baking soda, and salt in a medium bowl, ensuring a smooth and consistent dry ingredient blend.
- In a spacious mixing bowl, thoroughly cream brown sugar, granulated sugar, and butter until the mixture becomes light, airy, and perfectly integrated.
- Introduce the egg and vanilla extract, blending until the wet ingredients form a cohesive and smooth consistency.
- Gently fold the flour mixture into the wet ingredients, stirring until just combined to maintain a tender cookie texture.
- Carefully fold chocolate chips into the dough, distributing them evenly throughout the mixture.
- Portion the dough into tablespoon-sized rounds, placing them on the prepared baking sheet with slight spacing between each cookie.
- Delicately flatten each dough ball using the back of a spoon, creating a uniform shape for even baking.
- Bake for 10-12 minutes, watching for golden-brown edges that indicate perfect doneness.
- Transfer cookies to a wire rack, allowing them to cool completely and firm up.
- Once cooled, apply a layer of vanilla frosting to the flat side of half the cookies, creating a smooth, sweet base.
- Pair the frosted cookies with the remaining plain cookies, forming delightful sandwich cookies.
- Roll the edges of each cookie sandwich in Halloween sprinkles, adding a festive and colorful finishing touch.
- Arrange on a serving platter and delight in your spooky, sweet creation.
Notes
- Customize the cookie’s Halloween spirit by using orange and black sprinkles for a festive touch.
- Replace standard chocolate chips with dark chocolate or white chocolate chips to create unique flavor variations.
- Ensure butter is softened at room temperature for smoother mixing and better cookie texture.
- Chill the dough for 30 minutes before baking to prevent excessive spreading and create thicker cookies.
- Prep Time: 20 minutes
- Cook Time: 12 minutes
- Category: Desserts, Snacks
- Method: Baking
- Cuisine: American
Nutrition
- Serving Size: 12
- Calories: 150
- Sugar: 10 g
- Sodium: 120 mg
- Fat: 7 g
- Saturated Fat: 4 g
- Unsaturated Fat: 2 g
- Trans Fat: 0 g
- Carbohydrates: 20 g
- Fiber: 0.5 g
- Protein: 1.5 g
- Cholesterol: 15 mg
Marcus Hale
Founder & Recipe Storyteller
Expertise
Education
Holyoke Community College – HCC-MGM Culinary Arts Institute
Marcus grew up surrounded by maple trees, farm stands, and the smell of Sunday stew simmering on the stove. After earning his Culinary Arts Certificate from the HCC-MGM Culinary Arts Institute, he knew he didn’t want to work in fancy kitchens, he wanted to cook for real people.
At Whip Up Cook Up, Marcus is the guy turning memories into meals. His recipes are fast, full of flavor, and built for home cooks who want big taste without the drama.