Homestyle Classic Pea Salad Recipe: Fresh & Zesty Family Favorite
Summer gatherings always spark excitement around this classic pea salad that combines crisp textures and bright flavors.
Unexpected combinations create magical moments at potlucks and picnics.
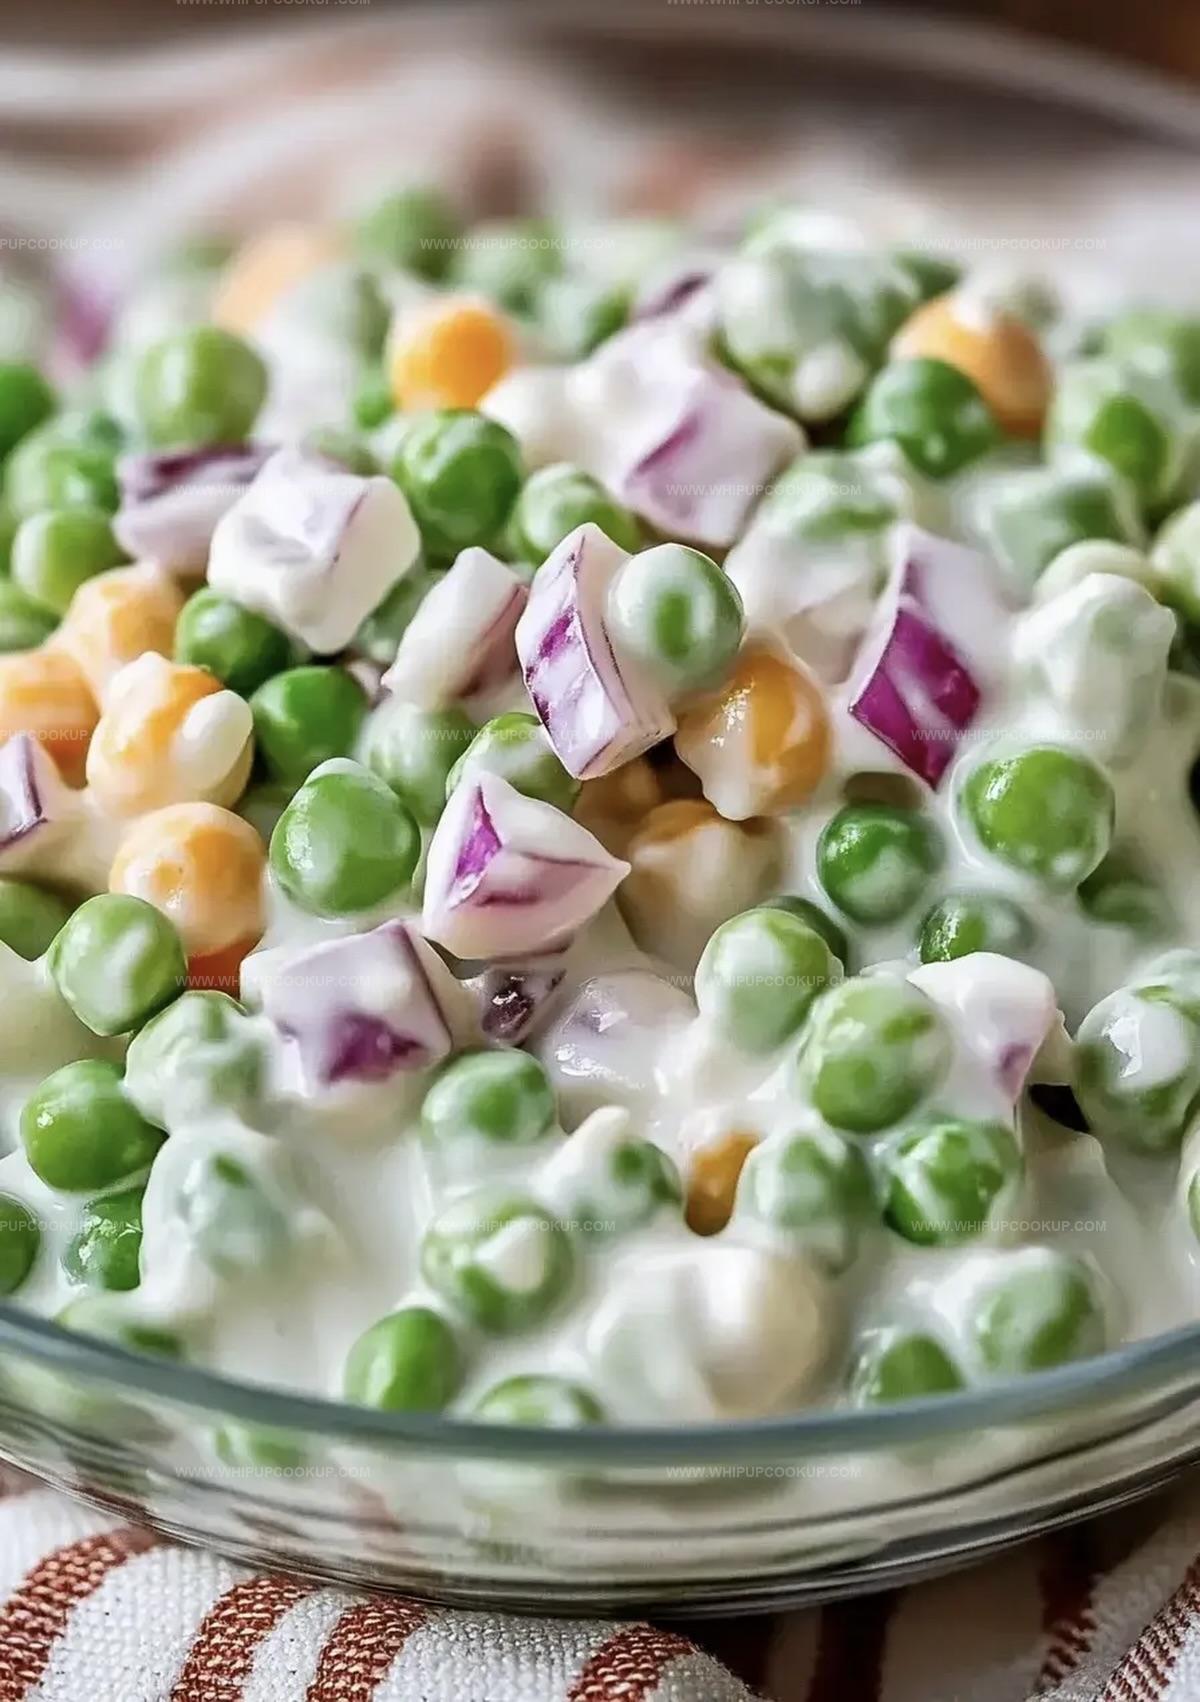
Crunchy bacon bits and sweet green peas dance together in a creamy dressing that feels like comfort on a plate.
Tender cubes of cheese add richness to each refreshing bite.
Subtle hints of onion provide a gentle kick that awakens your palate.
Friends and neighbors will ask for seconds before the first serving disappears.
Dive in and savor this delightful dish that brings joy to every table.
Pea Salad That’s Creamy, Crisp, and Classic
Creamy Classic Pea Salad What Goes In
Main Ingredients:Vegetables and Aromatics:Dressing Ingredients:How to Make Classic Creamy Pea Salad
Step 1: Thaw Green Peas
Empty the frozen peas into a spacious mixing bowl and let them come to room temperature naturally. Ensure no ice crystals remain in the mix.
Step 2: Chop and Crumble Supporting Ingredients
Finely dice the red onion into tiny pieces. Crumble the crispy bacon into small crumbs. Shred or cube the cheddar cheese into bite-sized fragments.
Step 3: Create Creamy Dressing
Grab a small mixing bowl and whisk together the following ingredients until they form a smooth, consistent blend:Step 4: Blend All Components
Pour the freshly prepared dressing over the pea mixture. Use a large spoon to gently fold and coat all ingredients, ensuring an even distribution of flavors.
Step 5: Chill and Enhance Flavor
Transfer the salad to the refrigerator and allow it to rest for at least 30 minutes. This resting period helps the flavors meld together and creates a refreshing, cool side dish perfect for gatherings or quick meals.
Salad Tips That Make Classic Pea Recipes Shine
Keep Classic Pea Salad Fresh After Serving
Classic Pea Salad Serving Suggestions
Creamy Pea Salad Flavor Styles
FAQs
Yes, frozen peas are the star ingredient, providing a sweet and tender base for this classic side dish.
Absolutely! This pea salad tastes even better when prepared in advance, allowing the flavors to meld together in the refrigerator.
Definitely! It’s a crowd-pleasing dish that’s easy to transport and always a hit at barbecues, picnics, and family gatherings.
No, you can use thawed frozen peas directly from the bag, making this recipe super quick and convenient.
Print
Classic Pea Salad Recipe
- Total Time: 45 minutes
- Yield: 6 1x
Description
Delightful classic pea salad combines crisp vegetables with creamy dressing for a nostalgic side dish. Cool crunch and tangy flavors make this recipe a perfect summer companion you’ll want to serve at every gathering.
Ingredients
Main Ingredients:
- 4 cups frozen peas (thawed)
- 1/2 cup cheddar cheese, shredded or cubed
- 1/2 cup bacon, cooked and crumbled
Additional Vegetables:
- 1/2 red onion, finely chopped
Dressing and Seasonings:
- 1/2 cup mayonnaise
- 1 tablespoon apple cider vinegar
- 1 tablespoon sugar (optional)
- Salt and pepper, to taste
Instructions
- Empty thawed green peas into a spacious mixing vessel, ensuring no excess moisture remains.
- Incorporate finely diced crimson onion, crumbled crispy bacon fragments, and grated sharp cheddar cheese into the peas.
- Create a creamy binding sauce by whisking mayonnaise with tangy apple cider vinegar, balancing flavors with a hint of sweetness and seasoning.
- Drizzle the prepared dressing over the vegetable and cheese mixture, carefully folding ingredients to achieve uniform coating.
- Transfer the salad to a sealed container and refrigerate for a minimum of half an hour, allowing flavors to meld and develop depth.
- Before serving, give the salad a gentle stir to redistribute the dressing and ingredients, ensuring each serving is equally flavorful.
- Present the chilled salad as a delightful side dish, garnishing with additional bacon crumbles or fresh herbs if desired.
Notes
- Boost flavor by using fresh garden peas when in season for a sweeter, more vibrant taste profile.
- Swap regular bacon with turkey bacon or vegetarian bacon bits to accommodate different dietary preferences and reduce saturated fat.
- Enhance protein content by adding diced hard-boiled eggs or sunflower seeds for extra nutrition and interesting texture contrast.
- Maintain salad’s crispness by adding cheese and bacon just before serving to prevent ingredients from becoming soggy.
- Prep Time: 15 minutes
- Cook Time: 30 minutes
- Category: Lunch, Appetizer, Snacks
- Method: Mixing
- Cuisine: American
Nutrition
- Serving Size: 6
- Calories: 250
- Sugar: 2g
- Sodium: 350mg
- Fat: 16g
- Saturated Fat: 4g
- Unsaturated Fat: 10g
- Trans Fat: 0g
- Carbohydrates: 22g
- Fiber: 5g
- Protein: 9g
- Cholesterol: 15mg
Marcus Hale
Founder & Recipe Storyteller
Expertise
Education
Holyoke Community College – HCC-MGM Culinary Arts Institute
Marcus grew up surrounded by maple trees, farm stands, and the smell of Sunday stew simmering on the stove. After earning his Culinary Arts Certificate from the HCC-MGM Culinary Arts Institute, he knew he didn’t want to work in fancy kitchens, he wanted to cook for real people.
At Whip Up Cook Up, Marcus is the guy turning memories into meals. His recipes are fast, full of flavor, and built for home cooks who want big taste without the drama.