Irresistible Cookie Monster Edible Cookie Dough Recipe for All
My cookie monster edible cookie dough craving hits hard sometimes, especially when I want something sweet without raw egg risks.
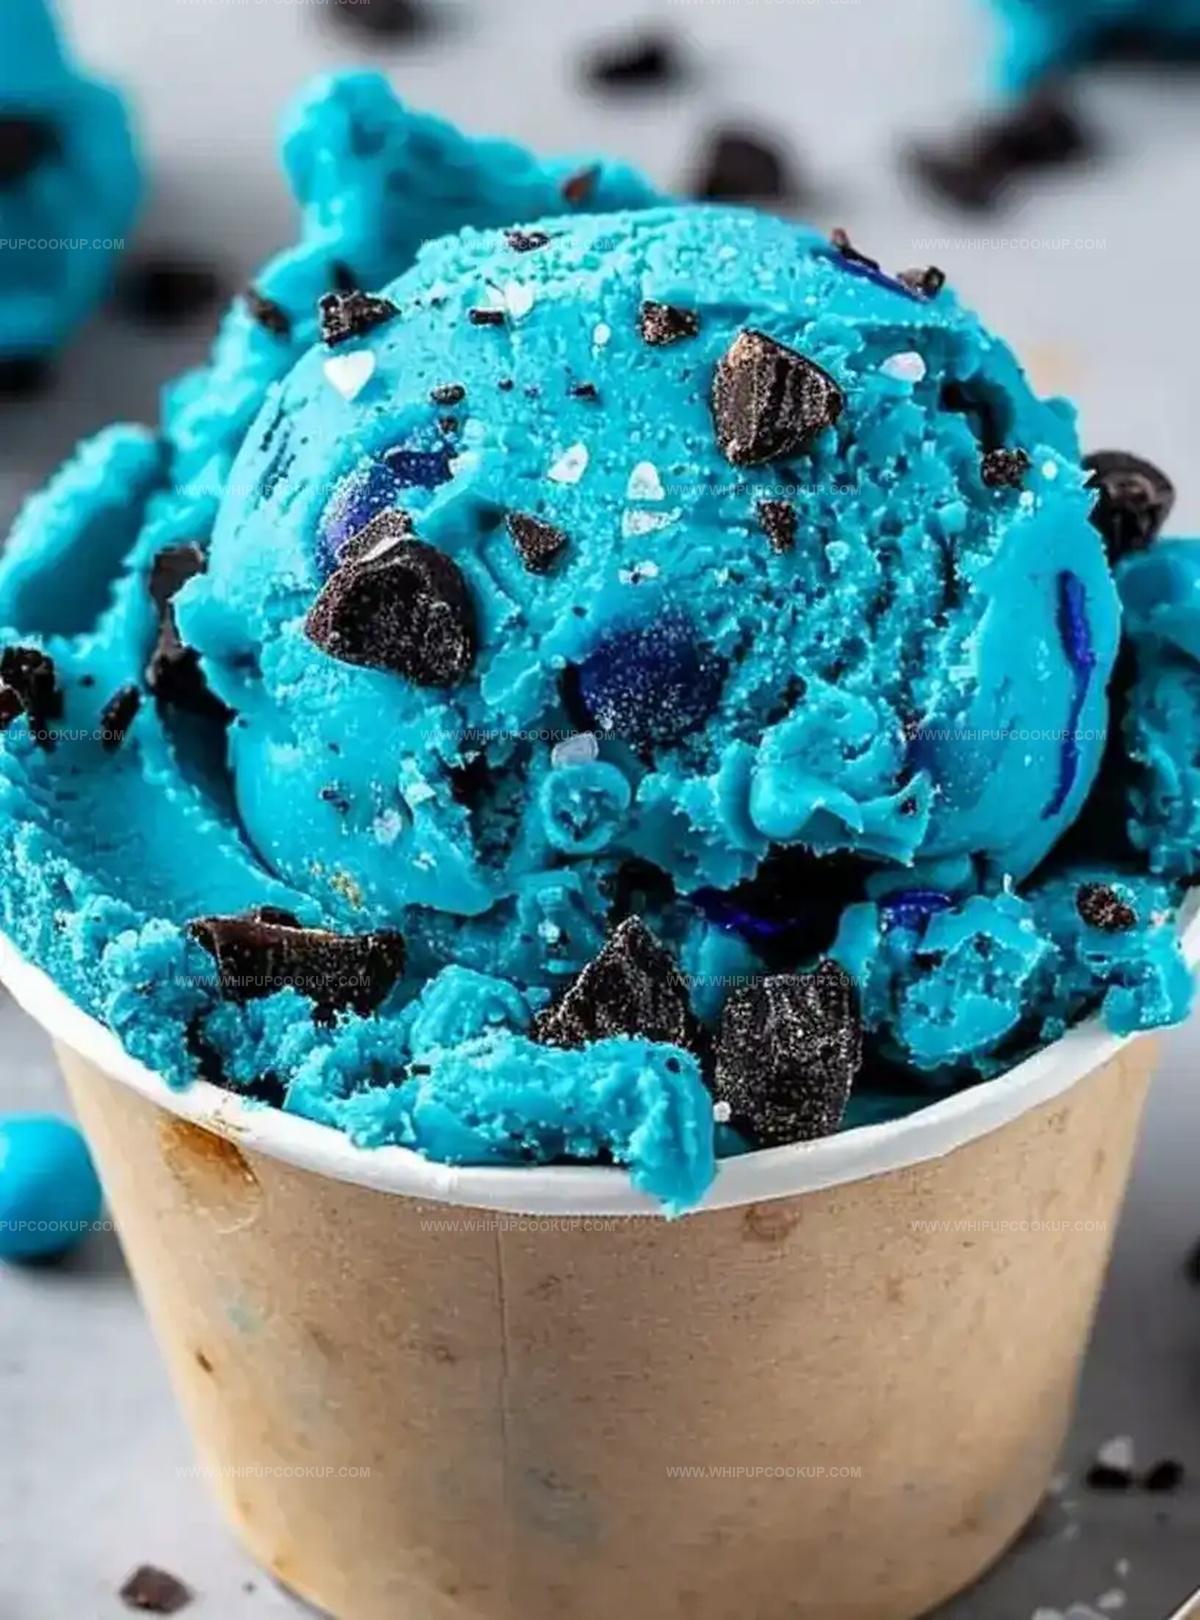
Chocolate chips scattered through blue-tinted dough make this treat a playful childhood memory reimagined.
Mixing becomes a delightful experiment with vibrant azure coloring and nostalgic flavors.
Soft, creamy textures promise pure indulgence without baking worries.
Sprinkled with colorful chocolate pieces, this recipe turns dessert into a whimsical experience.
Grab a spoon and let your inner monster celebrate deliciousness!
You’ll fall in love with this safe, irresistible confection that brings pure joy to every bite.
Cookie Monster Dough – Why It’s a Blast
What You Need for Cookie Monster Dough
Main Ingredients:Flavor Enhancers:Color and Mix-Ins:Whipping Up Edible Cookie Dough Easily
Step 1: Transform Flour into Safe Goodness
Crank up your oven to 350°F.
Spread flour across a baking sheet like a soft blanket.
Bake for 5-7 minutes to zap any unwelcome bacteria.
Let the flour cool down completely before diving in.
Step 2: Create a Creamy Sugar Base
Grab a big mixing bowl and blend:Whip these ingredients until they look light and fluffy like a cloud.
Pour in milk and vanilla extract, stirring until everything hugs together perfectly.
Step 3: Build Your Dough Foundation
Gently mix in:Stir until the mixture transforms into a silky smooth dough that looks irresistible.
Step 4: Give Your Dough Cookie Monster’s Signature Look
Drop blue food coloring into the dough.
Swirl and mix until the color becomes a vibrant blue that screams Cookie Monster’s personality.
Add more drops if you want a deeper blue shade.
Step 5: Load Up with Delicious Surprises
Fold in these tasty treasures:Ensure these goodies are evenly distributed for maximum yumminess.
Step 6: Serve and Celebrate
Scoop the dough into bowls or roll into playful bite-sized balls.
Devour immediately or stash in the refrigerator for up to five days of sweet happiness.
Tricks for the Best Cookie Monster Treat
Stash and Reheat Cookie Dough Tips
Pair This Sweet Treat with Even More Fun
Creative Ideas for Cookie Monster Dough
FAQs
Heat-treating the flour is crucial to eliminate harmful bacteria like E. coli that can be present in raw flour, making it safe to eat without baking.
Absolutely! Feel free to swap mini chocolate chips with regular chocolate chips, white chocolate chips, or even chopped chocolate bars to customize your cookie dough.
Start with a small amount of blue food coloring and gradually add more until you achieve the desired Cookie Monster blue shade. Gel food coloring works best for intense, even color.
Yes! Kids will love helping mix the dough, adding chocolate chips, and creating their own Cookie Monster-inspired treat. Just supervise the heat-treating step with the oven.
Print
Cookie Monster Edible Cookie Dough Recipe
- Total Time: 15 minutes
- Yield: 8 1x
Description
Indulgent Cookie Monster Edible Cookie Dough brings childhood nostalgia and creamy blue delights to dessert lovers. Packed with chocolate chips and colored to match Sesame Street’s beloved character, you can now savor this playful treat without worry about raw eggs or flour risks.
Ingredients
Main Ingredients:
- 1 1/4 cups all-purpose flour (heat-treated)
- 1 cup mini chocolate chips
- 1 cup crushed oreo cookies (about 10 cookies)
Wet Ingredients:
- 1/2 cup (113 grams) unsalted butter (softened)
- 3/4 cup brown sugar (packed)
- 1/4 cup granulated sugar
- 1/4 cup milk (or non-dairy milk)
- 1 teaspoon vanilla extract
Flavor and Color Enhancers:
- 1/2 teaspoon salt
- Blue food coloring (gel works best)
Instructions
- Sanitize the flour by spreading it on a baking sheet and roasting at 350°F for 5-7 minutes, ensuring complete cooling before further use.
- In a spacious mixing vessel, whip softened butter with brown and granulated sugars until achieving a pillowy, aerated consistency.
- Incorporate milk and vanilla extract, blending thoroughly to create a uniform liquid mixture.
- Gradually introduce heat-treated flour and salt, stirring until a cohesive, smooth dough develops.
- Transform the dough’s appearance by incorporating blue food coloring, massaging until an even cerulean hue emerges.
- Gently fold mini chocolate chips and crushed Oreo cookies throughout the mixture, ensuring balanced distribution of crunchy elements.
- Present the dough in serving bowls or craft compact spherical portions for convenient nibbling.
- Consume immediately for optimal texture or preserve in refrigeration for up to five days, maintaining freshness and flavor integrity.
Notes
- Ensure flour is completely cooled after heat-treating to prevent bacterial growth and maintain dough texture.
- Softened butter is crucial for smooth, creamy consistency; let it sit at room temperature for 30 minutes before mixing.
- Use gel food coloring for more vibrant blue color without thinning the dough’s texture.
- For gluten-free version, substitute regular flour with heat-treated gluten-free flour blend to maintain recipe’s safety and taste.
- Prep Time: 10 minutes
- Cook Time: 5 minutes
- Category: Snacks, Desserts
- Method: Baking
- Cuisine: American
Nutrition
- Serving Size: 8
- Calories: 360
- Sugar: 24 g
- Sodium: 100 mg
- Fat: 17 g
- Saturated Fat: 10 g
- Unsaturated Fat: 7 g
- Trans Fat: 0 g
- Carbohydrates: 48 g
- Fiber: 1 g
- Protein: 3 g
- Cholesterol: 30 mg
Olivia Bennett
Recipe Developer & Culinary Educator
Expertise
Education
Schoolcraft College
With an Associate Degree in Culinary Arts from Schoolcraft College and a natural knack for teaching, Olivia Bennett’s all about making home cooking feel possible, even on your busiest day.
Her thing? Recipes that are budget-friendly, season-forward, and full of Southern warmth. Whether it’s a roasted veggie bowl or a five-ingredient skillet bake, Olivia makes sure it’s simple, satisfying, and something you’ll want to make again tomorrow.
When she’s not shooting step-by-step videos or testing spice blends, she’s out foraging, flipping through old cookbooks, or throwing laid-back dinner parties with a BYO-mason-jar theme.