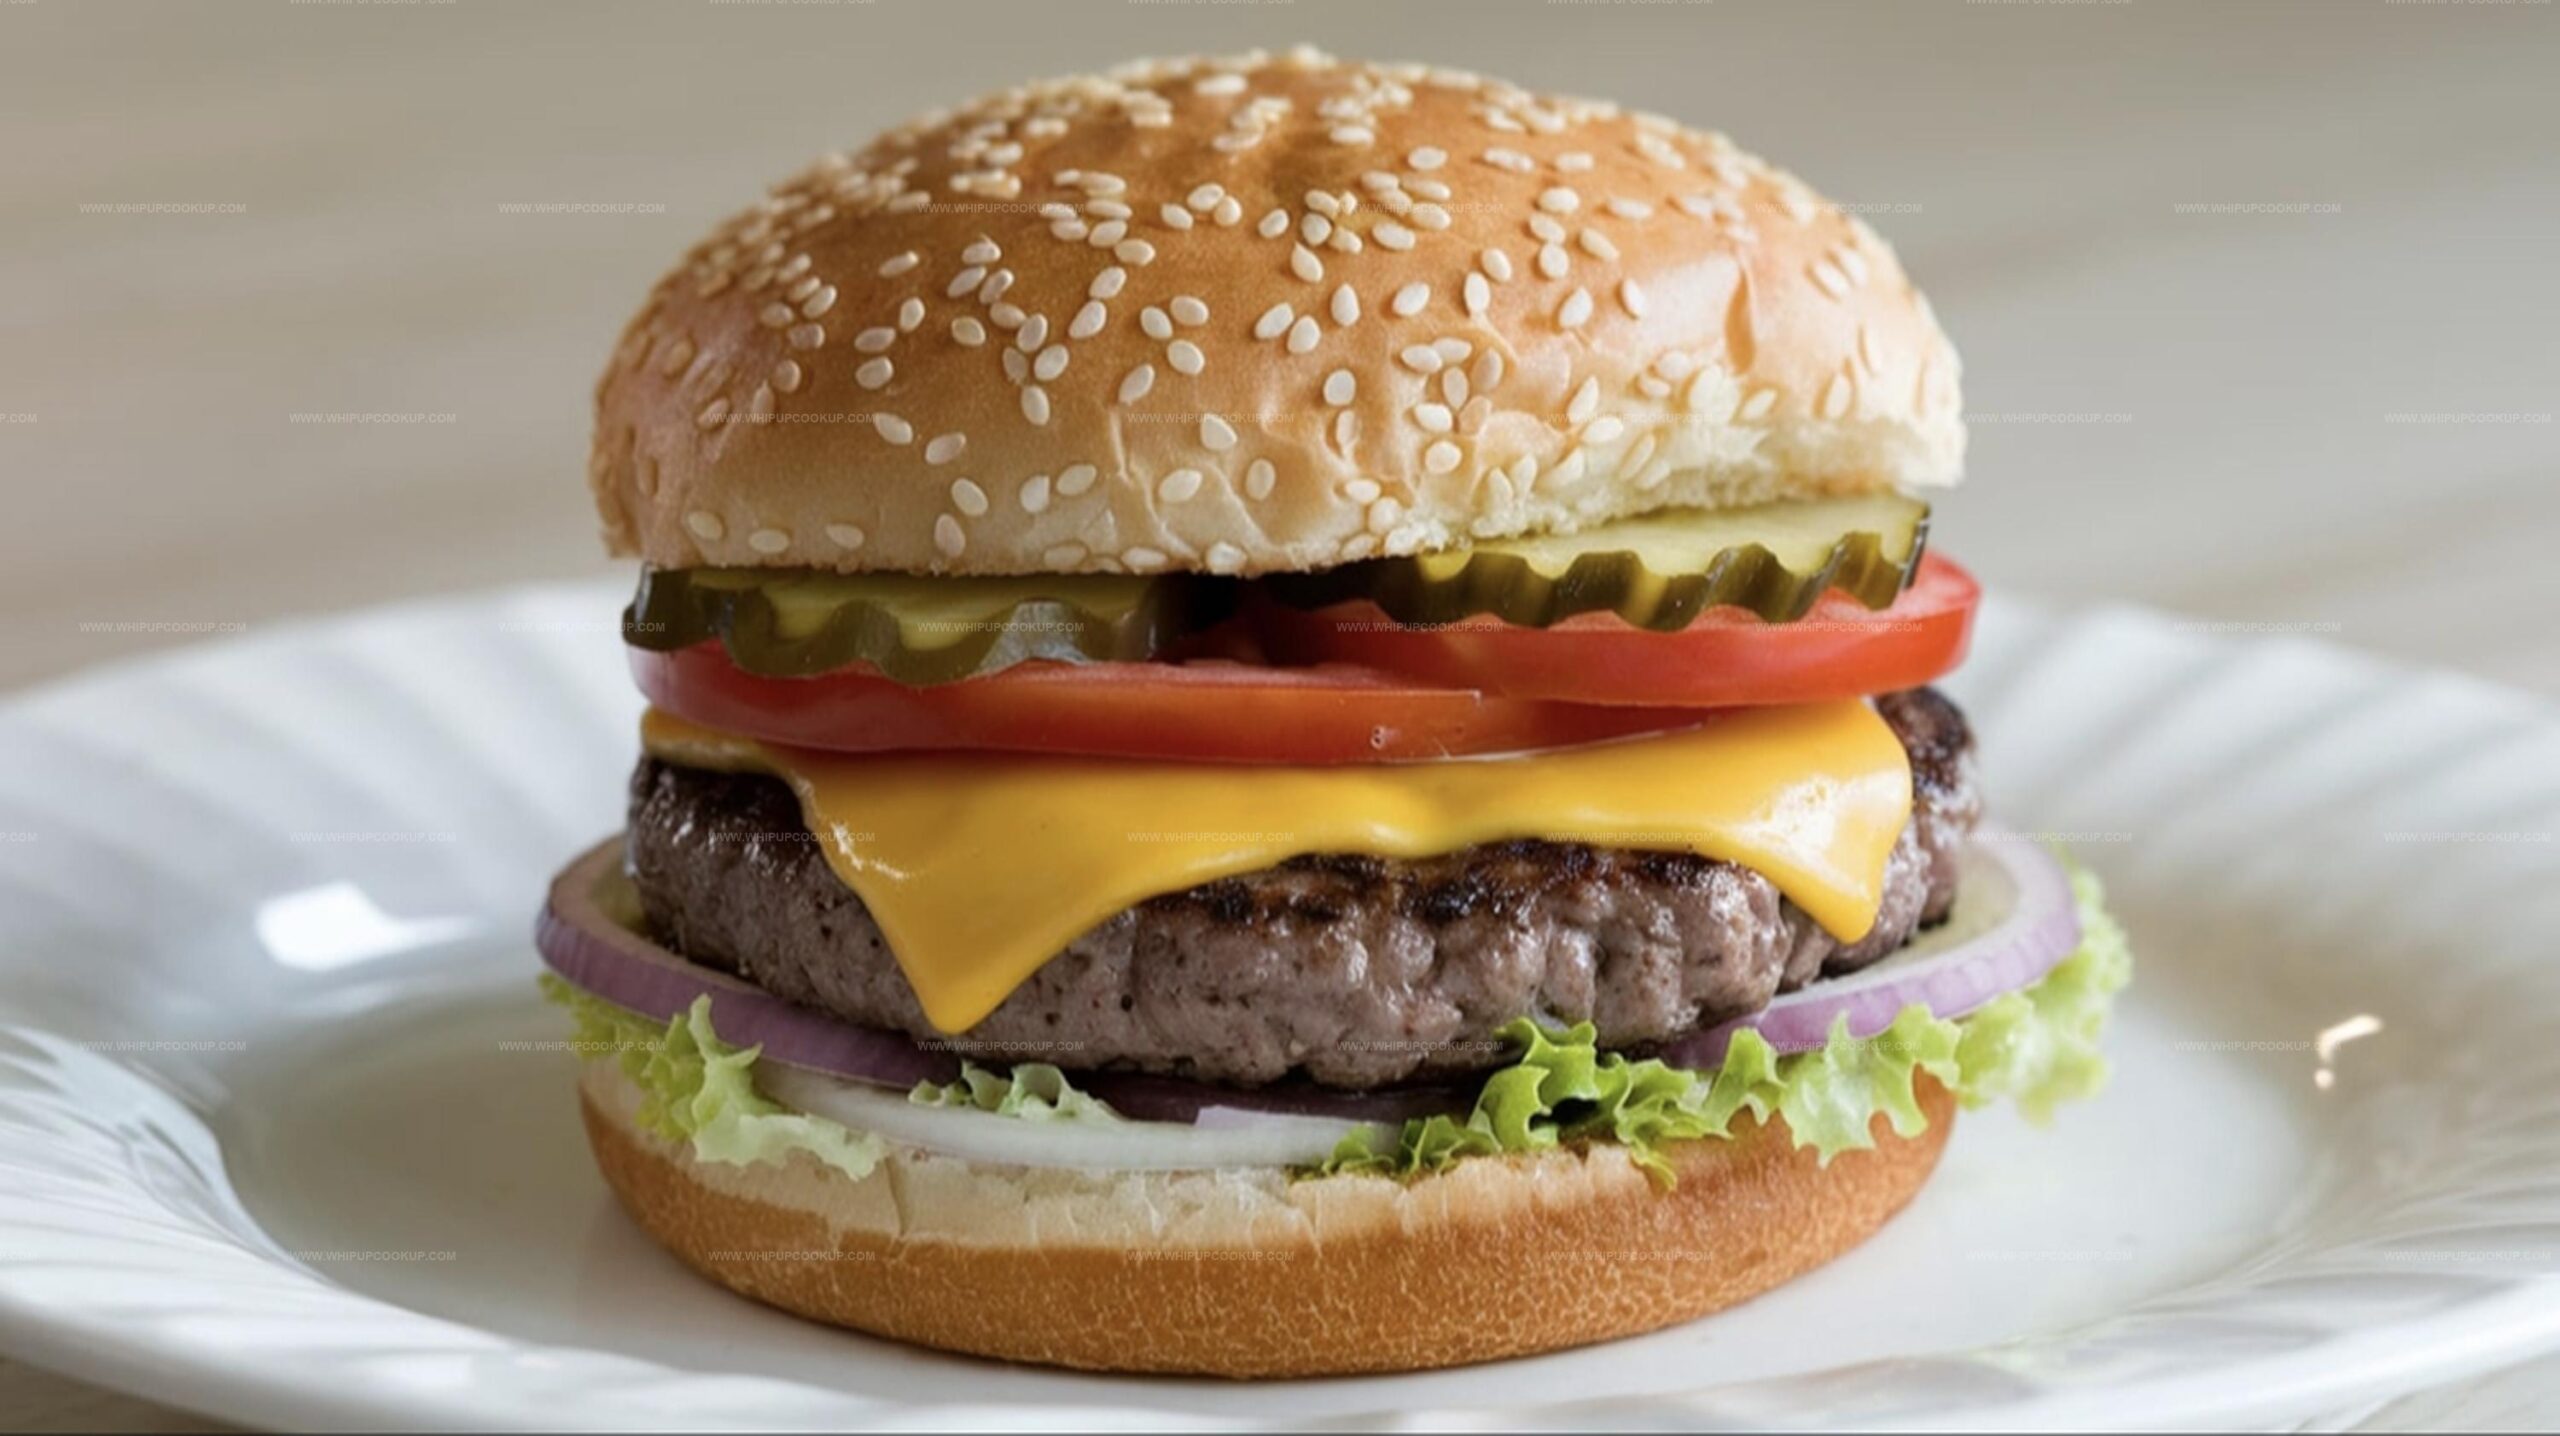
The Best Copycat Arby’s Beef & Cheddar Sandwich Recipe
Craving a mouthwatering copycat arby’s beef & cheddar sandwiches that brings restaurant magic right to your kitchen?
Passionate sandwich lovers know this classic combination never disappoints hungry crowds.
Soft onion rolls become the perfect canvas for succulent roast beef and melted cheese.
Recreating this iconic fast food favorite requires just a few simple ingredients and minimal kitchen skills.
Each bite promises a nostalgic flavor journey that transports you straight to your favorite drive-thru.
Weekend meal prep suddenly becomes an exciting culinary adventure with this crowd-pleasing recipe.
Grab your apron and get ready to impress everyone at the table with these irresistible sandwiches.
Why Copycat Arby’s Beef & Cheddar Sandwiches Satisfy Cravings
Arby’s Beef & Cheddar Copycat Ingredients
Main Protein:Bread:Cheese and Sauce:Cooking Fats:Optional Serving Sauce:Copycat Arby’s Beef & Cheddar Sandwiches Method
Step 1: Prepare the Meat
Grab a large skillet and warm it over medium heat. Add a splash of butter or oil to the pan. Gently place thinly sliced roast beef into the skillet, warming it carefully for just 1-2 minutes. Keep a close eye to prevent drying out the meat – you want it perfectly tender and warm.
Step 2: Toast the Bread
While the meat heats up, grab your slider buns or onion rolls. Lightly toast them until they develop a delicate golden crispness. This step adds a satisfying crunch and helps create a sturdy base for your sandwich.
Step 3: Create the Cheese Sauce
In a small saucepan, warm the cheddar cheese sauce over low heat. Stir occasionally to ensure smooth, even heating. The sauce should become silky and inviting, ready to pour over your beef.
Step 4: Build Your Sandwich
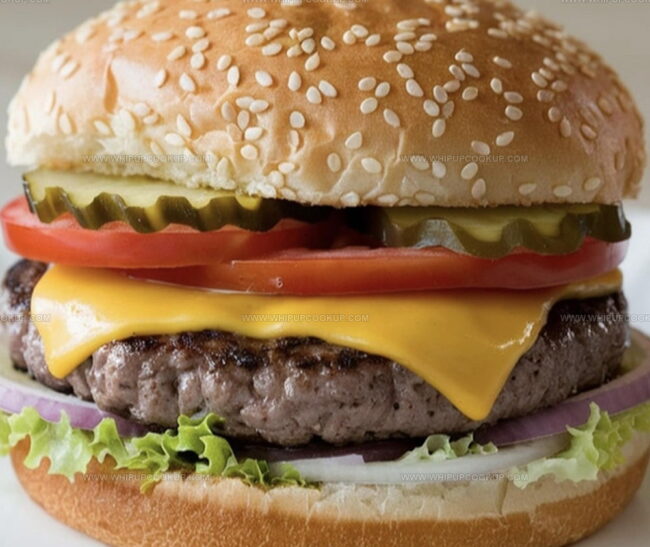
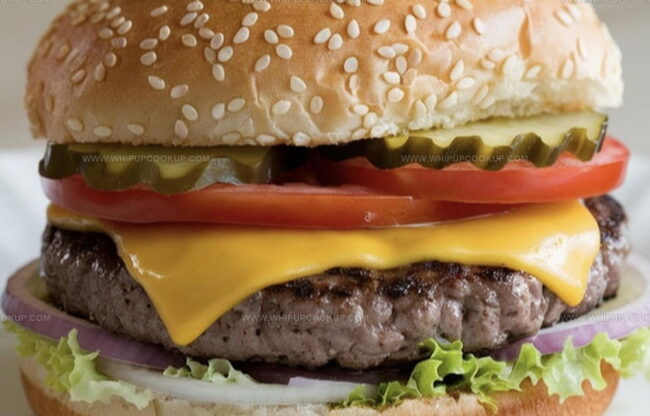
Assemble your masterpiece with these layers:Step 5: Serve and Devour
Place your completed sandwich on a plate. For an extra flavor boost, serve with a side of zesty Arby’s sauce for dipping. Enjoy immediately while everything is warm and delicious!
Tips for Recreating That Arby’s Beef & Cheddar Flavor
Save Copycat Arby’s Beef & Cheddar Sandwiches Right
What Complements Beef & Cheddar Sandwiches
Arby Sandwich Copycat Combos
FAQs
Warm the beef gently over medium heat for just 1-2 minutes. Avoid overcooking, which can dry out the meat and make it tough. Use minimal butter or oil and heat carefully to preserve its original moisture and texture.
While best served fresh, you can prep components in advance. Keep roast beef and cheese sauce separately refrigerated, then reheat gently right before assembling the sandwiches to maintain optimal flavor and texture.
French’s Classic Yellow Mustard is recommended, as it provides the traditional Arby’s flavor profile. However, you can substitute with a similar yellow mustard if that specific brand isn’t available.
No special equipment is required. A standard large skillet, small saucepan, and basic kitchen tools are sufficient to create these copycat Arby’s Beef & Cheddar sandwiches at home.
Print
Copycat Arby’s Beef & Cheddar Sandwiches Recipe
- Total Time: 25 minutes
- Yield: 8 1x
Description
Arby’s beef & cheddar sandwiches bring classic fast-food comfort straight to home kitchens with savory roast beef and melted cheddar cheese. Hearty meat piled high on warm onion rolls creates a nostalgic meal you’ll crave again and again.
Ingredients
Meat:
- 1 pound (1 lb) thinly sliced roast beef
Bread:
- 8 slider buns or onion rolls
Condiments and Cheese:
- 1 packet French’s Classic Yellow Mustard
- 1 packet Arby’s Sauce
- 1 cup cheddar cheese sauce
- 1 tablespoon (15 milliliters) butter or oil
Instructions
- Prepare the meat by gently warming thin slices of roast beef in a skillet with a touch of butter or oil, ensuring the meat remains tender and doesn’t dry out.
- Simultaneously, lightly toast the slider buns or onion rolls to create a crisp foundation for the sandwich.
- Carefully heat the cheddar cheese sauce in a small saucepan, stirring occasionally to maintain a smooth, creamy consistency.
- Apply a delicate layer of yellow mustard across the bottom half of each toasted bun, creating a tangy base.
- Layer the warmed roast beef generously atop the mustard-coated bun, ensuring even coverage.
- Cascade the warm, velvety cheddar cheese sauce over the beef, allowing it to slightly drip down the sides.
- Crown the sandwich with the top half of the toasted bun, pressing gently to meld the flavors.
- Serve the sandwiches immediately, optionally accompanying them with Arby’s Sauce for an extra flavor dimension and dipping experience.
Notes
- Keep roast beef slightly pink and moist by warming it quickly over medium heat, avoiding prolonged cooking that can make it tough and dry.
- Lightly toast buns to create a crispy texture that prevents sogginess and provides a sturdy base for sandwich layers.
- Stir cheese sauce frequently while heating to maintain a smooth, creamy texture without scorching or separating.
- Use yellow mustard sparingly to add tangy flavor without overwhelming the beef and cheese’s rich taste.
- Prep Time: 10 minutes
- Cook Time: 15 minutes
- Category: Lunch, Dinner, Snacks
- Method: Sautéing
- Cuisine: American
Nutrition
- Serving Size: 8
- Calories: 320
- Sugar: 2 g
- Sodium: 980 mg
- Fat: 14 g
- Saturated Fat: 7 g
- Unsaturated Fat: 5 g
- Trans Fat: 0 g
- Carbohydrates: 30 g
- Fiber: 1 g
- Protein: 18 g
- Cholesterol: 50 mg
Marcus Hale
Founder & Recipe Storyteller
Expertise
Education
Holyoke Community College – HCC-MGM Culinary Arts Institute
Marcus grew up surrounded by maple trees, farm stands, and the smell of Sunday stew simmering on the stove. After earning his Culinary Arts Certificate from the HCC-MGM Culinary Arts Institute, he knew he didn’t want to work in fancy kitchens, he wanted to cook for real people.
At Whip Up Cook Up, Marcus is the guy turning memories into meals. His recipes are fast, full of flavor, and built for home cooks who want big taste without the drama.