The Fluffiest Cotton Candy Cookies Recipe Ever Made
Sweet memories of childhood carnivals spark this whimsical cotton candy cookies adventure that promises pure delight.
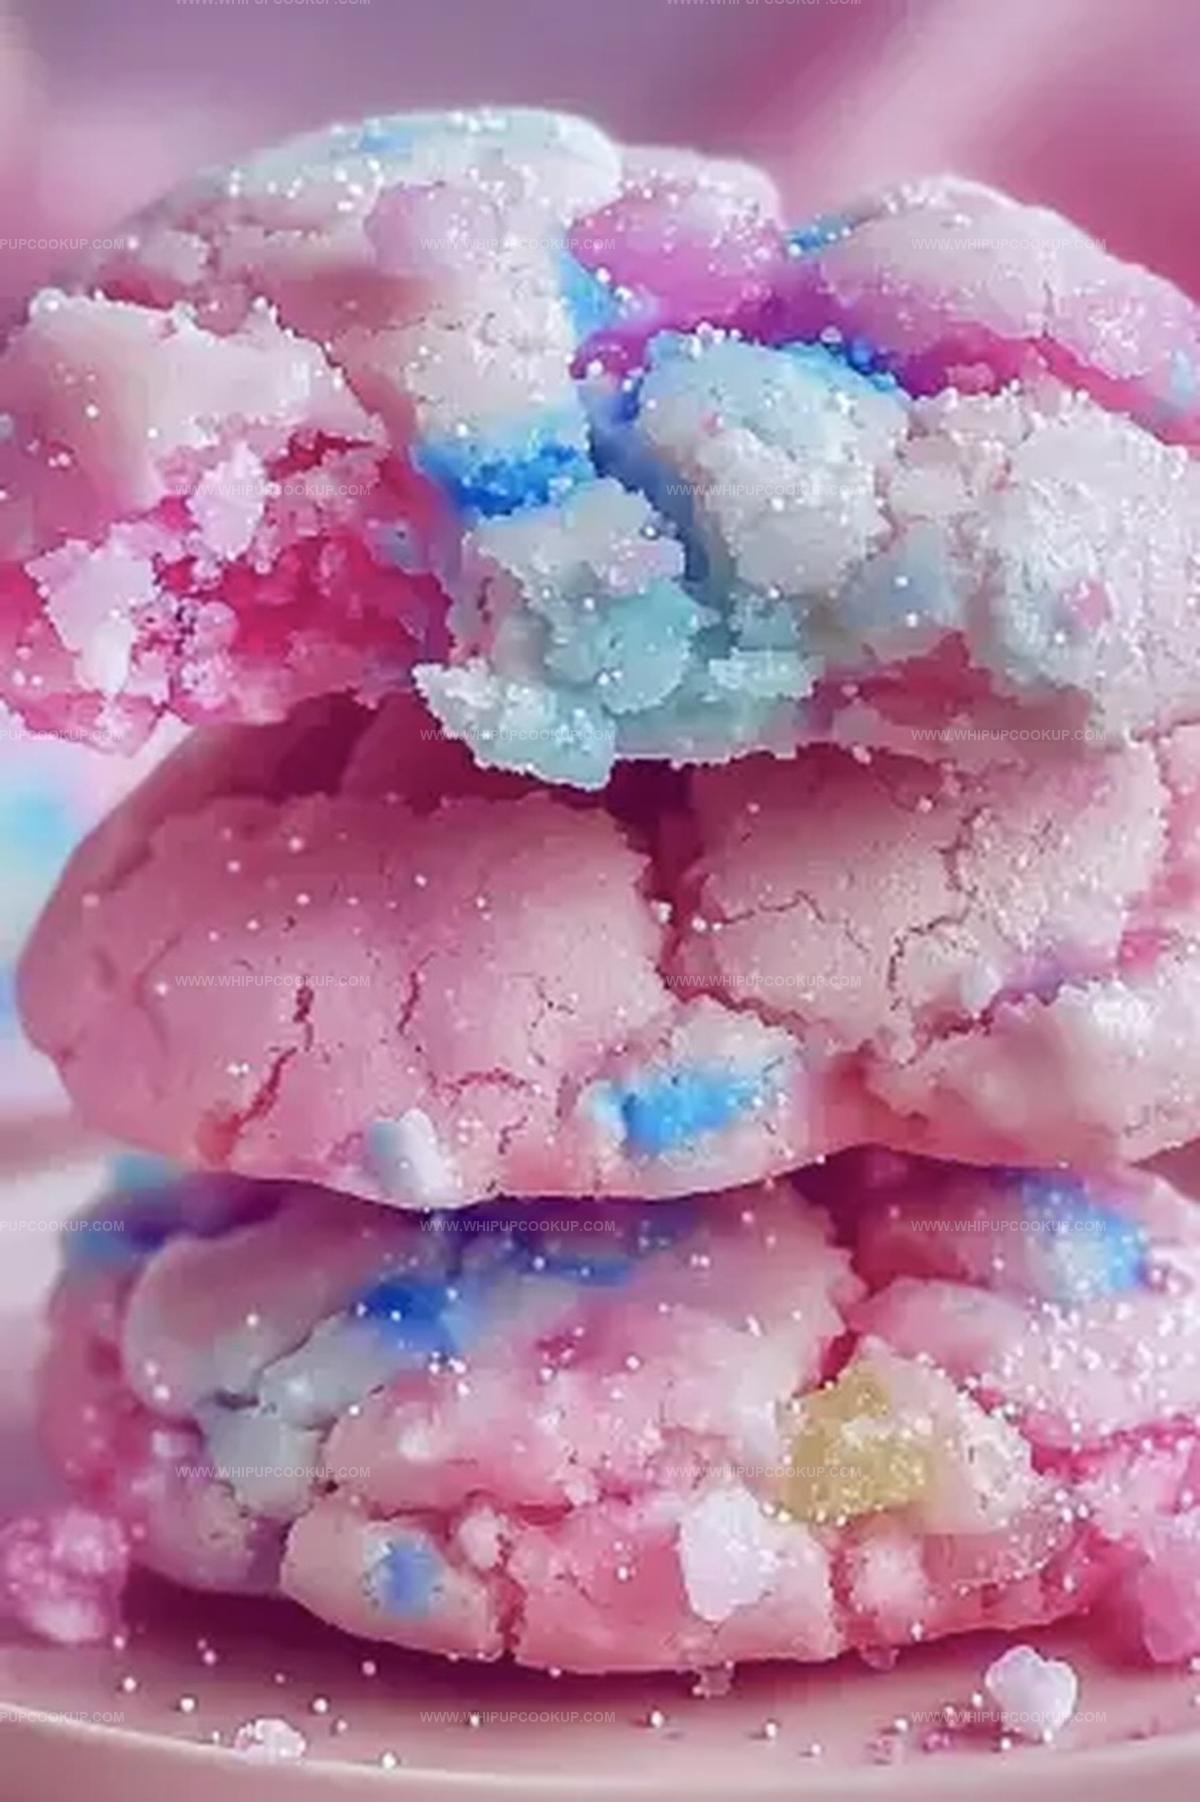
Pastel-colored treats blend nostalgic fairground magic with classic baking charm.
Soft, pillowy textures melt like sugary clouds on your palate.
Delicate hints of sugary sweetness dance through each delectable bite.
Kids and adults alike will fall in love with these playful, melt-in-your-mouth confections.
Baking becomes an enchanting experience that connects generations through simple, joyful ingredients.
Prepare to embark on a magical culinary journey that transforms ordinary moments into extraordinary memories.
More to Love in These Cotton Candy Cookies
Cotton Candy Cookies Ingredient Breakdown
Main Ingredients:
Wet Ingredients:Dry Ingredients:Specialty Ingredients:Cotton Candy Cookies Recipe Steps
Step 1: Warm Up The Oven
Crank your oven to a toasty 350°F. Cover a baking sheet with parchment paper for easy cookie removal.
Step 2: Whip Butter And Sugar
In a big mixing bowl, blend softened butter and sugar until they transform into a fluffy cloud-like mixture.
Step 3: Add Wet Ingredients
Pour in the egg and vanilla extract. Mix thoroughly until everything combines smoothly.
Step 4: Prepare Dry Ingredients
In a separate bowl, whisk together:Step 5: Create Cookie Dough
Slowly incorporate dry ingredients into the wet mixture. Stir until a soft dough emerges.
Step 6: Add Magical Touches
Gently fold in:Mix until the dough gets a dreamy pink color.
Step 7: Shape Cookie Rounds
Scoop dough into small balls. Place them on the prepared baking sheet with some space between each. Press down gently with a fork to create classic cookie ridges.
Step 8: Bake To Perfection
Slide the baking sheet into the oven. Bake for 10-12 minutes until edges turn golden brown.
Step 9: Cool And Decorate
Let cookies rest on the baking sheet for a few minutes. Transfer to a cooling rack. Optional: Top each cookie with a wispy piece of cotton candy for extra whimsy.
Cotton Candy Cookie Hints That Work
Cotton Candy Cookies Save Some For Later
Cotton Candy Cookies Enjoyment Tips
Cotton Candy Cookies: Colorful Swaps to Try
FAQs
Cotton candy bits are small, crushed pieces of cotton candy that add a sweet, unique flavor and texture to the cookies. They’re usually store-bought or can be made by breaking down fresh cotton candy into smaller pieces.
While regular sugar won’t provide the same flavor, you can substitute with cotton candy flavored sugar or add a few drops of cotton candy flavoring to maintain the signature taste. The cotton candy bits are key to creating the distinctive flavor profile of these cookies.
The pink food coloring is optional but helps create the playful, cotton candy-inspired look. If you skip it, the cookies will still taste great but won’t have the characteristic pink color associated with cotton candy.
Fold the cotton candy bits gently into the dough just before baking, and avoid overmixing. The quick baking time helps prevent complete melting, leaving small pockets of sweet flavor throughout the cookies.
Print
Cotton Candy Cookies Recipe
- Total Time: 40 minutes
- Yield: 24 1x
Description
Sweet cotton candy cookies bring carnival magic right into your kitchen, offering a whimsical twist on classic desserts. Nostalgic flavors and playful pink swirls create an irresistible treat you’ll want to share with friends and family.
Ingredients
Main Ingredients:
- 2 1/4 cups all-purpose flour
- 1 1/4 cups granulated sugar
- 1/2 cup unsalted butter, room temperature
Wet Ingredients:
- 1 egg
- 1/4 cup buttermilk
- 1 teaspoon cotton candy flavoring
- 1 drop soft pink gel food coloring
- 1 drop sky blue gel food coloring
Leavening and Seasoning:
- 3/4 teaspoon baking soda
- 1/2 teaspoon baking powder
- 1/4 teaspoon salt
Instructions
- Prepare the kitchen workspace by preheating the oven to 350°F (177°C) and lining baking sheets with parchment paper.
- Create a creamy base by thoroughly blending granulated sugar and unsalted butter until the mixture achieves a light, airy consistency.
- Whisk together buttermilk, egg, and cotton candy flavoring in a separate vessel to create a smooth, fragrant liquid mixture.
- Gradually incorporate the liquid ingredients into the butter mixture, stirring until completely integrated.
- Sift together flour, baking soda, salt, and baking powder in a separate bowl to ensure even distribution of dry ingredients.
- Carefully fold the dry ingredients into the wet mixture, stirring minimally to prevent overworking the dough.
- Separate the dough into two equal portions, then transform each section using gel food coloring – one in vibrant pink, the other in electric blue.
- Gently intertwine the colored doughs, creating a mesmerizing marbled pattern that hints at the cotton candy inspiration.
- Portion the swirled dough onto prepared baking sheets, using a light touch to flatten each cookie slightly.
- Bake for 6-10 minutes, watching carefully until the cookie edges develop a golden-brown hint of caramelization.
- Allow cookies to rest on the baking sheet for 5 minutes, then transfer to a wire rack for complete cooling.
- Prepare the buttercream by whipping room-temperature butter until silky and smooth.
- Gradually introduce confectioners’ sugar, beating until the mixture becomes light and voluminous.
- Enhance the buttercream with cotton candy flavoring, then divide and tint half pink and half blue to match the cookie’s color scheme.
- Once cookies are completely cool, artfully pipe or spread the colored buttercream to complete the whimsical cotton candy cookie experience.
Notes
- Swirl technique matters most when creating the marbled cookie effect, gently fold colors without overmixing to maintain distinct pink and blue swirls.
- Cotton candy flavoring can be substituted with vanilla extract for a milder taste, ensuring the cookie remains delightful for those sensitive to intense flavors.
- Chill the dough for 30 minutes before baking to prevent excessive spreading and maintain the cookies’ shape, resulting in a more uniform and professional appearance.
- For gluten-free options, replace all-purpose flour with a 1:1 gluten-free baking blend, ensuring the texture remains soft and tender without compromising taste.
- Prep Time: 30 minutes
- Cook Time: 10 minutes
- Category: Desserts, Snacks
- Method: Baking
- Cuisine: American
Nutrition
- Serving Size: 24
- Calories: 140
- Sugar: 6 g
- Sodium: 50 mg
- Fat: 5 g
- Saturated Fat: 3 g
- Unsaturated Fat: 2 g
- Trans Fat: 0 g
- Carbohydrates: 22 g
- Fiber: 0 g
- Protein: 2 g
- Cholesterol: 20 mg
Marcus Hale
Founder & Recipe Storyteller
Expertise
Education
Holyoke Community College – HCC-MGM Culinary Arts Institute
Marcus grew up surrounded by maple trees, farm stands, and the smell of Sunday stew simmering on the stove. After earning his Culinary Arts Certificate from the HCC-MGM Culinary Arts Institute, he knew he didn’t want to work in fancy kitchens, he wanted to cook for real people.
At Whip Up Cook Up, Marcus is the guy turning memories into meals. His recipes are fast, full of flavor, and built for home cooks who want big taste without the drama.