
Sweet Cloud Cotton Candy Milkshake Recipe: A Fun Treat
Sweet summer memories bloom with every sip of this cotton candy milkshake that brings nostalgic carnival vibes straight to your kitchen.
The whimsical blend captures pure childhood joy in a frosty glass.
Soft pink swirls dance through creamy vanilla ice cream, creating a delightful treat that sparkles with sugary magic.
Pastel colors and a playful twist make this milkshake more than just a drink – it’s an experience.
Each velvety gulp transports you to sun-drenched fairgrounds and carefree moments of laughter.
Whip up this dreamy concoction in minutes and watch smiles bloom across faces.
One taste, and you’ll be transported back to the most delightful moments of pure, sugary bliss.
Why Cotton Candy Milkshakes Are So Sweet
What Goes into a Cotton Candy Milkshake
Main Ingredients:
Ice Cream: A creamy base that provides the rich and smooth texture of the milkshake.
Cotton Candy: The signature ingredient that gives the milkshake its unique and whimsical flavor.
Milk: The liquid component that helps blend the ingredients smoothly.
Supporting Ingredients:
Sweeteners:Color and Decoration:Preparation Accessories:How to Make a Cotton Candy Milkshake
Step 1: Blend First Layer
In a blender, combine vanilla ice cream, cotton candy pieces, sugar, and milk.
Choose pink or blue food coloring for your first layer.
Blend on high speed until the mixture becomes silky and smooth, creating a vibrant base for your milkshake.
Step 2: Decorate Glass Rims
Prepare glasses by moistening their edges and dipping them into sugar crystals.
This creates a sparkly, festive rim that elevates the visual appeal of your milkshake.
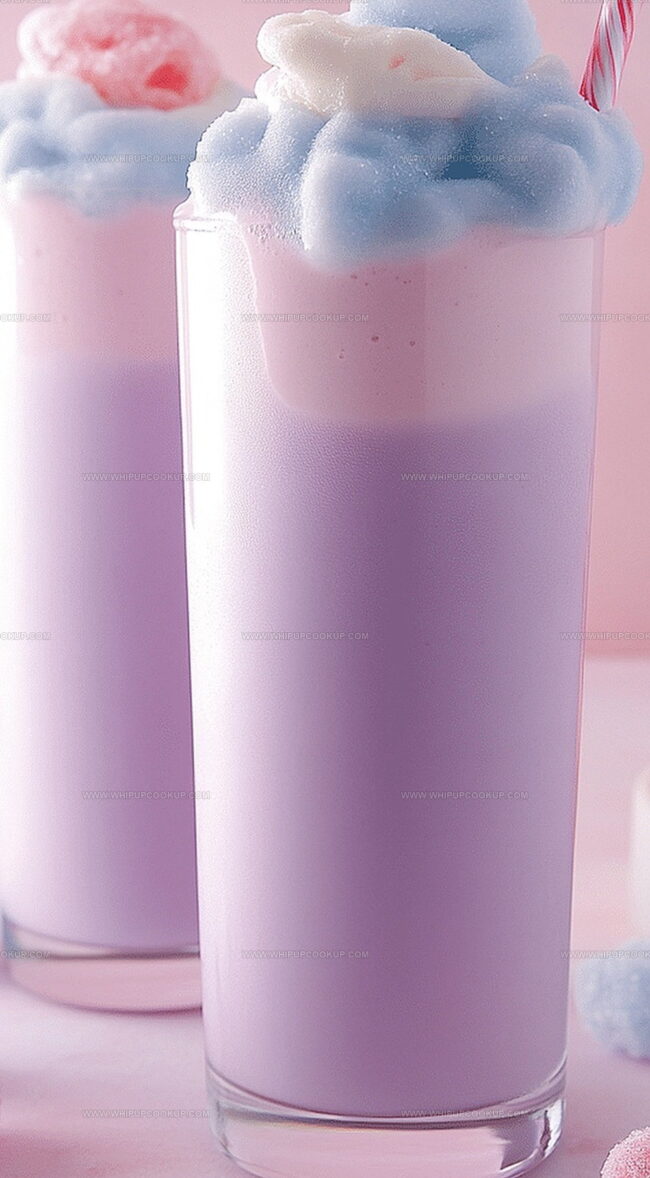
Step 3: Initial Pour
Fill glasses halfway with the first blended mixture.
Place glasses in the freezer to chill while preparing the second layer.
Step 4: Create Second Layer
Clean the blender, then repeat the previous blending process.
Use the opposite color food coloring from the first layer.
Blend until the mixture is completely smooth and consistent.
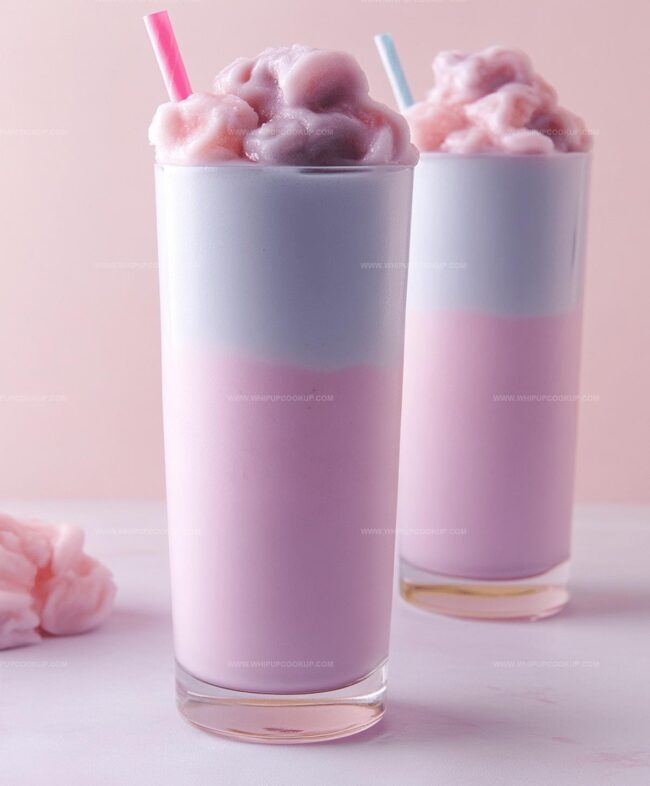
Step 5: Complete Layering
Remove glasses from the freezer and carefully pour the second color into the center of each glass.
The result will be a beautiful swirled effect with two distinct colors blending together.
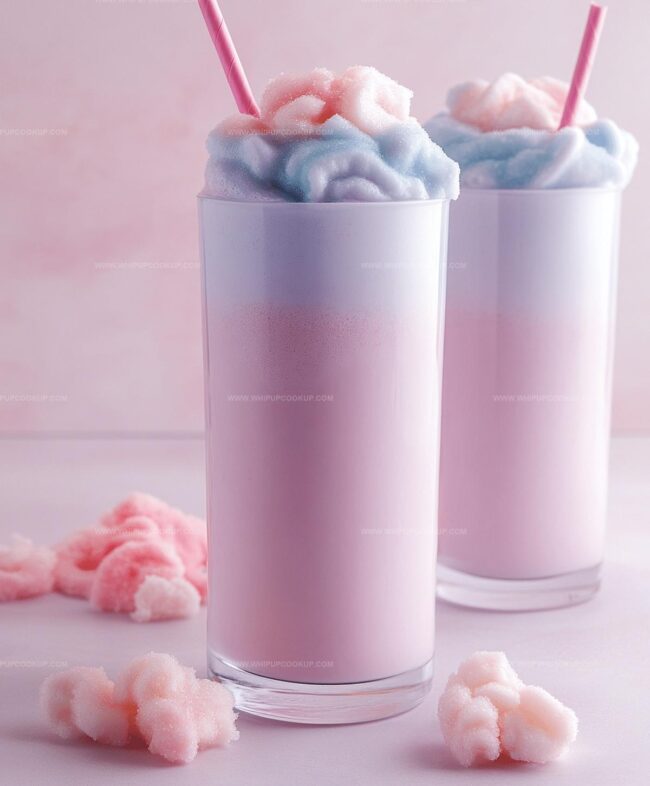
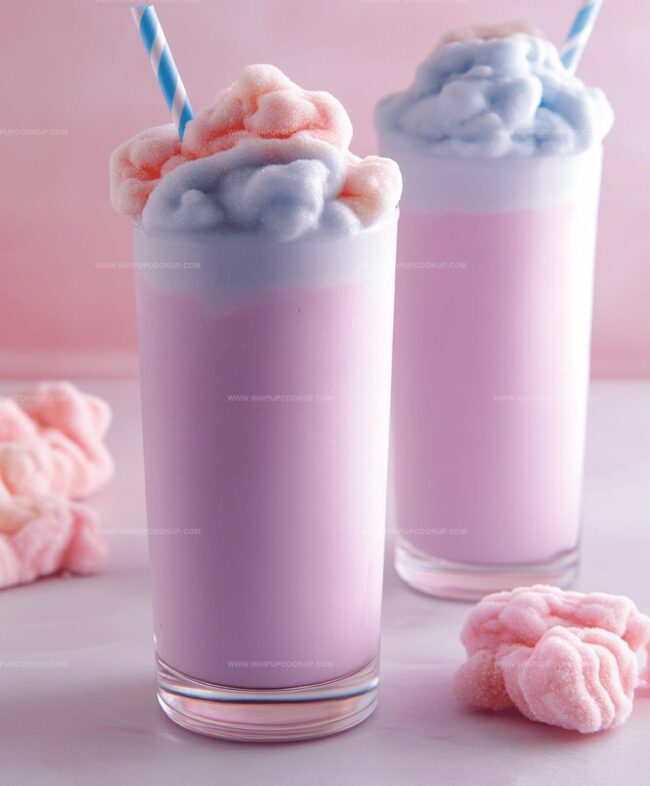
Step 6: Final Garnish
Crown each milkshake with a fluffy tuft of cotton candy.
This delightful topping adds a whimsical and playful finish to your colorful creation.
Pro Tips for Milkshake Magic
Storing and Reheating Cotton Candy Milkshakes
Pairing Ideas for Cotton Candy Milkshakes

Sweet Spins on Cotton Candy Milkshakes
FAQs
Cotton candy is crucial to this recipe, providing a unique flavor and texture. Without it, the milkshake loses its signature taste and essence.
Yes, you can experiment with other colors like purple, green, or even pastel shades. Just ensure the colors contrast nicely for the layered effect.
A standard home blender works perfectly fine. The key is to blend until smooth and ensure all ingredients are well mixed.
The recipe is already kid-friendly! Children typically love the colorful layers, sweet taste, and cotton candy topping. Just supervise them during blending.
Print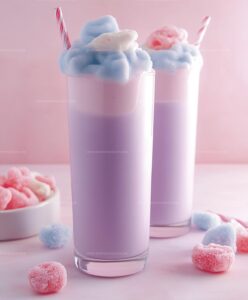
Cotton Candy Milkshake Recipe
- Total Time: 15 minutes
- Yield: 4 1x
Description
Sweet cotton candy milkshake dreams come alive with this playful dessert blending nostalgic carnival flavors and creamy indulgence. Cool pink swirls and whimsical toppings invite you to savor childhood memories in one delightful glass.
Ingredients
Main Ingredients:
- 1 tub vanilla ice cream
- 2 large containers cotton candy
- 3 cups milk (720 milliliters)
- 4 tablespoons sugar (60 milliliters)
Additional Ingredients:
- Pink food coloring
- Blue food coloring
Garnish (Optional):
- Blue or pink sugar crystals
Instructions
- Prepare the blender by scooping vanilla ice cream, tearing cotton candy into pieces, and adding sugar and milk. Select either pink or blue food coloring to create the first vibrant layer. Blend on high speed for 2 minutes until the mixture reaches a silky, smooth consistency.
- Optional glass decoration involves moistening glass rims and dipping them into sugar crystals for a festive, sparkling appearance. This step can be skipped without compromising the milkshake’s overall aesthetic.
- Carefully pour the first colored milkshake layer into glasses, filling them approximately halfway. Immediately transfer glasses to the freezer for a quick chilling period.
- Clean the blender thoroughly, then recreate the initial blending process using identical ingredients but with the alternate food coloring (blue if pink was used initially). Blend until achieving a smooth texture.
- Remove glasses from freezer and gently pour the second colored layer directly into the center of each glass, filling to the brim. This technique creates a stunning layered effect with colors swirling together.
- Crown each milkshake with a generous, fluffy tuft of cotton candy, transforming the drink into a whimsical and visually appealing dessert.
Notes
- Freeze glasses beforehand to maintain layer separation and create a stunning visual presentation with crisp color divisions.
- Choose high-quality vanilla ice cream with a rich, creamy base to enhance the overall milkshake smoothness and flavor depth.
- Substitute regular sugar with powdered sugar for smoother blending and a more integrated sweetness throughout the milkshake.
- Prep Time: 10 minutes
- Cook Time: 5 minutes
- Category: Breakfast, Desserts, Milkshake
- Method: Blending
- Cuisine: American
Nutrition
- Serving Size: 4
- Calories: 450
- Sugar: 20 g
- Sodium: 100 mg
- Fat: 15 g
- Saturated Fat: 9 g
- Unsaturated Fat: 6 g
- Trans Fat: 0 g
- Carbohydrates: 66 g
- Fiber: 0 g
- Protein: 8 g
- Cholesterol: 50 mg
Olivia Bennett
Recipe Developer & Culinary Educator
Expertise
Education
Schoolcraft College
With an Associate Degree in Culinary Arts from Schoolcraft College and a natural knack for teaching, Olivia Bennett’s all about making home cooking feel possible, even on your busiest day.
Her thing? Recipes that are budget-friendly, season-forward, and full of Southern warmth. Whether it’s a roasted veggie bowl or a five-ingredient skillet bake, Olivia makes sure it’s simple, satisfying, and something you’ll want to make again tomorrow.
When she’s not shooting step-by-step videos or testing spice blends, she’s out foraging, flipping through old cookbooks, or throwing laid-back dinner parties with a BYO-mason-jar theme.