The Best Cream Cheese Mints Recipe: Sweet Little Bites of Joy
Whipping up delectable cream cheese mints brings pure delight to any gathering.
Sweet treats like these sparkle with elegant simplicity.
Soft and creamy, these delicate confections melt beautifully on your tongue.
Guests adore these little gems that require minimal ingredients and minimal effort.
Perfect for weddings, showers, or intimate celebrations, they create instant magic.
Quick preparation means you can craft these delightful morsings in mere minutes.
Each bite promises a smooth, refreshing burst of sweetness that leaves everyone wanting more.
Mints That Are Soft, Sweet, and Full of Old-Fashioned Charm

Cream Cheese Mints Ingredient List
Main Ingredients:Flavor Enhancers:Optional Ingredients:Shaping Cream Cheese Mints for a Classic Celebration
Step 1: Whip Cream Cheese and Butter
Grab your stand mixer or a large mixing bowl with an electric mixer. Toss in softened cream cheese and butter. Whirl and beat until the mixture transforms into a silky, creamy dream that looks irresistibly smooth.
Step 2: Gently Incorporate Sugar
Dial down your mixer to low speed. Gradually shower in the powdered sugar, letting it dance into the creamy base. Mix until the sugar completely vanishes into the mixture, creating a uniform texture.
Step 3: Splash in Flavor Boosters
Pour in the peppermint and vanilla extracts. Stir these magical flavor enhancers until they’re fully blended, creating a tantalizing aroma that will make mouths water.
Step 4: Develop Perfect Dough Consistency
Continue adding the remaining powdered sugar. Keep mixing until the dough transforms into a perfect, non-sticky consistency. It should feel just like play-dough – soft, pliable, and easy to work with. If it’s too sticky, sprinkle in a bit more powdered sugar.
Step 5: Add Playful Color (Optional)
Want to make your mints pop? Divide the dough into separate portions. Drop in food coloring and knead until the color spreads evenly, creating a rainbow of minty delights.
Step 6: Shape Adorable Mints
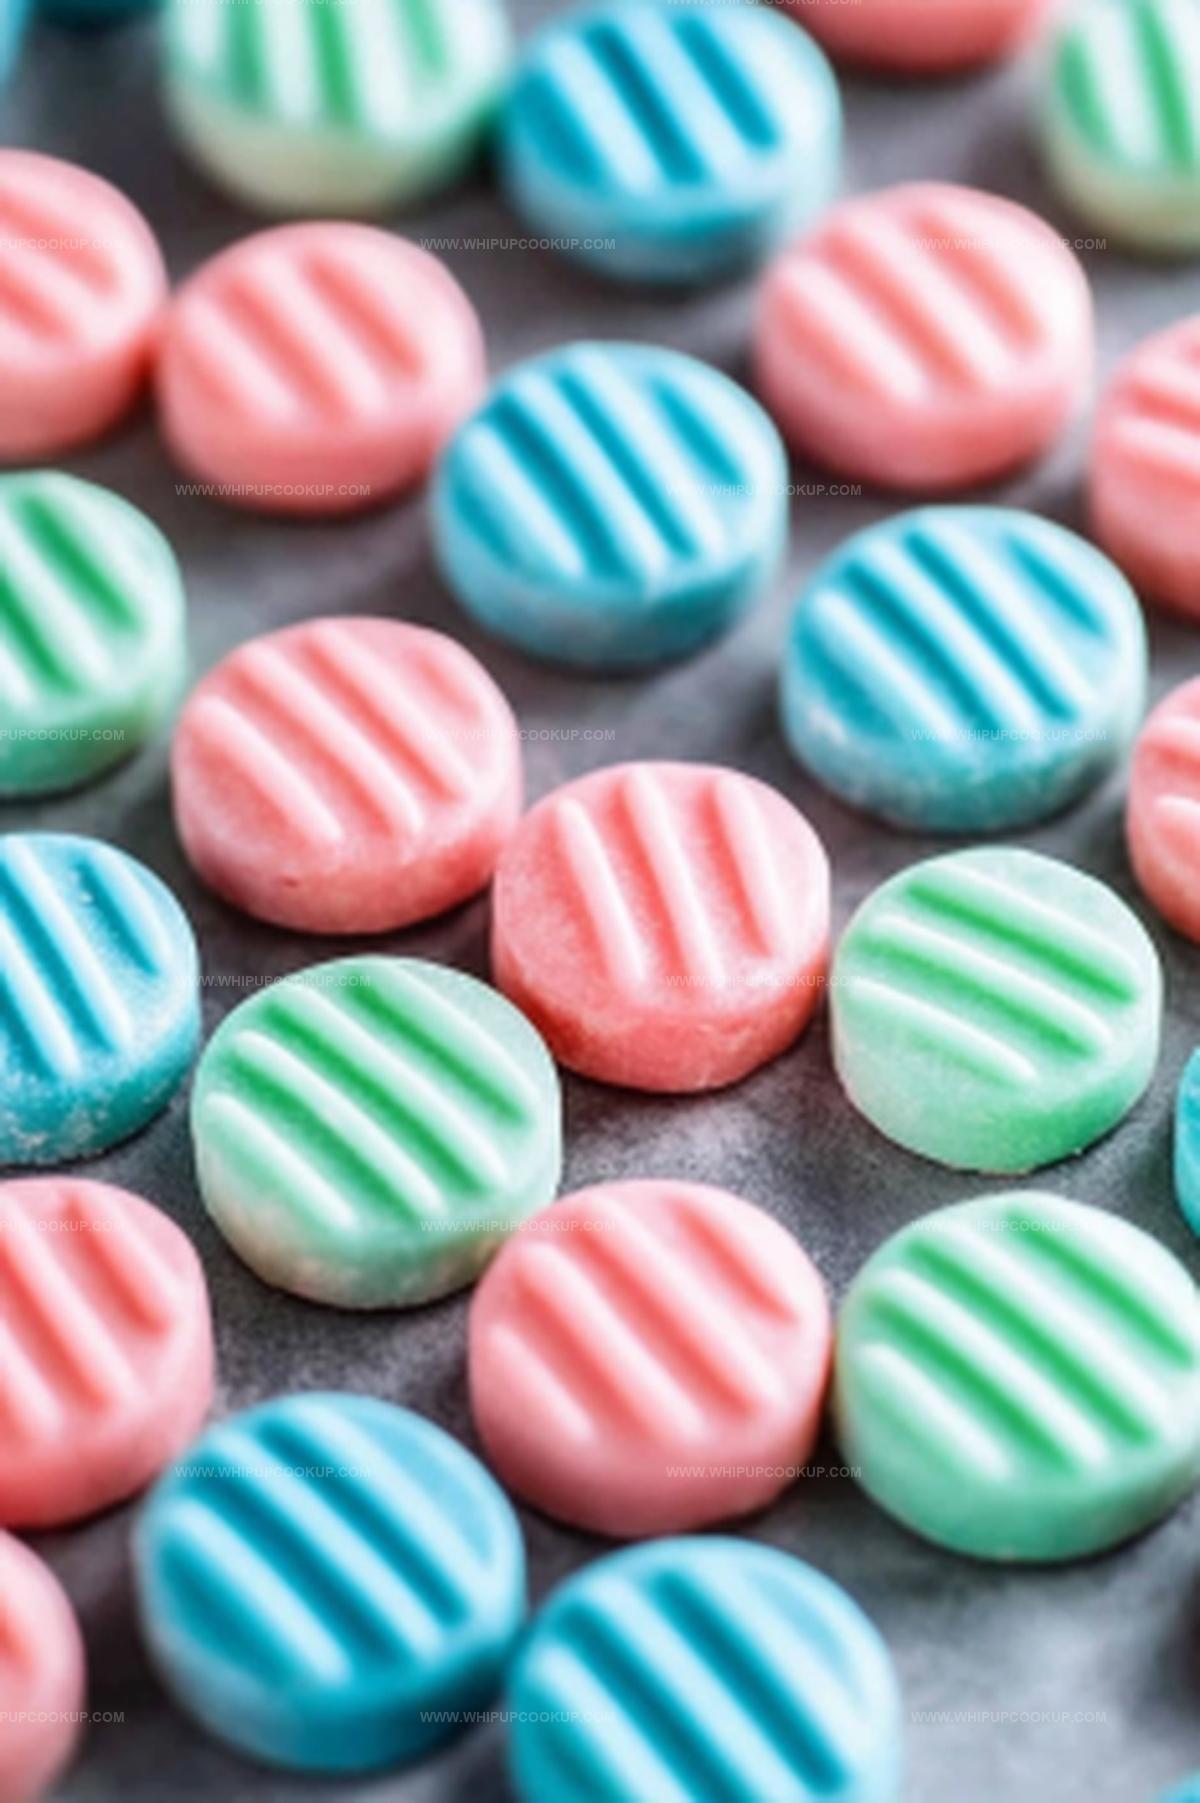
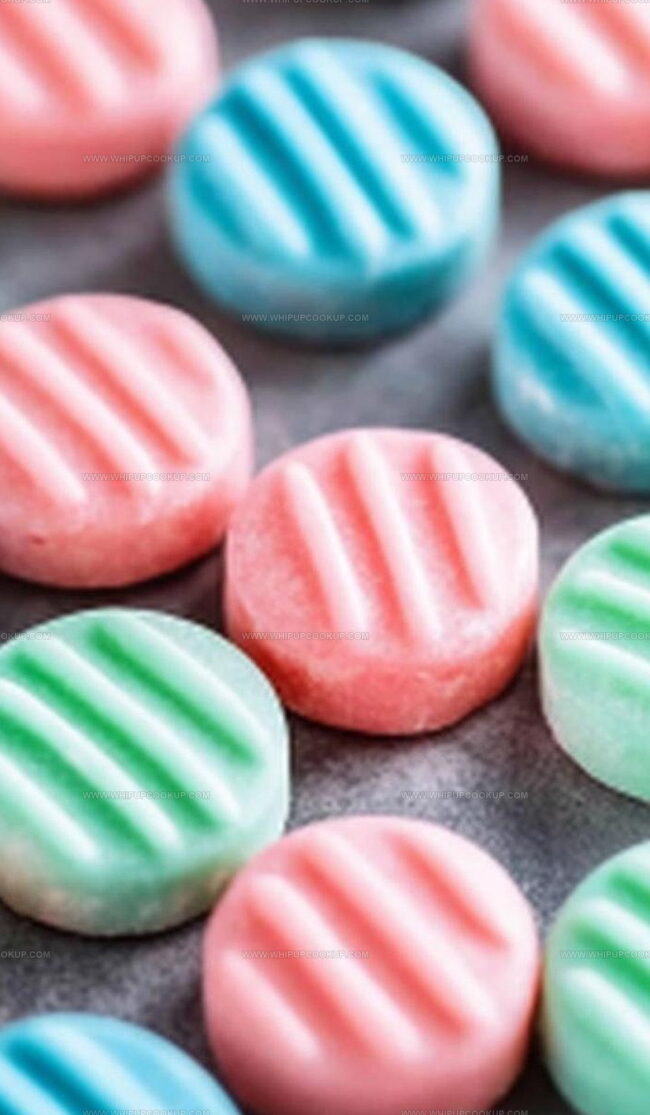
Roll tiny portions of dough between your palms, creating smooth, bite-sized balls. Place them on a wax-paper-lined baking sheet. Dip a fork in powdered sugar and gently press down on each mint, leaving a beautiful, classic imprint.
Step 7: Dry and Preserve
Let your mints rest at room temperature for several hours until they firm up. Store these delectable treats in an airtight container in the refrigerator, layering with wax paper to prevent sticking.
Cream Cheese Mint Tips That Capture Vintage Flavor
Store Cream Cheese Mints to Keep Them Soft and Fresh
Cream Cheese Mints Festive Pairings
Perfect Food and Drink Pairings for Cream Cheese Mints:Cream Cheese Mint Celebration Twists
FAQs
Yes, you can use a large mixing bowl and an electric hand mixer. Mix thoroughly until the ingredients are well combined and smooth.
After shaping, the mints need several hours to dry at room temperature. They’ll become firm and perfect for serving within 4-6 hours.
Not at all! These mints are super easy and require just a few basic ingredients. Even beginner bakers can make them successfully with simple mixing and shaping techniques.
Absolutely! You can freeze these mints for up to 2 months. Place them in a freezer-safe container with wax paper between layers to prevent sticking.
Print
Cream Cheese Mints Recipe
- Total Time: 3 hours 30 minutes
- Yield: 48 1x
Description
Sweet and delicate cream cheese mints offer a delightful confection perfect for weddings, showers, or special celebrations. Creamy, smooth, and simple to prepare, these elegant treats melt in your mouth with pure sugary bliss that guests will adore.
Ingredients
Main Ingredients:
- 4 ounces (113 grams) cream cheese, softened
- 4 cups (480 grams) powdered sugar
- 1 tablespoon (15 milliliters) salted butter, softened
Flavor Enhancers:
- 1/2 teaspoon (2.5 milliliters) peppermint extract
- 1/8 teaspoon (0.6 milliliters) vanilla extract
Decorative Elements:
- Food coloring (optional)
- Powdered sugar (for imprinting mints)
Instructions
- In a spacious mixing vessel, whisk softened cream cheese and butter until they transform into a velvety, homogeneous mixture with a luxurious texture.
- Introduce powdered sugar incrementally, using low mixer speed to gradually integrate the sweetener without creating a dusty cloud.
- Infuse the mixture with aromatic peppermint and vanilla extracts, stirring until the flavors harmonize seamlessly throughout the creamy base.
- Continue adding remaining powdered sugar, monitoring the consistency carefully. The goal is a malleable dough reminiscent of play-dough’s pliability – firm yet workable.
- For visual intrigue, partition the dough into separate sections if desiring multiple color variations. Gently incorporate food coloring, ensuring even distribution for a uniform appearance.
- Craft delicate spheres by rolling small portions between palms, creating uniform bite-sized morsels. Transfer each mint onto a wax-paper-lined tray, then gently imprint decorative patterns using a fork dusted with powdered sugar.
- Allow mints to air-dry at ambient temperature, permitting them to solidify over several hours. Preserve in a refrigerated, hermetically sealed container, strategically layering with wax paper to prevent adhesion.
Notes
- Perfectly soften cream cheese and butter at room temperature to ensure smooth, lump-free mixing without overbeating.
- Use gel food coloring for vibrant, intense colors that won’t alter the mint’s consistency or texture.
- Experiment with flavor variations by swapping peppermint extract with other extracts like almond, orange, or lavender for unique taste profiles.
- Create gluten-free versions by confirming powdered sugar is certified gluten-free, making these mints suitable for sensitive diets.
- Prep Time: 30 minutes
- Cook Time: 3 hours
- Category: Desserts, Snacks
- Method: Rolling
- Cuisine: American
Nutrition
- Serving Size: 48
- Calories: 47
- Sugar: 11 g
- Sodium: 12 mg
- Fat: 2 g
- Saturated Fat: 1 g
- Unsaturated Fat: 1 g
- Trans Fat: 0 g
- Carbohydrates: 11 g
- Fiber: 0 g
- Protein: 0.3 g
- Cholesterol: 5 mg
Marcus Hale
Founder & Recipe Storyteller
Expertise
Education
Holyoke Community College – HCC-MGM Culinary Arts Institute
Marcus grew up surrounded by maple trees, farm stands, and the smell of Sunday stew simmering on the stove. After earning his Culinary Arts Certificate from the HCC-MGM Culinary Arts Institute, he knew he didn’t want to work in fancy kitchens, he wanted to cook for real people.
At Whip Up Cook Up, Marcus is the guy turning memories into meals. His recipes are fast, full of flavor, and built for home cooks who want big taste without the drama.