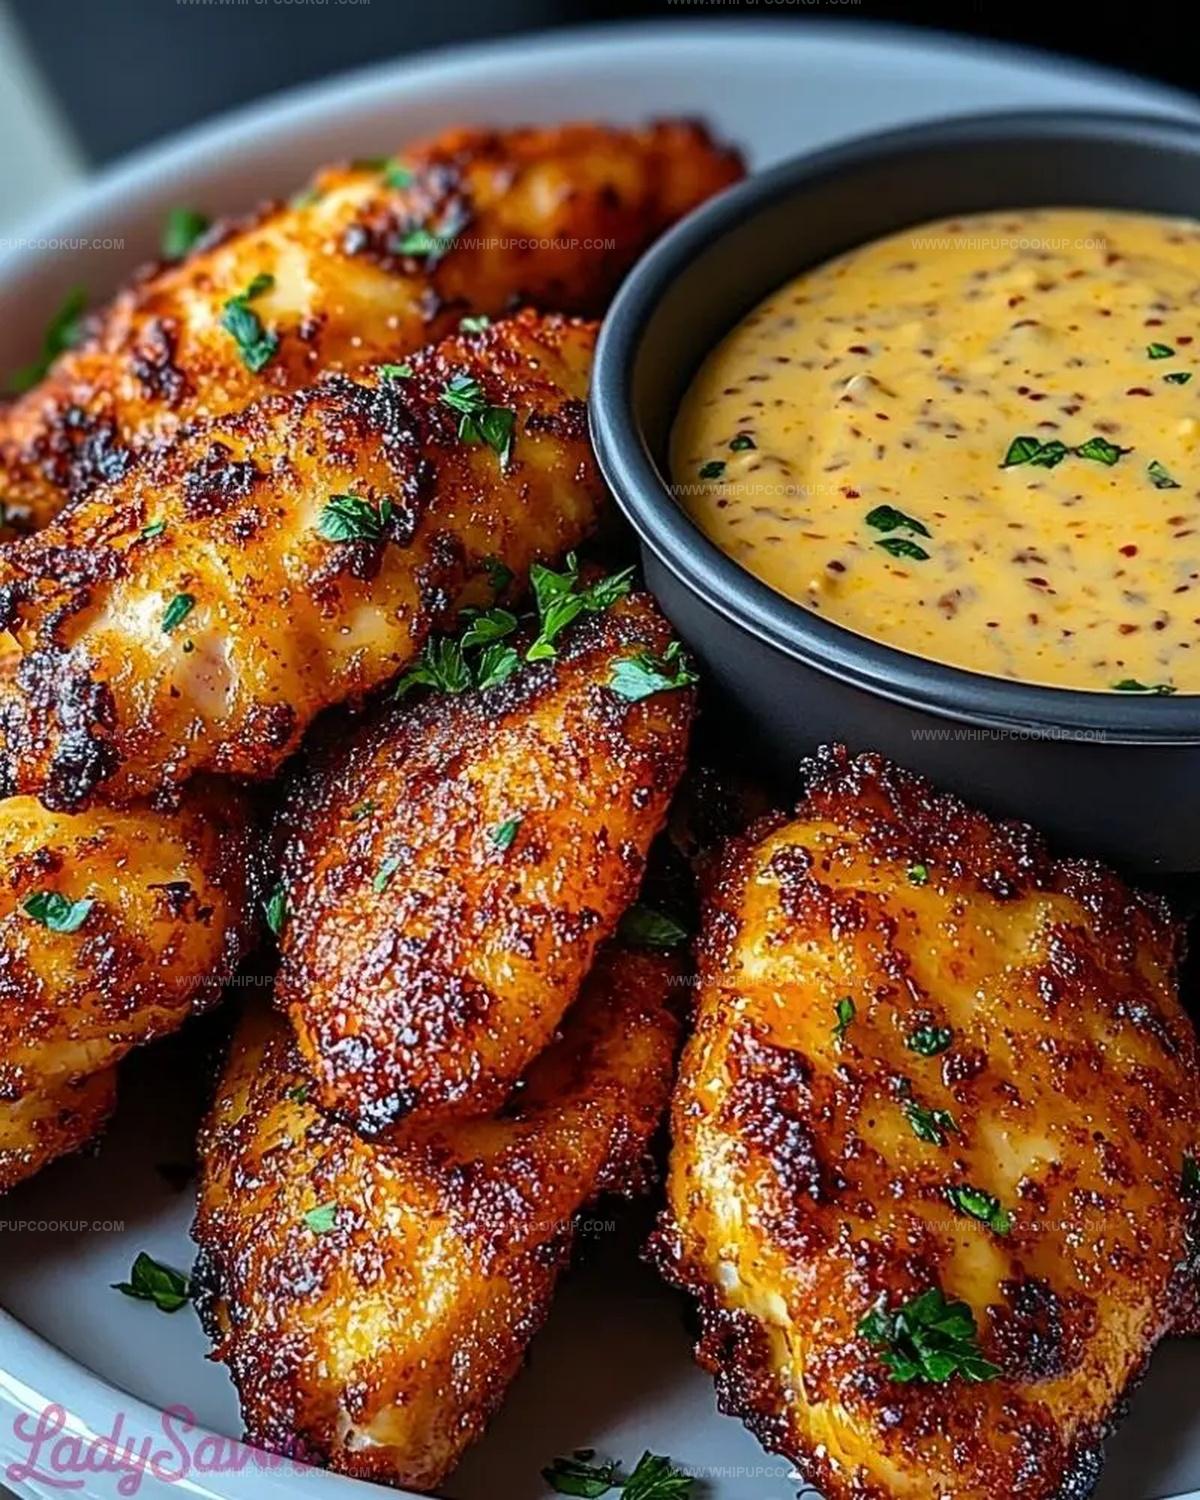
Juicy Crispy Baked Chicken Tenders with Creamy Mustard Dip Recipe
Crispy baked chicken tenders dance between crunchy perfection and juicy tenderness, promising a meal that breaks free from typical fried expectations.
Coating these protein-packed morsels requires smart techniques and minimal ingredients.
mustard dip adds a zesty companion that complements the golden-brown exterior.
Simple pantry staples become your secret weapons for crafting restaurant-quality chicken.
Breadcrumbs deliver that satisfying crunch without excess oil or heavy calories.
Each bite promises a delightful balance of textures that keep you coming back for more.
You’ll find this recipe becomes an instant crowd-pleaser that transforms weeknight dinners into memorable moments.
Tips For Perfect Crispy Chicken Tenders
Reheating Crispy Chicken Tenders Right
Dipping And Pairing Crispy Chicken Tenders
Ways To Change Up Crispy Chicken Tenders
FAQs
The wire rack helps air circulate around the chicken, ensuring all sides get crispy and preventing the bottom from becoming soggy, which creates an even, golden-brown coating.
While you can use regular breadcrumbs, panko creates a lighter, crunchier texture. Regular breadcrumbs will be denser and less crispy, so panko is recommended for the best results.
Use a meat thermometer to check that the internal temperature reaches 165°F (74°C). This ensures the chicken is safe to eat and prevents undercooking.
Lightly spraying olive oil helps the panko coating become extra crispy and golden brown. It also prevents the chicken from drying out during baking, enhancing the overall texture and flavor.
Crispy Chicken Tenders You’ll Love
What’s In Crispy Chicken Tenders With Dip
Main Ingredients:Coating Ingredients:Seasoning Ingredients:Dip Ingredients:Making Crispy Chicken Tenders Step By Step

Step 1: Prep the Oven and Baking Station
Get your oven ready by heating it to 425°F.
Line a baking sheet with parchment paper and set a wire rack on top for extra crispiness.
Step 2: Prepare the Chicken
Grab your chicken and pat it completely dry with paper towels.
If using chicken breasts, slice them into finger-sized strips.
Step 3: Create the Flour Dredging Station
In a wide bowl, combine:Mix these ingredients until well combined.
Step 4: Prepare the Egg Wash
Crack eggs into a separate bowl and whisk until smooth and consistent.
Step 5: Mix the Crispy Coating
In another bowl, blend:Stir until all spices are evenly distributed.
Step 6: Coat the Chicken
Dip each chicken strip through the stations:
First, roll in the seasoned flour
Next, dunk in the egg wash
Finally, coat generously with the panko mixture
Press the coating firmly to ensure it sticks well.
Step 7: Arrange for Baking
Place the coated chicken strips on the wire rack.
Lightly spritz the tops with olive oil to help them turn golden and crisp.
Step 8: Bake to Perfection
Slide the baking sheet into the oven.
Bake for 18-20 minutes, flipping midway.
Look for a beautiful golden-brown color and ensure the internal temperature reaches 165°F.
Step 9: Whip Up the Mustard Dip
While the chicken bakes, create the sauce by mixing:Stir until smooth and refrigerate until serving.
Step 10: Serve and Garnish
Transfer the hot, crispy chicken to a serving platter.
Sprinkle with fresh chopped parsley.
Serve immediately with the chilled mustard sauce on the side.
Print
Crispy Baked Chicken Tenders with Creamy Mustard Dip Recipe
- Total Time: 35 minutes
- Yield: 4 1x
Description
Crispy baked chicken tenders with creamy mustard dip blend golden crunchiness with tangy comfort. Succulent chicken meets zesty sauce, promising a delightful meal you’ll crave again and again.
Ingredients
Main Ingredients:
- 1.5 pounds (680 grams) chicken tenders
- 2 large eggs
- 1 1/2 cups panko breadcrumbs
- 1/2 cup all-purpose flour
Seasonings:
- 1 teaspoon paprika
- 1 teaspoon garlic powder
- 1 teaspoon onion powder
- 3/4 teaspoon salt
- 1/2 teaspoon black pepper
Finishing and Optional Ingredients:
- Olive oil spray
- 1 tablespoon chopped fresh parsley (optional, for garnish)
Instructions
- Prepare the oven to a scorching 425°F and strategically position a wire rack atop a parchment-lined baking sheet for optimal air circulation.
- Thoroughly eliminate moisture from chicken using paper towels, transforming breasts into uniform 1-inch strips if necessary.
- Craft three distinct seasoning stations: the first holding seasoned flour, the second containing whisked eggs, and the third housing a robust panko mixture enriched with paprika, garlic powder, onion powder, salt, and black pepper.
- Execute a precise coating technique by first rolling chicken in flour, ensuring a delicate powdery layer, then immersing in egg wash, and finally enrobing with the aromatic panko blend.
- Apply gentle pressure while coating to guarantee maximum crispy adherence to each tender.
- Arrange coated chicken on the prepared wire rack, then delicately mist the surface with olive oil to enhance golden browning.
- Slide into the preheated oven and bake for 18-20 minutes, performing a midway flip to ensure uniform crispiness and achieving an internal temperature of 165°F.
- Simultaneously, whisk together mayonnaise, Dijon mustard, whole grain mustard, and honey to create a tangy, creamy dipping sauce.
- Refrigerate the mustard sauce to allow flavors to meld while chicken bakes.
- Upon completion, garnish with fresh parsley and serve the crispy tenders alongside the chilled mustard dip.
Notes
- Select chicken tenders for more consistent size and easier coating, ensuring even cooking and crispy texture.
- Crush panko breadcrumbs slightly to create a more compact, crunchier exterior that adheres better to chicken.
- Pat chicken completely dry before coating to prevent soggy breading and promote maximum crispiness.
- Use a wire rack on the baking sheet to allow air circulation, creating an evenly crisp coating without excess oil pooling.
- Adjust spice levels by increasing or decreasing garlic and onion powder to suit personal taste preferences.
- Store leftover chicken tenders in an airtight container and reheat in the oven to maintain crispiness.
- Prep Time: 15 minutes
- Cook Time: 20 minutes
- Category: Lunch, Dinner, Appetizer, Snacks
- Method: Baking
- Cuisine: American
Nutrition
- Serving Size: 4
- Calories: 350
- Sugar: 1 g
- Sodium: 400 mg
- Fat: 10 g
- Saturated Fat: 2 g
- Unsaturated Fat: 6 g
- Trans Fat: 0 g
- Carbohydrates: 40 g
- Fiber: 2 g
- Protein: 25 g
- Cholesterol: 150 mg
Olivia Bennett
Recipe Developer & Culinary Educator
Expertise
Education
Schoolcraft College
With an Associate Degree in Culinary Arts from Schoolcraft College and a natural knack for teaching, Olivia Bennett’s all about making home cooking feel possible, even on your busiest day.
Her thing? Recipes that are budget-friendly, season-forward, and full of Southern warmth. Whether it’s a roasted veggie bowl or a five-ingredient skillet bake, Olivia makes sure it’s simple, satisfying, and something you’ll want to make again tomorrow.
When she’s not shooting step-by-step videos or testing spice blends, she’s out foraging, flipping through old cookbooks, or throwing laid-back dinner parties with a BYO-mason-jar theme.