The Creamiest Peanut Butter Fudge Recipe You’ll Ever Make
Crafting delectable peanut butter fudge can be surprisingly simple for anyone wanting a quick sweet treat.
Sweet tooths adore this creamy confection that melts smoothly on the tongue.
Few ingredients combine to create magic in your kitchen.
Chocolate lovers might find themselves swooning over the rich, velvety texture.
Minimal effort produces maximum flavor in this straightforward dessert.
Simple techniques make you look like a professional pastry chef without complicated steps.
Grab a pan and prepare to impress everyone with your newfound culinary prowess.
What Keeps Peanut Butter Fudge So Popular
Peanut Butter Fudge (Quick & Creamy) Ingredients
Base Ingredients:Preparation Enhancers:Quick Peanut Butter Fudge Instructions
Step 1: Prepare Your Canvas
Line an 8×8-inch baking dish with parchment paper, letting the edges hang over the sides for easy removal. Smooth out any wrinkles to create a perfect surface for your fudge.
Step 2: Create Sugar Syrup Magic
Grab a medium saucepan and combine sugar and milk. Heat the mixture over medium flame, whisking constantly to help sugar dissolve completely. Watch as the liquid transforms into a silky smooth syrup. Continue cooking and stirring for about 3 minutes until the mixture becomes glossy and uniform.
Step 3: Blend Creamy Goodness
Remove the pan from heat and introduce your star ingredients:Stir vigorously until the peanut butter melts completely, creating a luscious, golden mixture that looks absolutely irresistible.
Step 4: Shape Your Sweet Treat
Gently pour the molten fudge into your prepared baking dish. Use a spatula to spread it evenly, ensuring a perfect surface. Let the fudge rest at room temperature for approximately one hour, allowing it to set naturally.
Step 5: Slice and Enjoy
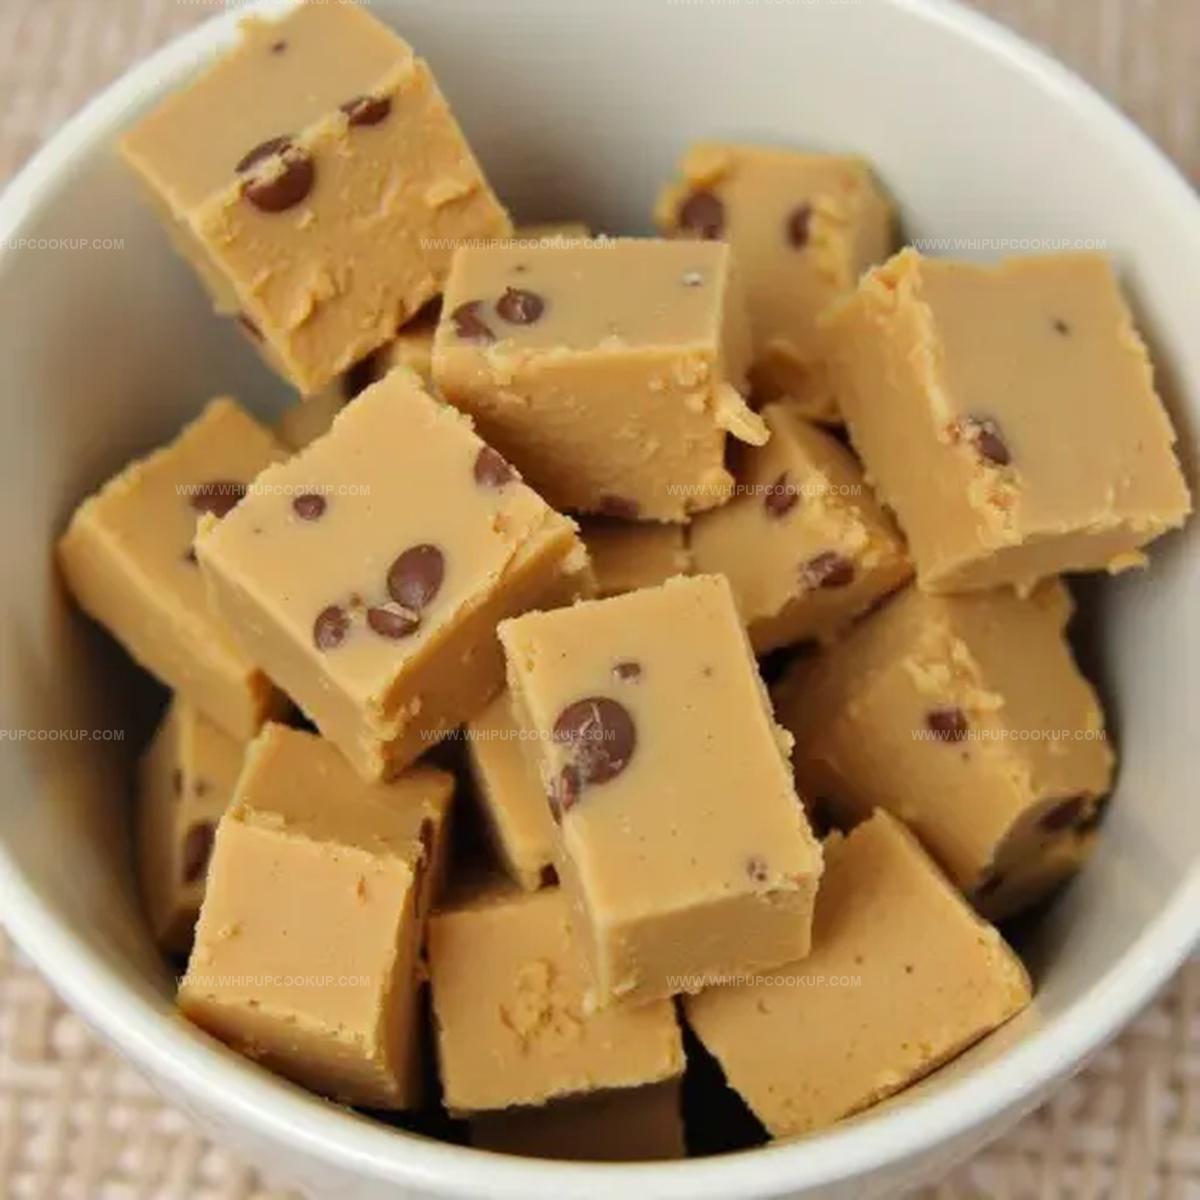
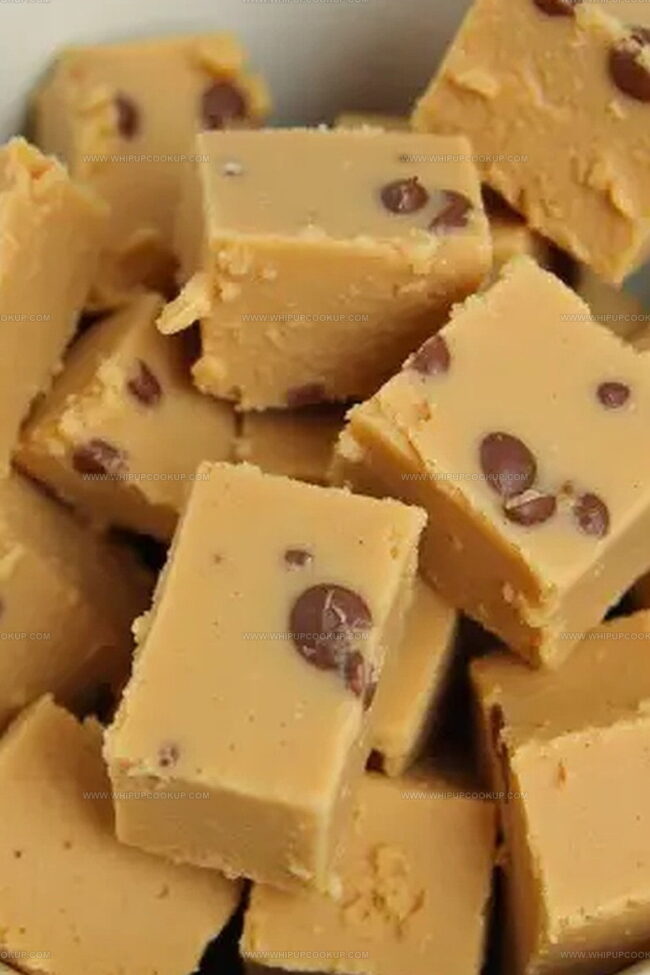
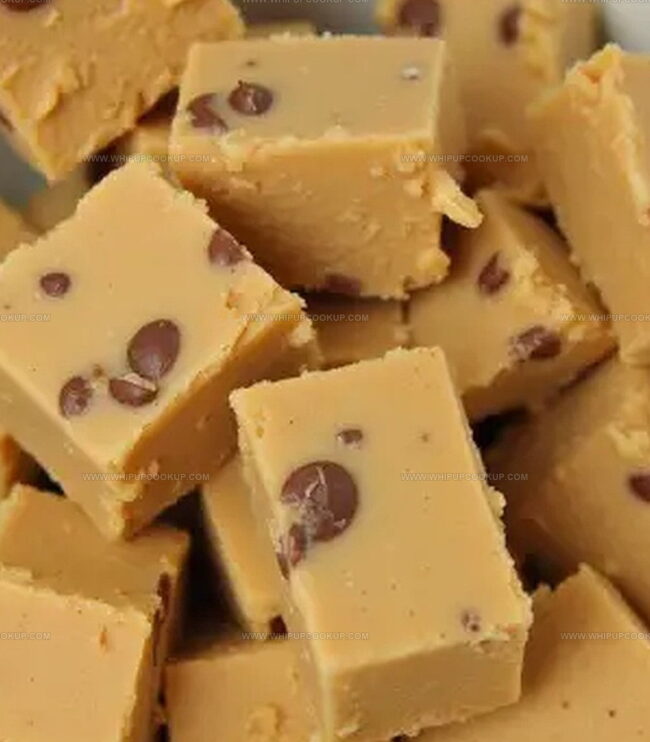
Once the fudge has solidified, lift it out using the parchment paper edges. Place on a cutting board and slice into perfect squares. Serve immediately and watch everyone’s eyes light up with delight!
Fudge Tips That Make Peanut Butter Creamy and Fast
Easiest Way to Store Peanut Butter Fudge
Pairing Sweets for Peanut Butter Fudge
Peanut Butter Fudge Combos
FAQs
You’ll need sugar, milk, peanut butter, and vanilla extract. These simple pantry staples create a delicious, creamy fudge that’s quick to make.
Yes! Creamy or crunchy peanut butter works great. Just ensure it’s a smooth, spreadable variety for the best texture and consistent melting.
The fudge will stay fresh at room temperature in an airtight container for about 1 week. For longer storage, you can refrigerate it for up to 2 weeks.
Absolutely! This fudge recipe requires minimal cooking skills and only a few steps. Even novice cooks can create a delicious dessert with this straightforward method.
Print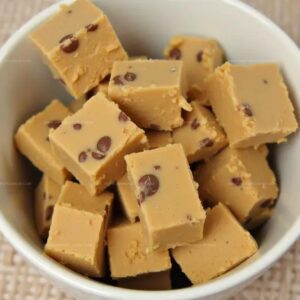
Easiest Peanut Butter Fudge Recipe
- Total Time: 13 minutes
- Yield: 16 1x
Description
Creamy homemade Peanut Butter Fudge delivers sweet, melt-in-your-mouth magic straight from grandma’s kitchen. Rich chocolate-swirled squares promise delightful comfort with minimal effort and maximum flavor satisfaction.
Ingredients
Main Ingredients:
- 1 cup peanut butter (creamy or crunchy)
- 2 cups granulated sugar
- 1/2 cup milk
Flavor Enhancers:
- 1 teaspoon vanilla extract
Instructions
- Prepare a square baking vessel by lining it with parchment paper, ensuring complete coverage of the bottom and sides for effortless removal.
- In a medium saucepan, combine sugar and milk over medium heat, whisking continuously to create a uniform liquid.
- Allow the mixture to reach a rolling boil, maintaining constant stirring to prevent scorching and ensure sugar completely dissolves.
- Continue boiling for precisely three minutes, watching for a smooth, glossy consistency that indicates proper sugar integration.
- Remove the saucepan from heat and immediately introduce peanut butter, stirring vigorously to create a homogeneous, silky texture.
- Incorporate vanilla extract, blending thoroughly until the mixture achieves a uniform, creamy appearance with no visible peanut butter streaks.
- Carefully transfer the molten fudge into the prepared pan, using a spatula to spread evenly and eliminate any potential air pockets.
- Allow the fudge to rest at room temperature, permitting natural cooling and setting for approximately one hour.
- Once completely solidified, slice the fudge into precise square portions using a sharp knife, creating uniform, delectable pieces ready for serving.
Notes
- Use high-quality, creamy peanut butter for the richest, smoothest texture that melts perfectly into the fudge mixture.
- Stir continuously while boiling sugar and milk to prevent burning and ensure even sugar dissolution.
- For a lower-sugar version, substitute part of the sugar with a sugar-free alternative or use a natural sweetener like stevia.
- Customize the fudge by adding chopped nuts, chocolate chips, or a drizzle of melted chocolate on top for extra flavor and visual appeal.
- Prep Time: 10 minutes
- Cook Time: 3 minutes
- Category: Desserts, Snacks
- Method: Boiling
- Cuisine: American
Nutrition
- Serving Size: 16
- Calories: 220
- Sugar: 20 g
- Sodium: 40 mg
- Fat: 12 g
- Saturated Fat: 3 g
- Unsaturated Fat: 9 g
- Trans Fat: 0 g
- Carbohydrates: 26 g
- Fiber: 1 g
- Protein: 5 g
- Cholesterol: 0 mg
Marcus Hale
Founder & Recipe Storyteller
Expertise
Education
Holyoke Community College – HCC-MGM Culinary Arts Institute
Marcus grew up surrounded by maple trees, farm stands, and the smell of Sunday stew simmering on the stove. After earning his Culinary Arts Certificate from the HCC-MGM Culinary Arts Institute, he knew he didn’t want to work in fancy kitchens, he wanted to cook for real people.
At Whip Up Cook Up, Marcus is the guy turning memories into meals. His recipes are fast, full of flavor, and built for home cooks who want big taste without the drama.