Sweet & Nutty Peanut Butter Mug Cake Recipe – Ready in a Flash
Whipping up a delectable peanut butter mug cake takes mere moments in your microwave.
Soft, decadent textures emerge from simple pantry ingredients you probably have right now.
Chocolate chips or a dollop of jam can add surprising twists to this quick dessert.
Smooth peanut butter creates a rich, comforting base that melts perfectly into warm cake goodness.
Curious cooks appreciate how fast this treat comes together without complicated techniques or equipment.
Sweet cravings meet instant satisfaction through this clever single-serving dessert hack.
Grab a mug and let’s make magic happen in less than five minutes!
Why Peanut Butter Mug Cake Is the Ultimate Fix
Ingredients for Peanut Butter Mug Cake
Dry Ingredients:Wet Ingredients:Optional Toppings:Quick Guide to Making Peanut Butter Mug Cake
Step 1: Craft the Dry Base
Grab a microwave-safe mug and toss in flour, sugar, baking powder, and salt.
Whisk these ingredients until they’re completely blended and look like a uniform powder mixture.
Step 2: Create Smooth Batter
Pour in milk, creamy peanut butter, vegetable oil, and vanilla extract.
Stir everything together with a fork or small whisk until the batter becomes silky smooth with zero lumps hiding anywhere.
Step 3: Zap into Deliciousness
Pop the mug into the microwave and cook on high power.
Zap for about 1-2 minutes, watching carefully.
Cooking time can change based on your microwave’s strength, so start at 1 minute and check the cake’s texture.
Step 4: Add Gorgeous Finishing Touches
Let the mug cake rest and cool down for a few minutes.
For extra yumminess, consider these topping options:Step 5: Serve and Savor
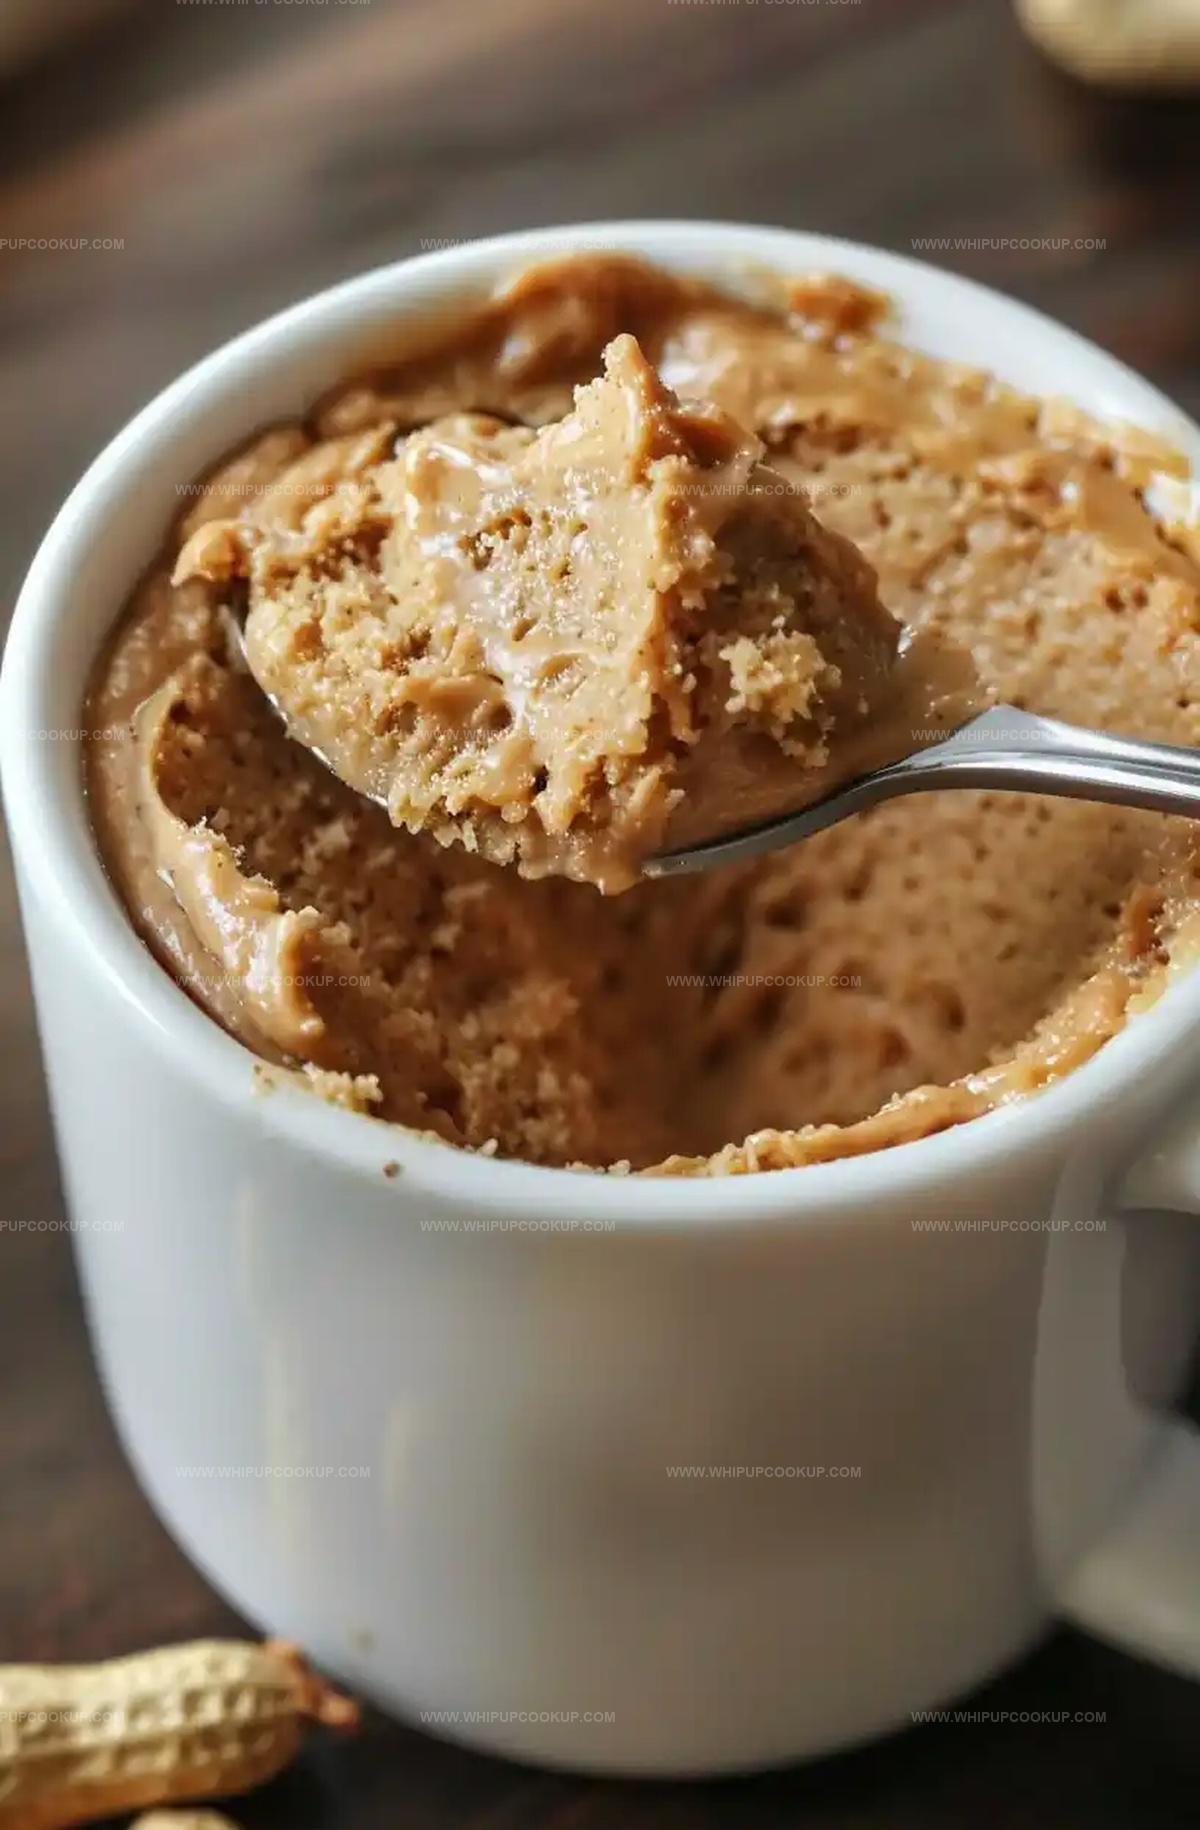
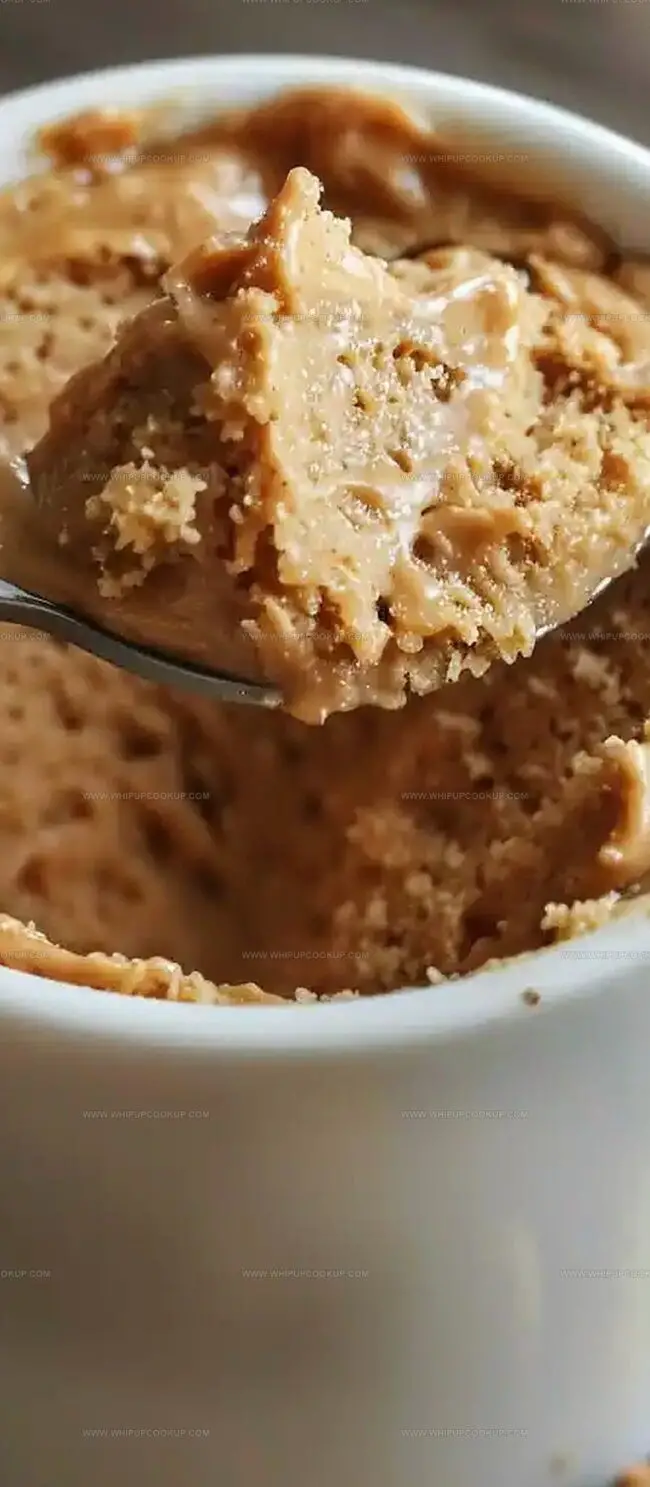
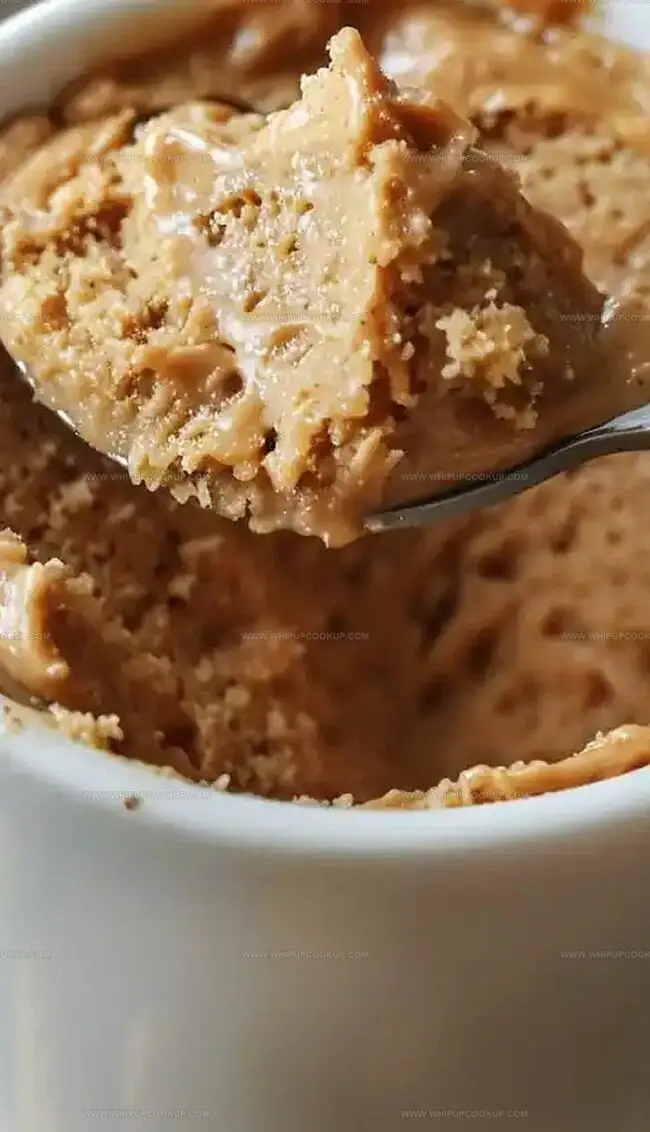
Dig into your warm, fluffy mug cake directly from the mug or transfer to a cute plate.
Grab a spoon and enjoy your quick dessert heaven!
Helpful Tips for Mug Cake Success
How to Store Peanut Butter Mug Cake
What to Serve with Peanut Butter Mug Cake
Fun Peanut Butter Mug Cake Twists
FAQs
This recipe contains wheat flour and dairy milk, so it’s not suitable for those with gluten or lactose intolerances. You can modify it by using gluten-free flour and plant-based milk alternatives.
Unfortunately, this specific recipe is designed for microwave cooking. Using an oven would require adjusting ingredients and baking time, which might change the cake’s texture and consistency.
Mix ingredients thoroughly but avoid overmixing. Microwave in short intervals and check doneness to prevent overcooking. Stop microwaving as soon as the cake looks set to maintain a moist texture.
Ensure you’re not overcooking the cake. Use exact measurements, and if the cake seems dry, try reducing microwave time by 15-30 seconds. Adding an extra tablespoon of milk can also help maintain moisture.
Print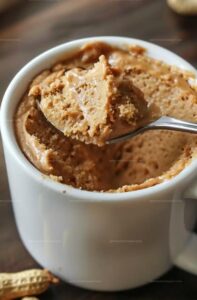
Easy 5 Minute Peanut Butter Mug Cake Recipe
- Total Time: 5 minutes
- Yield: 1 1x
Description
Indulgent chocolate-swirled peanut butter mug cake promises delightful comfort in mere minutes. Rich, moist, and perfectly balanced, you’ll savor this quick dessert that satisfies sweet cravings with minimal effort.
Ingredients
Main Ingredients:
- 2 tablespoons (28 grams) creamy peanut butter
- 4 tablespoons (30 grams) all-purpose flour
- 3 tablespoons (45 milliliters) milk
Sweeteners and Flavor Enhancers:
- 3 tablespoons (37 grams) granulated sugar
- 1 tablespoon (15 milliliters) vegetable oil
- ¼ teaspoon vanilla extract
Leavening and Seasoning:
- ¼ teaspoon baking powder
- Pinch of salt
Instructions
- Combine dry ingredients in a microwave-safe mug, whisking flour, sugar, baking powder, and salt until uniformly blended.
- Pour milk, peanut butter, vegetable oil, and vanilla extract into the mug, stirring vigorously until the mixture transforms into a silky, lump-free batter.
- Place the mug in the microwave and heat at full power for 60-90 seconds, monitoring closely to prevent overcooking; the cake is ready when it rises and appears set in the center.
- Allow the cake to rest for 2-3 minutes, enabling it to firm up and cool slightly before indulging.
- Enhance the dessert’s richness by drizzling melted peanut butter on top or sprinkling chopped peanuts for added texture and nutty depth.
- Serve directly from the mug for a casual treat, or carefully transfer to a small plate for a more refined presentation.
Notes
- Customize the sweetness by adjusting sugar levels to suit personal taste preferences.
- Use gluten-free flour for a celiac-friendly version that maintains the same delicious texture.
- Swap dairy milk with almond or oat milk to create a plant-based alternative that’s equally moist and delectable.
- Prevent overcooking by watching the cake closely and testing with a toothpick for moist crumbs, ensuring a tender result every time.
- Prep Time: 3 minutes
- Cook Time: 2 minutes
- Category: Desserts, Snacks
- Method: Microwaving
- Cuisine: American
Nutrition
- Serving Size: 1
- Calories: 400
- Sugar: 18g
- Sodium: 150mg
- Fat: 22g
- Saturated Fat: 4g
- Unsaturated Fat: 17g
- Trans Fat: 0g
- Carbohydrates: 38g
- Fiber: 2g
- Protein: 10g
- Cholesterol: 0mg
Olivia Bennett
Recipe Developer & Culinary Educator
Expertise
Education
Schoolcraft College
With an Associate Degree in Culinary Arts from Schoolcraft College and a natural knack for teaching, Olivia Bennett’s all about making home cooking feel possible, even on your busiest day.
Her thing? Recipes that are budget-friendly, season-forward, and full of Southern warmth. Whether it’s a roasted veggie bowl or a five-ingredient skillet bake, Olivia makes sure it’s simple, satisfying, and something you’ll want to make again tomorrow.
When she’s not shooting step-by-step videos or testing spice blends, she’s out foraging, flipping through old cookbooks, or throwing laid-back dinner parties with a BYO-mason-jar theme.