The Spooky Mummy Pizza Recipe: A Fun Halloween Treat
Quick pizzas shaped like mummified delights can become your next Halloween party sensation!
Bandaged bread transforms into spooky snacks that kids absolutely adore.
Little monsters will giggle watching cheese peeking through crispy pastry wrappings.
Crisp layers of dough create perfect scary-cute edible characters.
Simple ingredients make these creepy treats surprisingly easy to assemble.
Scary movie night just got way more delicious with these playful pizza creations.
Watch everyone smile when these wrapped pizzas emerge from your kitchen.
Mummy Pizza That’s Quick, Cute, and Tasty
Easy Mummy Pizza What You’ll Need
Pizza Base:Pizza Toppings:Seasoning and Finishing:Mummy Pizza Halloween Snack Preparation
Step 1: Warm Up the Oven
Crank your oven to a toasty 350°F to get ready for some spooky pizza magic.
Step 2: Prepare the Pizza Base
Grab your sandwich rolls and split them in half. Lay them face up on a baking sheet and give each half a loving brush of melted butter.
Step 3: Add Flavor Boost
Sprinkle garlic powder generously over the buttered bread. Pop the tray into the oven and toast until the edges turn a light golden brown, about 5 minutes.
Step 4: Prep the Mummy Wrappings
While the bread is getting crispy, start pulling apart string cheese into thin, wispy strips that will look like mummy bandages.
Step 5: Create the Saucy Base
Take the toasted bread out of the oven and spread a generous layer of marinara sauce across each half, covering the surface completely.
Step 6: Layer on the Toppings
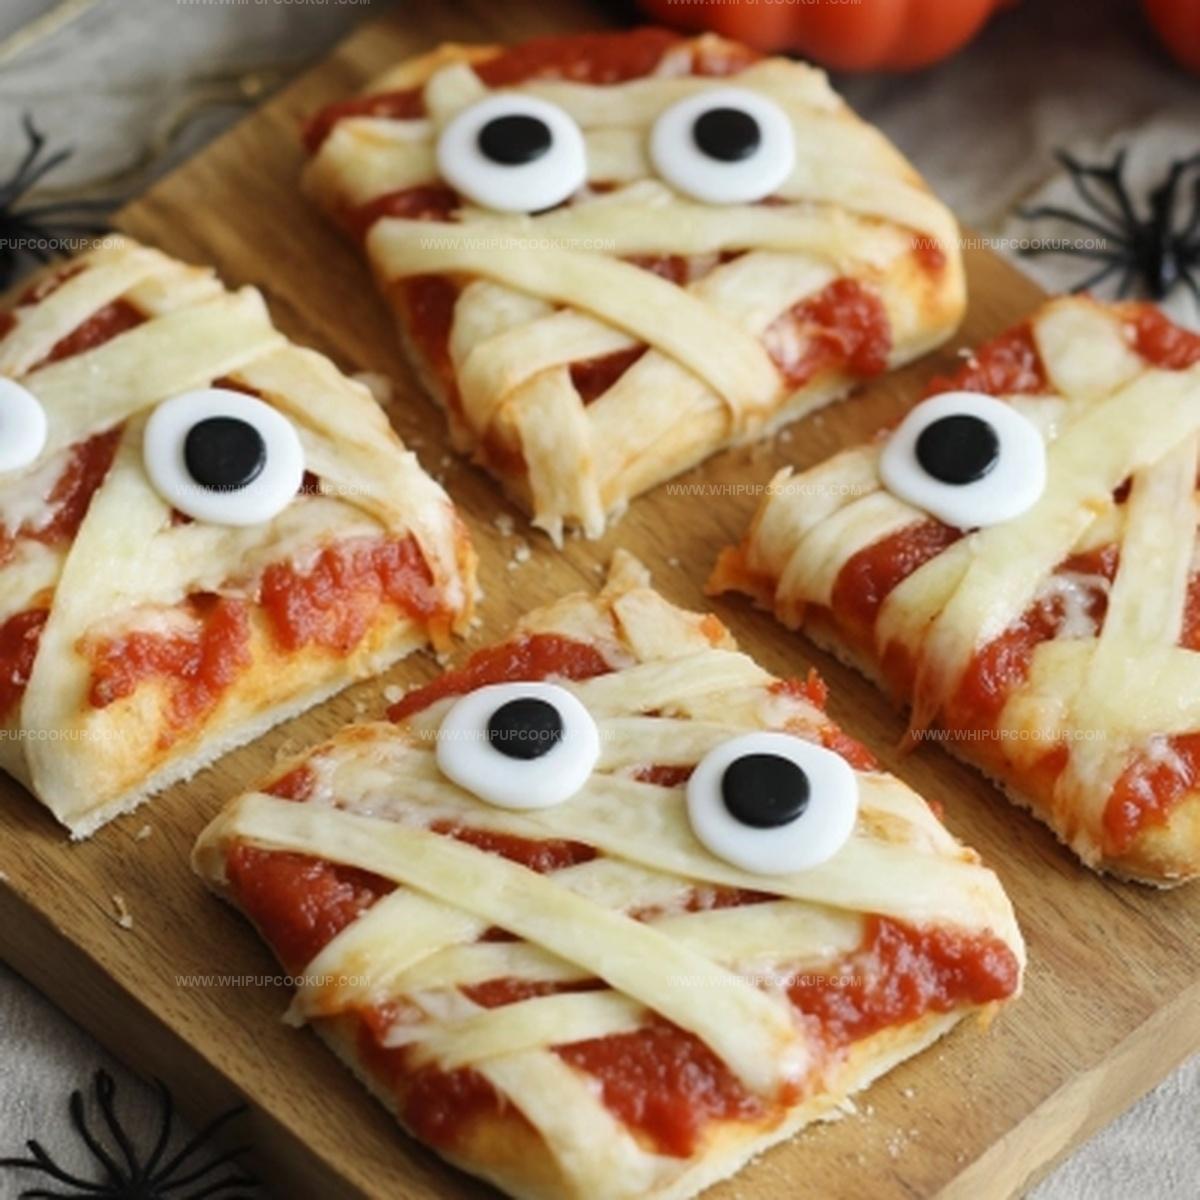
Arrange pepperoni slices on top of the sauce, then strategically place the string cheese strips to create a mummy-like wrapped effect.
Step 7: Melt and Transform
Return the pizza to the oven and bake for about 10 minutes. Watch as the cheese melts and the edges turn crispy.
Step 8: Final Spooky Touch
Place candy eyes or olive slices to create the mummy’s face. Serve immediately and watch your little monsters devour these creepy treats!
Pizza Tips for Mummy Snack Assembly
How to Store Mummy Pizzas Without Losing Shape
Mummy Pizza Side Matches
Enhance Flavor with Perfect Pairings:Mummy Pizza Recipe Spins
FAQs
You’ll need sandwich rolls, butter, garlic powder, marinara sauce, pepperoni, string cheese, and candy eyes (or olive slices).
Yes, you can substitute with English muffins, bagel halves, or even regular sliced bread for a similar pizza base.
Absolutely! Kids love creating and eating these fun mummy-themed pizzas, and they can help arrange the cheese strips and add the eyes.
Use whole wheat rolls, low-fat cheese, turkey pepperoni, and add some vegetable toppings like spinach or diced bell peppers for extra nutrition.
Print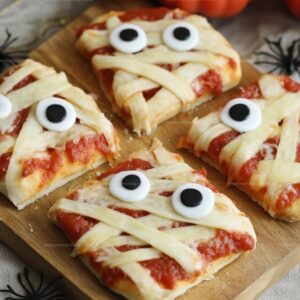
Easy Mummy Pizza Recipe
- Total Time: 30 minutes
- Yield: 4 1x
Description
Spooky “Mummy Pizza” wraps Halloween spirit into cheesy, crispy delights perfect for festive family gatherings. Quick bandage-style cheese strips create adorable monster-themed appetizers kids will devour with giggles and excitement.
Ingredients
Main Ingredients:
- 2 sandwich rolls, cut in half
- 12 slices pepperoni
- 1 cup marinara sauce
- 3 pieces string cheese, pulled apart into strips
Seasoning:
- 1 tablespoon (15 milliliters) butter, melted
- 1/2 teaspoon (2.5 milliliters) garlic powder
Decoration:
- 8 candy eyes (or olives)
Instructions
- Warm the oven to a moderate temperature of 350°F (175°C), preparing for the pizza transformation.
- Arrange sandwich roll halves on a clean baking sheet, positioning them cut-side facing upward.
- Delicately brush each bread surface with a thin layer of melted butter to create a golden foundation.
- Dust the buttered surface with a uniform sprinkle of garlic powder, enhancing the bread’s aromatic profile.
- Transfer the prepared bread to the preheated oven, toasting for approximately 5 minutes until edges turn light golden and crisp.
- During the toasting process, carefully separate string cheese into delicate, thin strands that will mimic mummy wrappings.
- Extract the toasted bread from the oven and generously spread marinara sauce across each half, creating a vibrant red base.
- Strategically place three pepperoni slices on each bread half, distributing them evenly.
- Artfully arrange the pulled string cheese strips across the surface in a bandage-like pattern, creating the distinctive mummy appearance.
- Return the decorated pizzas to the oven, baking for 10 minutes until the cheese melts and becomes slightly bubbly.
- Complete the spooky design by positioning candy eyes or olive slices to give the mummy pizzas a playful, haunting expression.
- Serve immediately while warm, revealing your creatively crafted mummy pizza masterpieces.
Notes
- Customize the cheese by using different varieties like mozzarella or provolone for unique flavor profiles.
- Opt for whole wheat sandwich rolls to boost nutritional value and add a nutty undertone.
- Create a vegetarian version by replacing pepperoni with roasted vegetables like bell peppers or zucchini.
- Ensure even toasting by rotating the baking sheet halfway through the initial bread-toasting process.
- Prep Time: 15 minutes
- Cook Time: 15 minutes
- Category: Dinner, Snacks
- Method: Baking
- Cuisine: Italian
Nutrition
- Serving Size: 4
- Calories: 330
- Sugar: 4g
- Sodium: 800mg
- Fat: 18g
- Saturated Fat: 8g
- Unsaturated Fat: 9g
- Trans Fat: 0g
- Carbohydrates: 30g
- Fiber: 2g
- Protein: 12g
- Cholesterol: 40mg
Marcus Hale
Founder & Recipe Storyteller
Expertise
Education
Holyoke Community College – HCC-MGM Culinary Arts Institute
Marcus grew up surrounded by maple trees, farm stands, and the smell of Sunday stew simmering on the stove. After earning his Culinary Arts Certificate from the HCC-MGM Culinary Arts Institute, he knew he didn’t want to work in fancy kitchens, he wanted to cook for real people.
At Whip Up Cook Up, Marcus is the guy turning memories into meals. His recipes are fast, full of flavor, and built for home cooks who want big taste without the drama.