Magical Elf Hats Holiday Treats Recipe for Sweet Festive Fun
Magical holiday memories sparkle when you craft adorable elf hats as festive treats that capture winter’s whimsy.
Sweet creativity flows through these delightful miniature desserts perfect for seasonal celebrations.
Delicate pastry shapes become playful characters dancing across your dessert table.
Families adore these charming confections that bring smiles and joy to every gathering.
Kids especially love decorating these miniature edible accessories with colorful frosting and sprinkles.
Simple ingredients transform ordinary baking into extraordinary moments of delight.
You’ll find these charming treats make your holiday gathering unforgettable and full of wonder.
What Makes Elf Hats a Festive Favorite
Elf Hat Treats Ingredients
Base Ingredients:Decorative Toppings:Additional Items:Assembling Elf Hats Holiday Treats
Step 1: Melt Sweet Coating
Gently warm the white candy melts using your preferred method – microwave or double boiler. Stir until smooth and fully liquefied for perfect dipping consistency.
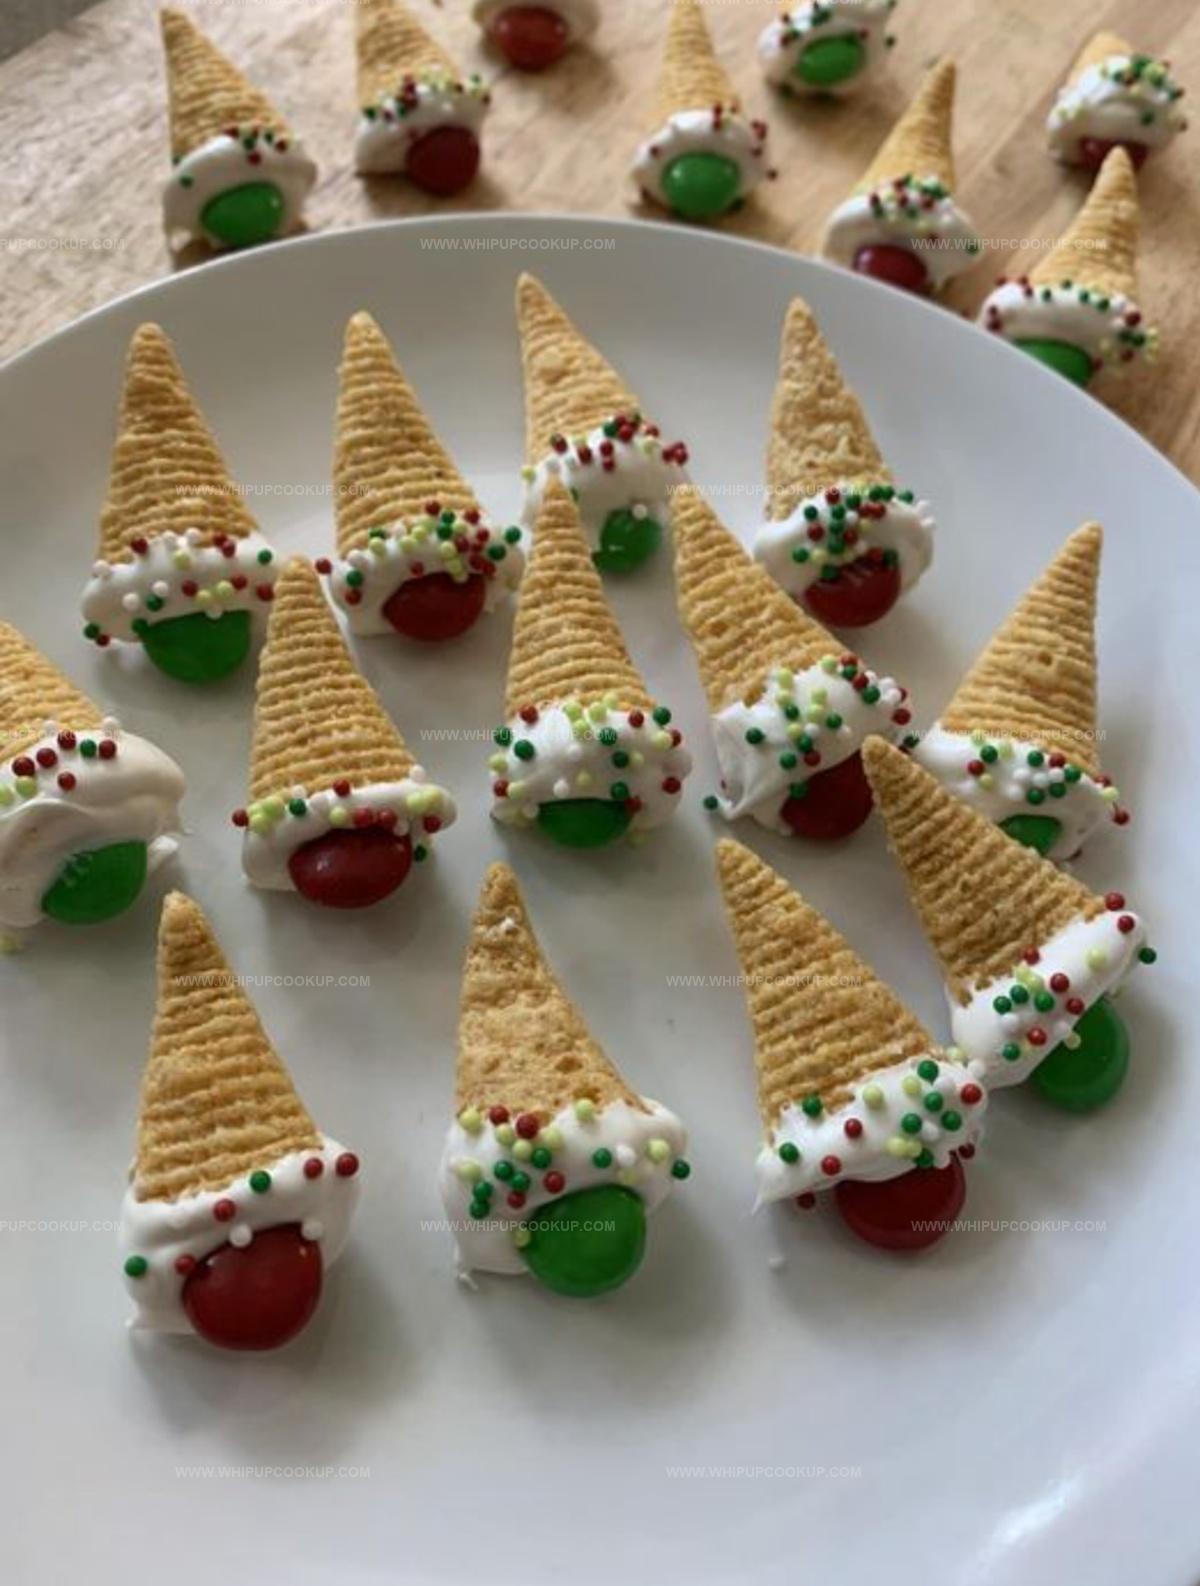
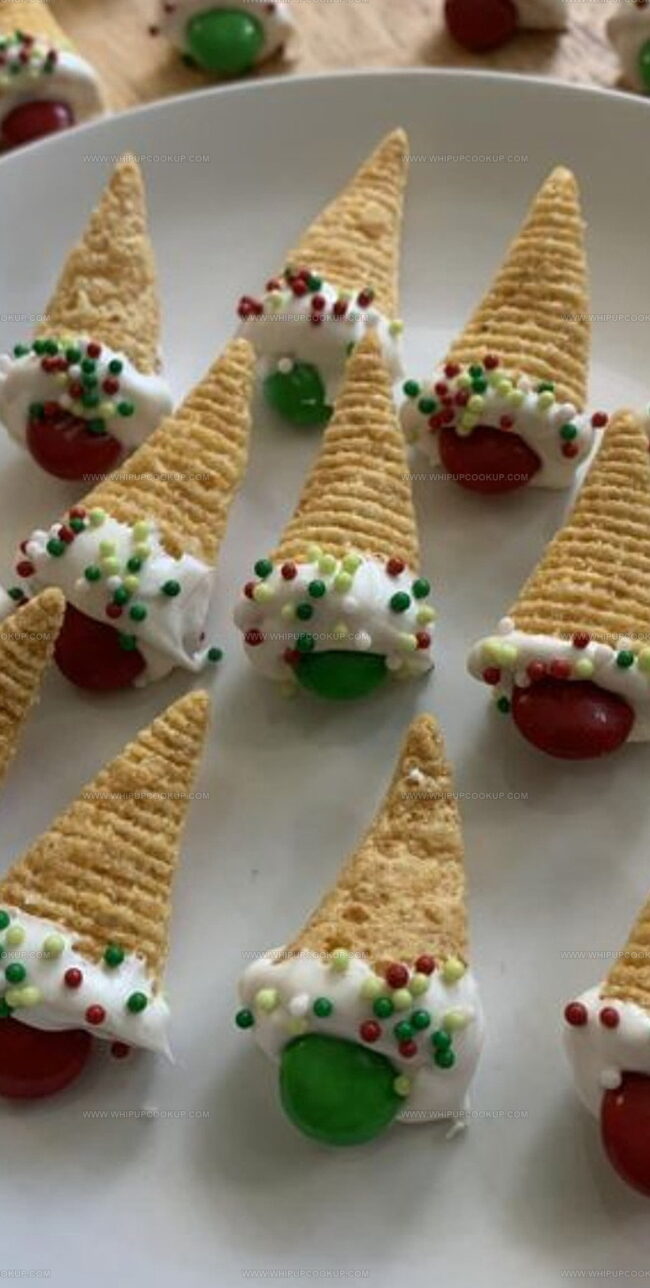
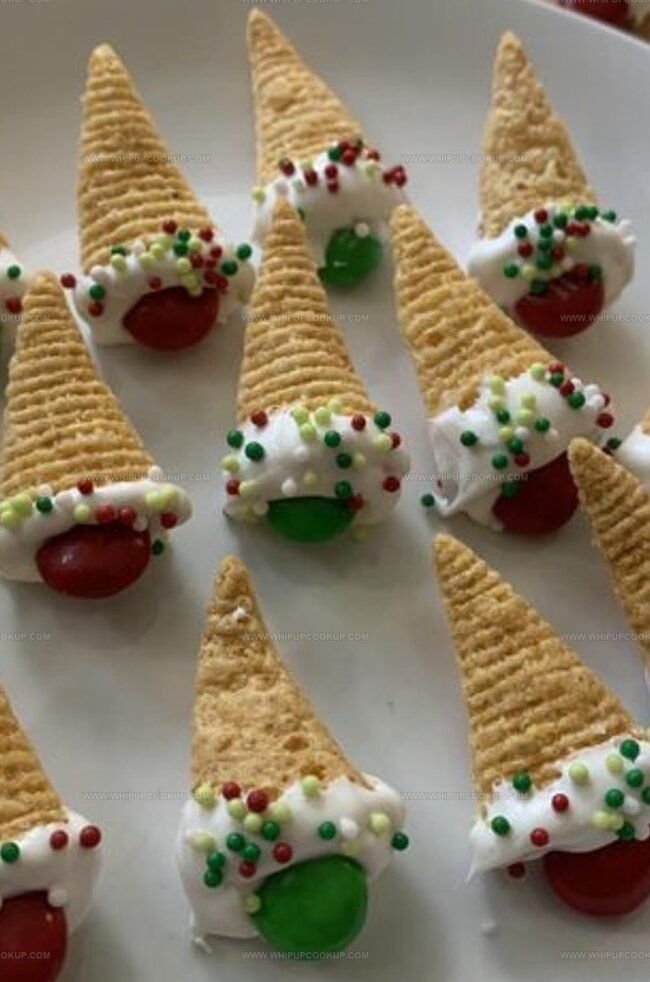
Step 2: Dunk Salty Cones
Grab a Bugle and carefully dip its wider bottom into the melted white chocolate. Coat approximately one-quarter to one-half inch of the snack, ensuring an even coverage.
Step 3: Sprinkle Magic
Hold the chocolate-covered Bugle over a clean plate. Shower holiday-themed sprinkles generously across the wet chocolate surface, creating colorful sparkly effects.
Step 4: Create Hat Band
Select a festive red or green candy-coated chocolate. Press the small round candy firmly into the bottom of the dipped Bugle, forming a cute decorative band.
Step 5: Set and Solidify
Gently place each completed elf hat onto a parchment-lined surface. Allow treats to rest and harden completely for about 15-20 minutes at room temperature.
Step 6: Package or Serve
Once hardened, arrange the adorable elf hats on a serving platter. Alternatively, package them in clear cellophane bags tied with cheerful ribbons for delightful holiday gifting.
Holiday Treat Tips for Crafting the Cutest Elf Hats
Storing Elf Hats Holiday Treats Safely
Treat Matches for Elf Hats Snacks
Elf Hat Holiday Treats
FAQs
Red and green M&M’s are perfect for creating the hat band because they add bright color and a chocolate flavor that complements the white candy coating.
Absolutely! Holiday-themed sprinkles in red, green, silver, or gold work great. Choose sprinkles that match your color scheme or festive mood.
No special tools required. You’ll just need a microwave or double boiler for melting chocolate, a plate for sprinkles, and parchment paper for setting the elf hats.
These treats stay fresh for about 3-5 days when stored in an airtight container at room temperature. Keep them away from direct heat or sunlight to maintain their shape and flavor.
Print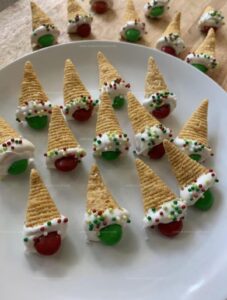
Elf Hats Holiday Treats Recipe
- Total Time: 30 minutes
- Yield: 12 1x
Description
Magical elf hats holiday treats bring whimsical Christmas cheer to festive gatherings. Sweet chocolate-dipped sugar cookies shaped like pointy elfin headwear promise delightful bites you’ll eagerly share with family and friends.
Ingredients
Main Ingredients:
- 1 bag Bugles
- 1 package white candy melts
Decorative Ingredients:
- Holiday-colored sprinkles (red, green, or mixed)
- Red and green candy-coated chocolates (like M&Ms)
Additional Ingredient:
- 1 sheet parchment paper
Instructions
- Prepare a clean workspace with parchment paper, ensuring all ingredients and tools are within reach.
- Gently melt white candy coating using preferred method, stirring occasionally to maintain smooth consistency.
- Select a Bugle and carefully dip its wider end into the warm white chocolate, covering approximately one-quarter to half of the snack.
- Hold the chocolate-coated Bugle over a designated catching plate and sprinkle holiday-themed decorative crystals across the wet surface.
- Immediately press a vibrant red or green chocolate button into the base of the dipped Bugle, creating a playful “hat band” effect.
- Transfer the decorated treat to the prepared parchment surface, allowing it to rest and solidify.
- Repeat the dipping, decorating, and placing process for remaining Bugles, maintaining consistent technique.
- Allow the festive treats to completely harden at room temperature for approximately 15-20 minutes.
- Once set, arrange the whimsical elf hats on a serving platter or package them in clear cellophane bags tied with decorative ribbons for charming holiday gifts.
Notes
- Customize chocolate coating by using different colored candy melts for varied holiday themes or color schemes.
- Prevent chocolate from clumping by melting slowly and stirring frequently to maintain smooth consistency.
- Prepare a designated workspace with parchment paper and all ingredients within reach for efficient decorating process.
- Experiment with alternative toppings like crushed candy canes, edible glitter, or colored sugar instead of traditional sprinkles for unique texture and presentation.
- Prep Time: 10 minutes
- Cook Time: 20 minutes
- Category: Snacks, Desserts
- Method: Blending
- Cuisine: American
Nutrition
- Serving Size: 12
- Calories: 150
- Sugar: 10 g
- Sodium: 50 mg
- Fat: 7 g
- Saturated Fat: 4 g
- Unsaturated Fat: 2 g
- Trans Fat: 0 g
- Carbohydrates: 20 g
- Fiber: 1 g
- Protein: 1 g
- Cholesterol: 0 mg
Marcus Hale
Founder & Recipe Storyteller
Expertise
Education
Holyoke Community College – HCC-MGM Culinary Arts Institute
Marcus grew up surrounded by maple trees, farm stands, and the smell of Sunday stew simmering on the stove. After earning his Culinary Arts Certificate from the HCC-MGM Culinary Arts Institute, he knew he didn’t want to work in fancy kitchens, he wanted to cook for real people.
At Whip Up Cook Up, Marcus is the guy turning memories into meals. His recipes are fast, full of flavor, and built for home cooks who want big taste without the drama.