The Spookiest Halloween Chocolate Chip Cookies Recipe Ever
Whipping up some spooky halloween chocolate chip cookies can turn an ordinary afternoon into a delightful adventure.
Sweet aromas will soon fill your kitchen with magical excitement.
Crisp autumn winds whisper promises of delectable treats waiting to emerge from the oven.
Kids absolutely adore these festive sweets decorated with orange and black sprinkles.
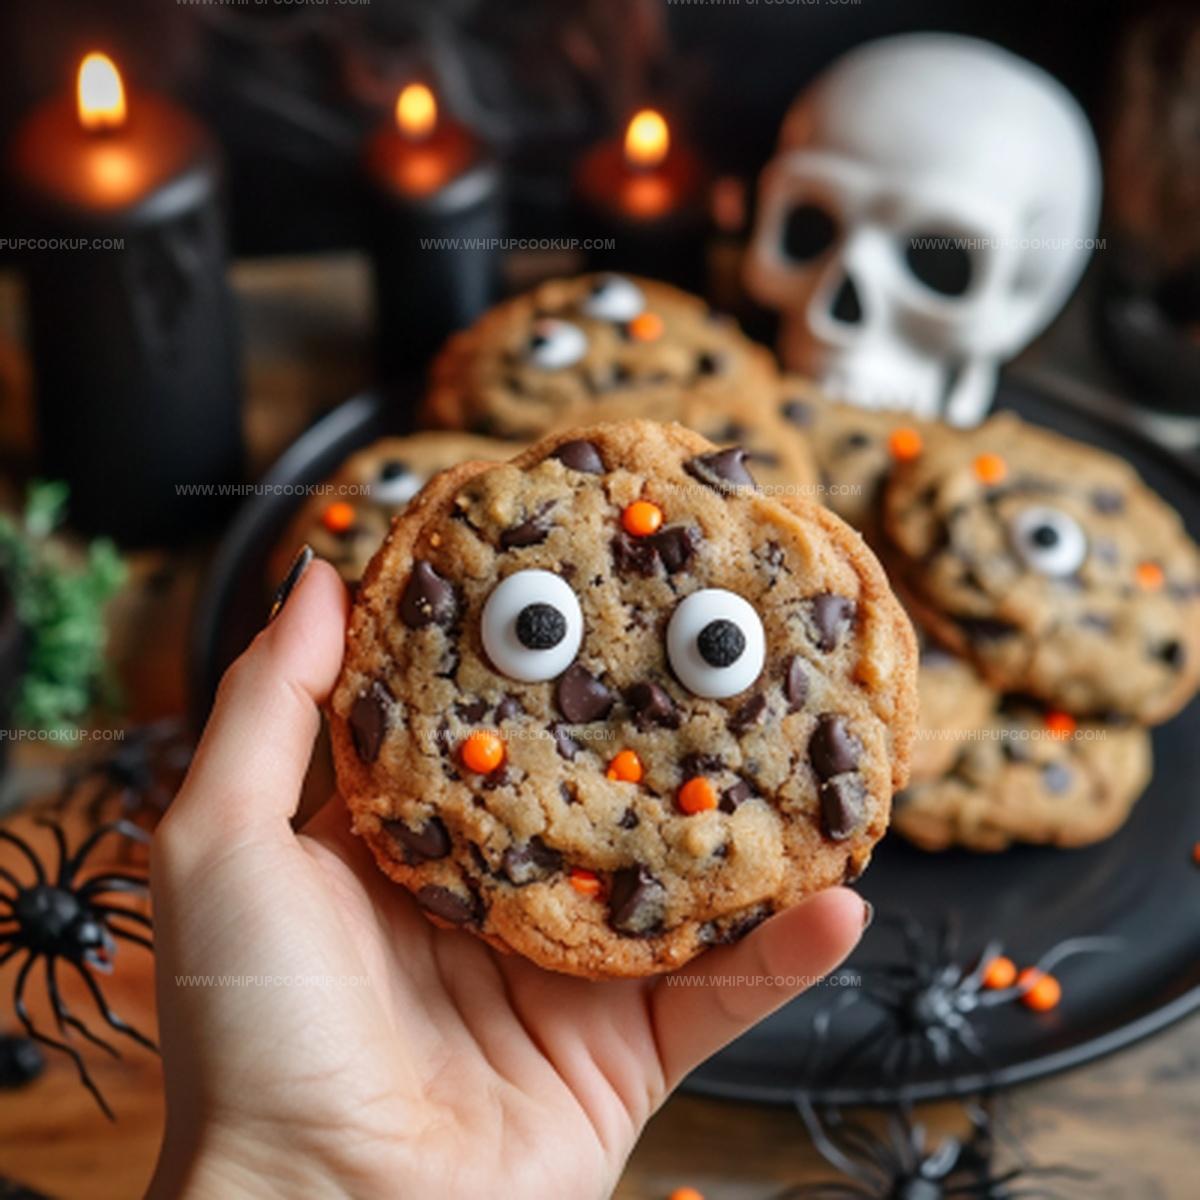
Creepy shapes and playful designs make these cookies extra special for seasonal celebrations.
Witches, ghosts, and pumpkin decorations add whimsical charm to each delicious bite.
Chocolate Chip Cookies Made for Halloween Fun
Halloween Chocolate Chip Cookies Ingredient List
Main Ingredients:Cookie Enhancers:Festive Add-Ins:Halloween Chocolate Chip Cookies Baking Steps
Step 1: Cream Sugars and Butter
Grab a large mixing bowl and combine melted butter with brown and granulated sugars. Blend until the mixture becomes super smooth and looks glossy and well-mixed.
Step 2: Add Wet Ingredients
Pour in vanilla extract and crack an egg into the sugar mixture. Stir thoroughly until everything looks perfectly combined and silky.
Step 3: Create Cookie Dough Base
Gently add:Mix ingredients on low speed initially, then increase speed for about 15-30 seconds. Ensure the dough looks consistent without over-mixing.
Step 4: Incorporate Festive Mix-Ins
Use a spatula to fold in:Blend carefully to distribute ingredients evenly throughout the dough.
Step 5: Shape and Chill Cookie Dough
Use an ice cream scoop or spoon to create dough balls. Place them on a parchment-lined baking sheet. Cover and refrigerate for 1.5 to 2 hours, or up to 24 hours for deeper flavor development.
Step 6: Prepare for Baking
Preheat oven to 350°F. Arrange chilled dough balls on a lined baking sheet, spacing them about 2 inches apart to allow room for spreading.
Step 7: Bake and Decorate
Bake cookies for 11-13 minutes until edges turn golden brown. While cookies are still warm, gently press candy eyes onto the surface for a spooky touch.
Step 8: Cool and Serve
Allow cookies to cool completely before serving. Enjoy your Halloween treat!
Chocolate Chip Cookie Tips for Halloween Baking Fun
Keep Halloween Chocolate Chip Cookies Tasting Great
Halloween Chip Cookies Sweet Matches
Pumpkin Bars with Snickerdoodle Flavor
FAQs
Yes, you can prepare the cookie dough and refrigerate it for up to 24 hours before baking. Chilling the dough helps intensify the flavors and prevents spreading during baking.
Add orange, black, or Halloween-themed sprinkles to the dough. You can also use candy eyes or colored chocolate chips to make the cookies more Halloween-inspired.
No problem! Use regular rainbow sprinkles or colored sugar. The goal is to make the cookies look fun and festive for the holiday.
Absolutely! You can freeze the dough balls for up to 3 months. Just place them on a baking sheet, freeze until solid, then transfer to a freezer bag. Bake directly from frozen, adding 1-2 extra minutes to the baking time.
Print
Halloween Chocolate Chip Cookies Recipe
- Total Time: 42 minutes
- Yield: 12 1x
Description
Spooky Halloween Chocolate Chip Cookies deliver festive seasonal magic with playful orange-tinted chocolate morsels nestled in rich, buttery dough. Creepy shapes and haunting decorations promise delightful Halloween treats you cannot resist.
Ingredients
Main Ingredients:
- 1 1/2 cups all-purpose flour (186 g / 6.6 oz)
- 1 1/2 cups chocolate chips
- 1 large egg
- 1/2 cup unsalted butter, melted
- 1/2 cup packed light brown sugar (100 g / 3.5 oz)
Sweeteners:
- 1/3 cup granulated sugar (67 g / 2.4 oz)
Flavor Enhancers and Baking Agents:
- 1 teaspoon vanilla extract
- 1/2 teaspoon salt
- 1/2 teaspoon baking soda
- 1/2 to 3/4 cup Halloween sprinkles
- Candy eyes (optional)
Instructions
- Whisk together melted butter, brown sugar, and granulated sugar in a spacious mixing vessel until the mixture appears silky and thoroughly integrated.
- Incorporate vanilla extract and egg, blending until the composition achieves a uniform consistency.
- Gradually introduce flour, salt, and baking soda, initially mixing at a low speed to prevent ingredient dispersion, then briefly increase velocity to create a cohesive dough without excessive manipulation.
- Delicately incorporate chocolate chips and festive Halloween sprinkles using a flexible spatula, ensuring even distribution throughout the mixture.
- Utilize an ice cream scoop to craft uniform dough spheres, positioning them strategically on a parchment-lined baking surface. Refrigerate the prepared dough for a minimum of 90 minutes, allowing flavors to meld and texture to solidify.
- Activate the oven, calibrating the temperature to 350°F. Strategically arrange chilled dough portions across the baking sheet, maintaining sufficient spacing to prevent unexpected merging.
- Bake until cookie edges display a golden-bronze hue, approximately 11-13 minutes. While cookies retain residual warmth, optionally embellish with playful candy eyes for a whimsical Halloween aesthetic.
- Allow cookies to cool completely, permitting structural stabilization before serving these delightful seasonal treats.
Notes
- Chill the dough before baking to prevent spreading and create thick, chewy cookies with crisp edges.
- Customize sprinkles and candy eyes to match different Halloween color schemes or party themes.
- Use room temperature ingredients for better mixing and more consistent cookie texture.
- Swap chocolate chips with seasonal Halloween colored chips for extra festive flair.
- Prep Time: 30 minutes
- Cook Time: 12 minutes
- Category: Desserts, Snacks
- Method: Baking
- Cuisine: American
Nutrition
- Serving Size: 12
- Calories: 188
- Sugar: 10 g
- Sodium: 110 mg
- Fat: 8 g
- Saturated Fat: 5 g
- Unsaturated Fat: 3 g
- Trans Fat: 0 g
- Carbohydrates: 26 g
- Fiber: 1 g
- Protein: 2 g
- Cholesterol: 18 mg
Marcus Hale
Founder & Recipe Storyteller
Expertise
Education
Holyoke Community College – HCC-MGM Culinary Arts Institute
Marcus grew up surrounded by maple trees, farm stands, and the smell of Sunday stew simmering on the stove. After earning his Culinary Arts Certificate from the HCC-MGM Culinary Arts Institute, he knew he didn’t want to work in fancy kitchens, he wanted to cook for real people.
At Whip Up Cook Up, Marcus is the guy turning memories into meals. His recipes are fast, full of flavor, and built for home cooks who want big taste without the drama.