Spooky Halloween Mummy Cookies Recipe: Bake with a Boo
Crafting spooky halloween mummy cookies brings childhood memories flooding back with delightful nostalgia.
Soft sugar cookie dough becomes the perfect canvas for edible monster magic.
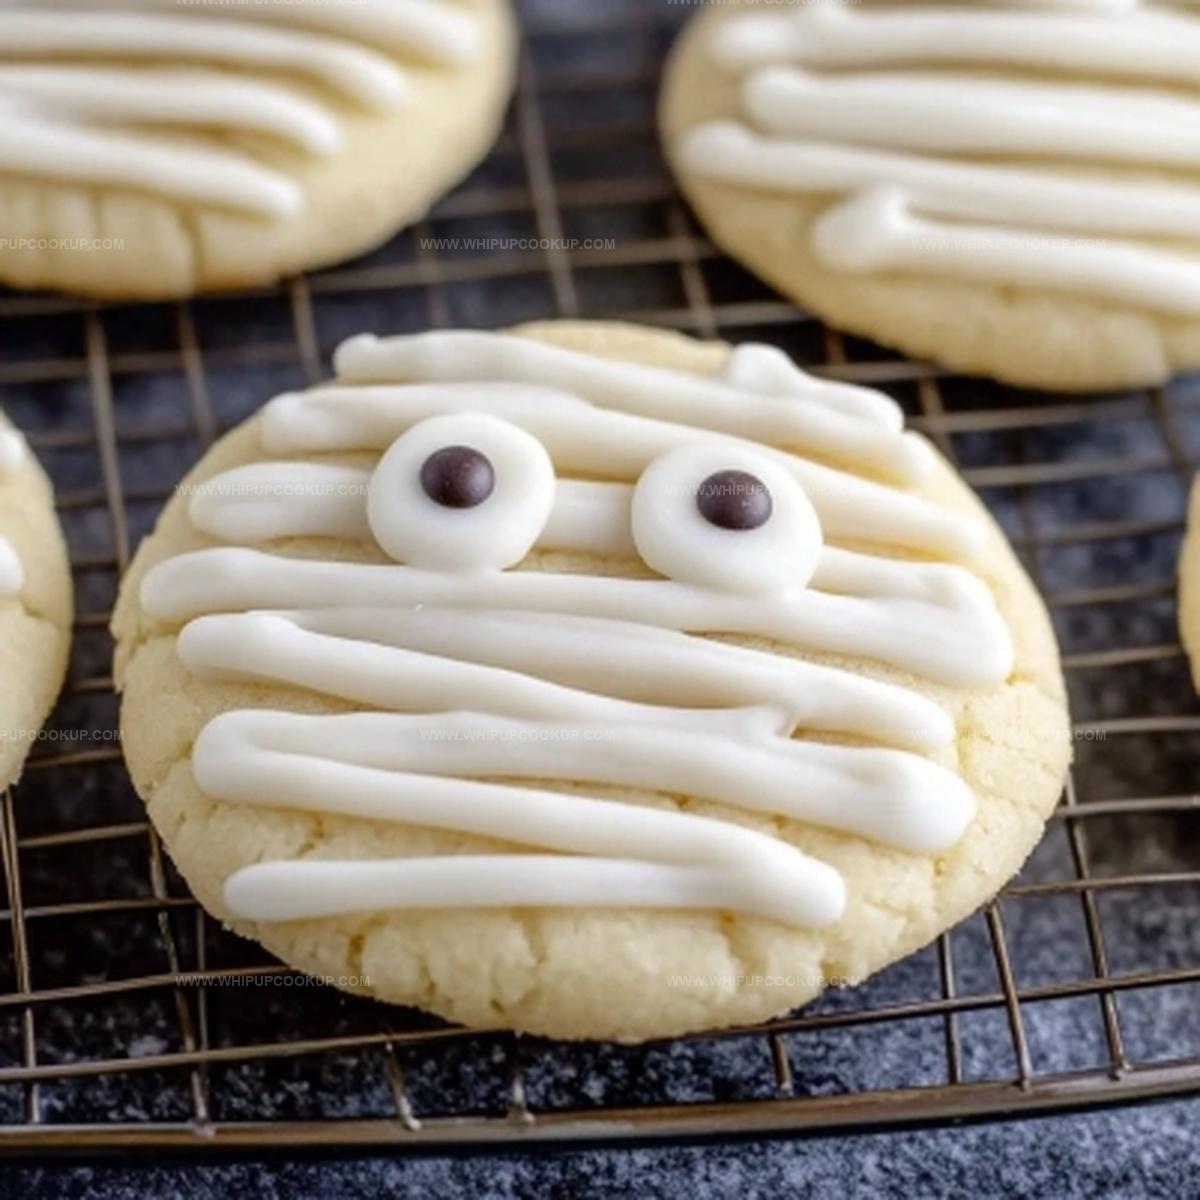
Bandage-like white frosting wraps each sweet treat in playful design.
Kids absolutely adore creating these adorable desserts that look like miniature wrapped characters.
Delicate piped lines create textured layers mimicking ancient cloth wrappings.
Googly candy eyes peek through frosting strips, adding whimsical personality to each treat.
You can transform a simple baking afternoon into a festive celebration of seasonal fun.
These creepy-cute cookies will definitely become the star of any halloween party spread.
Cookies That Wrap Up Halloween Fun in a Mummy Design
Halloween Mummy Cookies Ingredient Breakdown
Wet Ingredients:Dry Ingredients:Decorative Ingredients:Halloween Mummy Cookies Easy Baking and Decorating
Step 1: Whip Up Cookie Dough Base
Grab a spacious mixing bowl and blend together butter, shortening, sugar, vanilla extract, and eggs until the mixture becomes wonderfully smooth and airy. Use an electric mixer to achieve a fluffy consistency that will make your cookies extra delightful.
Step 2: Form Cookie Dough
Add the following ingredients to create the perfect cookie base:Mix everything until a cohesive dough forms, ensuring all ingredients are thoroughly incorporated.
Step 3: Chill Cookie Dough
Separate the dough into two separate balls and place them in the refrigerator. Let the dough firm up for around 30 minutes, which helps prevent spreading during baking.
Step 4: Prepare Baking Station
Preheat your oven to 350°F. Dust a clean surface with flour and roll out the chilled dough to approximately 1/4 inch thickness. Use circular cookie cutters to create uniform cookie shapes.
Step 5: Bake Cookies
Transfer cookie cutouts onto a parchment-lined baking sheet. Slide the sheet into the preheated oven and bake for 8 minutes until edges are lightly golden. Remove and cool completely on a wire rack.
Step 6: Craft Spooky Mummy Frosting
Combine powdered sugar, softened butter, vanilla extract, and milk in a mixing bowl. Blend until the frosting reaches a silky, smooth consistency perfect for decorating.
Step 7: Transform Cookies into Mummies
Fill a piping bag fitted with a #104 decorating tip with the prepared frosting. Pipe zig-zag lines across each cookie to mimic mummy bandages. Strategically place candy eyeballs while the frosting remains soft.
Step 8: Serve Haunting Treats
Display your creepy mummy cookies on a festive Halloween platter and watch everyone’s eyes light up with excitement!
Mummy Cookie Tips That Keep Halloween Fun and Spooky
Save Halloween Mummy Cookies for Later Use
Mummy Cookies for Halloween Snack Matches
Apple Crumble Bite Recipe Spins
FAQs
The zig-zag frosting technique and candy eyeballs transform simple sugar cookies into spooky mummy-themed treats that are perfect for Halloween parties and kids’ dessert tables.
Not at all! This recipe is beginner-friendly and requires basic baking techniques like creaming butter and sugar, rolling out dough, and piping frosting in a simple pattern.
Yes, you can prepare the cookie dough in advance and refrigerate it for up to 2 days before rolling and baking. This makes party prep much easier and less stressful.
Premade candy eyeballs are available in most grocery stores’ baking sections or craft stores. Look for small white round edible decorations that will give your mummy cookies a playful, spooky look.
Print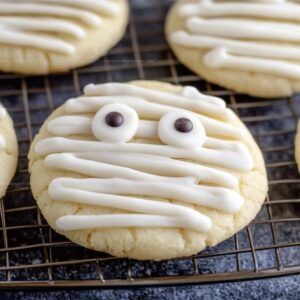
Halloween Mummy Cookies Recipe
- Total Time: 58 minutes
- Yield: 24 1x
Description
Spooky “halloween mummy cookies” wrap creamy white chocolate drizzles around buttery shortbread, creating eerily delightful treats perfect for seasonal celebrations. Bandaged cookie characters promise sweet surprises you’ll eagerly share with friends during festive gatherings.
Ingredients
Main Ingredients:
- 5 1/3 cups flour
- 2 cups sugar
- 2 large eggs
- 1 1/3 cups sour cream
Butter and Fat:
- 2/3 cup unsalted butter, softened
- 1/2 cup shortening
Leavening and Seasoning:
- 2 teaspoons baking powder
- 1 teaspoon baking soda
- 1 teaspoon salt
- 4 teaspoons vanilla extract
Decoration:
- 1 package of candy eyeballs
Instructions
- Combine butter, shortening, sugar, vanilla extract, and eggs in a spacious mixing bowl, whipping until the mixture achieves a velvety, aerated consistency.
- Gradually incorporate flour, baking powder, baking soda, salt, and sour cream, stirring until a cohesive dough emerges.
- Separate the dough into two equal portions and refrigerate until thoroughly chilled and firm, approximately 30 minutes.
- Heat the oven to 350°F (175°C) and prepare a lightly floured work surface for rolling.
- Gently roll out the chilled dough to a uniform 1/4 inch thickness, using circular cookie cutters to create precise shapes.
- Arrange the cookie cutouts on a parchment-lined baking sheet, ensuring adequate spacing between each piece.
- Bake for 8 minutes, producing delicate, golden-edged cookies, then transfer to a wire cooling rack.
- Craft the decorative frosting by blending powdered sugar, softened butter, vanilla extract, and milk until silky smooth.
- Fill a piping bag fitted with a #104 tip and artfully drape frosting across each cookie in irregular, bandage-like patterns.
- Carefully place candy eyeballs onto the soft frosting, creating whimsical mummy faces.
- Allow cookies to set completely before serving these festive Halloween treats.
Notes
- Chill the dough thoroughly to prevent spreading and maintain sharp cookie edges during baking.
- Use room temperature ingredients for smoother mixing and better cookie texture.
- Adjust piping technique by practicing on parchment paper to create realistic mummy bandage designs.
- Experiment with different eye candies or colored frostings to personalize Halloween mummy cookies for various themes and preferences.
- Prep Time: 50 minutes
- Cook Time: 8 minutes
- Category: Desserts, Snacks
- Method: Baking
- Cuisine: American
Nutrition
- Serving Size: 24
- Calories: 220
- Sugar: 9 g
- Sodium: 150 mg
- Fat: 10 g
- Saturated Fat: 5 g
- Unsaturated Fat: 3 g
- Trans Fat: 0 g
- Carbohydrates: 30 g
- Fiber: 0.5 g
- Protein: 2 g
- Cholesterol: 25 mg
Marcus Hale
Founder & Recipe Storyteller
Expertise
Education
Holyoke Community College – HCC-MGM Culinary Arts Institute
Marcus grew up surrounded by maple trees, farm stands, and the smell of Sunday stew simmering on the stove. After earning his Culinary Arts Certificate from the HCC-MGM Culinary Arts Institute, he knew he didn’t want to work in fancy kitchens, he wanted to cook for real people.
At Whip Up Cook Up, Marcus is the guy turning memories into meals. His recipes are fast, full of flavor, and built for home cooks who want big taste without the drama.