Easy Spooky Halloween Pumpkin Brownies Recipe to Charm Guests
Whipping up some delectable halloween pumpkin brownies might just become your newest autumn obsession.
Crisp leaves and chilly breezes inspire cozy kitchen adventures that warm the soul.
Chocolate and pumpkin merge in a decadent dance of seasonal flavors.
Rich cocoa swirls through soft, spiced batter creating irresistible layers of sweetness.
Unexpected ingredients turn classic brownies into a festive treat that sparks conversation.
Mysterious and indulgent, these brownies promise to steal the spotlight at any Halloween gathering.
Brownies That Bring the Pumpkin Party to Halloween
Graveyard Dirt Cake Cups Must-Have List
Core Ingredients:Liquid Ingredients:Flavor Enhancers:How to Make Halloween Pumpkin Brownies the Easy Way
Step 1: Prepare Baking Station
Set up your oven by preheating to 325°F. Grab a 9×9-inch baking pan and line it with foil or spray with non-stick cooking spray to prevent sticking.
Step 2: Mix Wet Ingredients
In a large mixing bowl, whisk together:Blend until the mixture looks smooth and well combined.
Step 3: Incorporate Brownie Mix
Pour the brownie mix into the wet ingredients. Stir thoroughly until everything is fully mixed. Gently fold in half of the chocolate chips, distributing them evenly throughout the batter.
Step 4: Prepare for Baking
Transfer the batter into the prepared pan. Use a spatula to spread it evenly, creating a smooth surface.
Step 5: Add Toppings
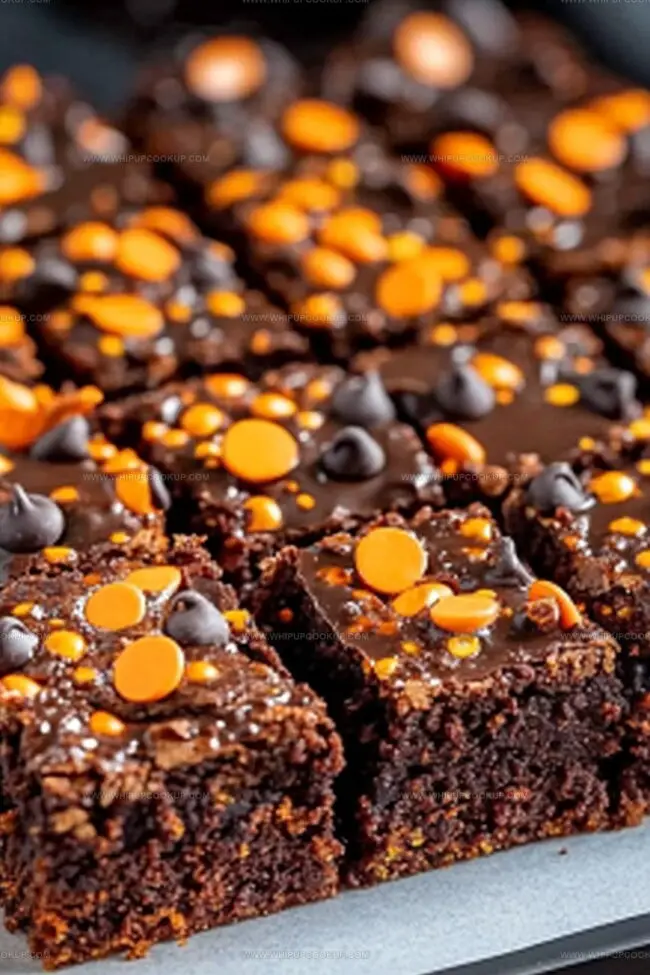
Sprinkle the remaining chocolate chips and Halloween sprinkles across the top of the batter. This will create a festive and delicious look.
Step 6: Bake to Perfection
Place the pan in the preheated oven. Bake for 40-45 minutes. You’ll know they’re done when the edges start pulling away from the pan and a toothpick inserted in the center comes out mostly clean.
Step 7: Cool and Serve
Allow the brownies to cool completely in the pan. Once cooled, cut into square pieces. Serve and enjoy your spooky Halloween treat!
Halloween Brownie Prep for Pumpkin Lovers
Halloween Pumpkin Brownies Store the Spooky Goodness
Halloween Pumpkin Brownies Pairing Ideas
Halloween Brownie Recipe Spins
FAQs
Yes, homemade pumpkin puree works perfectly. Just ensure it’s smooth and not too watery by straining excess liquid.
Check for edges pulling away from the pan and a toothpick with a few moist crumbs. The center should look set but not completely dry.
Absolutely! Kids will love the Halloween sprinkles and chocolate chips. They’re easy to make and fun to decorate together.
Yes, simply use a gluten-free brownie mix and ensure all other ingredients are gluten-free certified.
Print
Halloween Pumpkin Brownies Recipe
- Total Time: 50 minutes
- Yield: 12 1x
Description
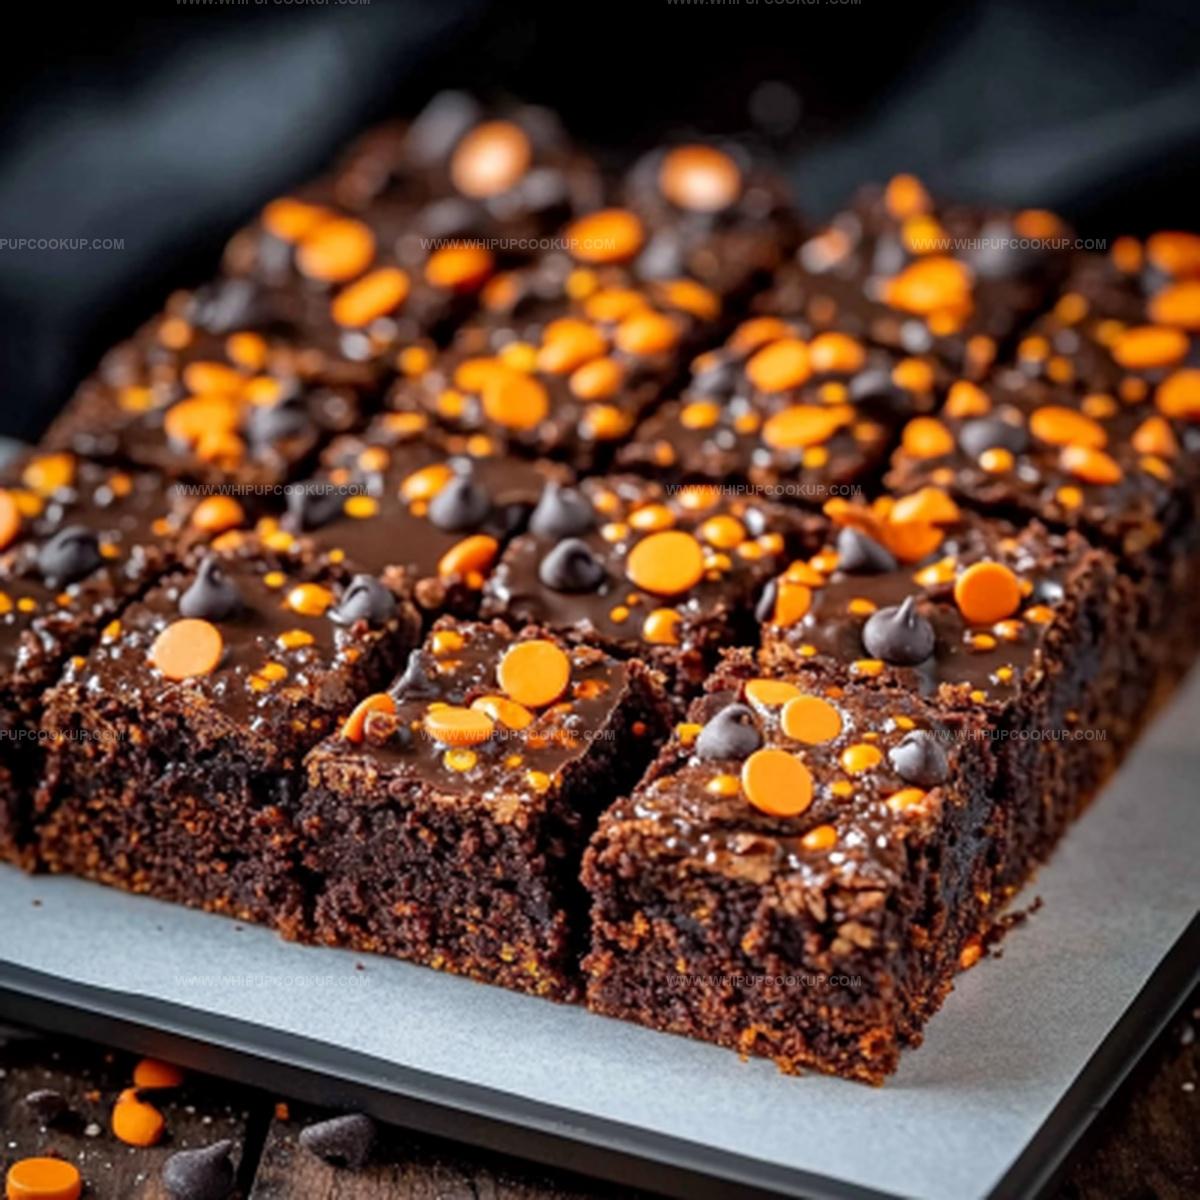
Spooky Halloween Pumpkin Brownies blend rich chocolate with seasonal warmth, creating a festive dessert that haunts taste buds. Chocolate lovers will savor this creepy-delicious treat perfect for autumn celebrations and frightful gatherings.
Ingredients
Primary Ingredients:
- 1 package (18.75 ounces / 531 grams) brownie mix (e.g., Ghirardelli Chocolate Supreme)
- 2 eggs
- 1/2 cup (120 milliliters) pumpkin puree
- 1/4 cup (60 milliliters) water
- 1/4 cup (60 milliliters) oil
Flavor Enhancers:
- 1/2 teaspoon pumpkin pie spice
Decorative Elements:
- 1 package (10 ounces / 283 grams) Halloween chocolate chips
- Halloween sprinkles
Instructions
- Prepare the baking environment by heating the oven to a moderate temperature and creating a non-stick surface in a square pan using foil or cooking spray.
- Combine pumpkin puree with liquid ingredients and eggs, whisking thoroughly to create a smooth, uniform mixture with aromatic pumpkin pie spice.
- Incorporate the dry brownie mix into the wet ingredients, stirring until a consistent batter forms, then gently fold in half of the chocolate chips for distributed sweetness.
- Transfer the batter into the prepared pan, ensuring an even layer that will bake uniformly.
- Decorate the surface with the remaining chocolate chips and festive Halloween sprinkles, creating a visually appealing topping.
- Place the pan in the preheated oven and bake until the edges slightly pull away from the sides and a testing utensil inserted near the center reveals minimal moisture.
- Allow the brownies to cool completely at room temperature, which helps them set and makes cutting into precise squares easier.
- Slice the cooled brownies into individual servings, revealing the rich, speckled interior, and serve as a delightful seasonal treat.
Notes
- Swap regular chocolate chips with dark chocolate or white chocolate chips for different flavor profiles and visual appeal.
- Use gluten-free brownie mix to make the recipe suitable for those with gluten sensitivities or celiac disease.
- Add a cream cheese swirl before baking by dolloping softened cream cheese on top and creating decorative Halloween-themed patterns with a knife.
- Store brownies in an airtight container at room temperature for up to 3 days, or refrigerate for extended freshness, ensuring maximum moisture retention.
- Prep Time: 20 minutes
- Cook Time: 30 minutes
- Category: Desserts
- Method: Baking
- Cuisine: American
Nutrition
- Serving Size: 12
- Calories: 210
- Sugar: 22 g
- Sodium: 200 mg
- Fat: 10 g
- Saturated Fat: 2 g
- Unsaturated Fat: 8 g
- Trans Fat: 0 g
- Carbohydrates: 30 g
- Fiber: 2 g
- Protein: 3 g
- Cholesterol: 40 mg
Marcus Hale
Founder & Recipe Storyteller
Expertise
Education
Holyoke Community College – HCC-MGM Culinary Arts Institute
Marcus grew up surrounded by maple trees, farm stands, and the smell of Sunday stew simmering on the stove. After earning his Culinary Arts Certificate from the HCC-MGM Culinary Arts Institute, he knew he didn’t want to work in fancy kitchens, he wanted to cook for real people.
At Whip Up Cook Up, Marcus is the guy turning memories into meals. His recipes are fast, full of flavor, and built for home cooks who want big taste without the drama.