Quick & Jolly Holiday Ornament Sugar Cookies Recipe
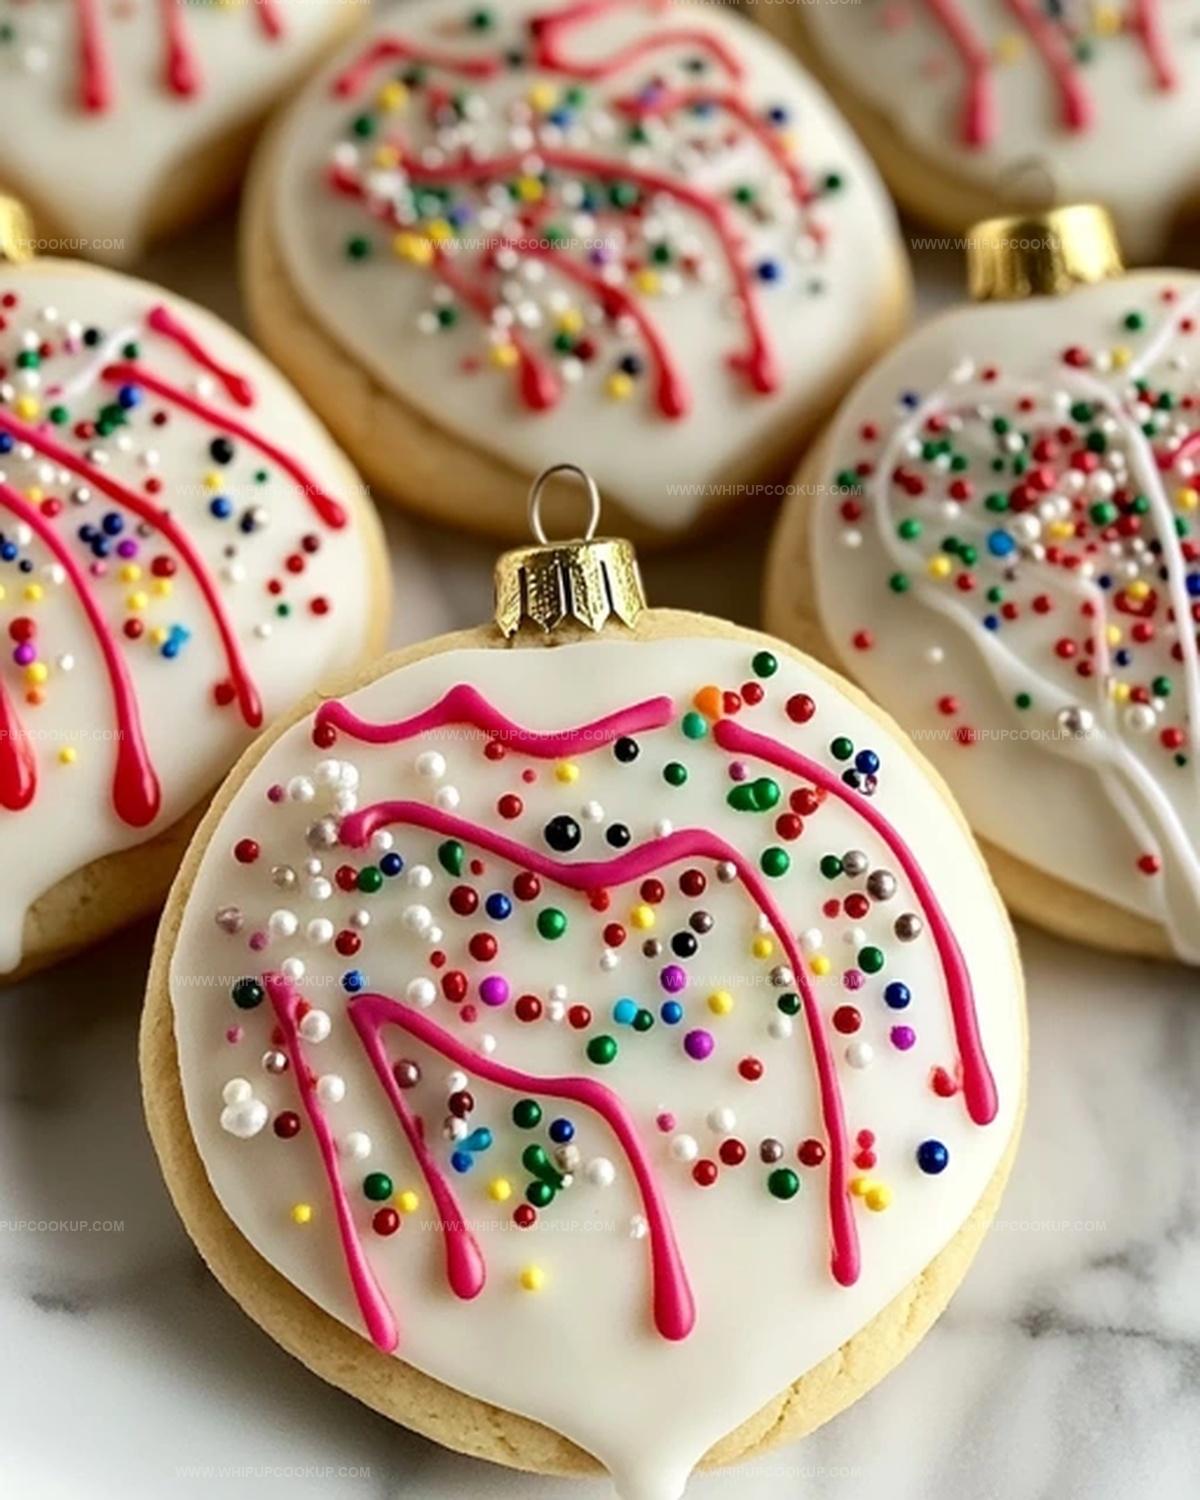
Sweet holiday magic unfolds when these ornament sugar cookies dance onto your festive table.
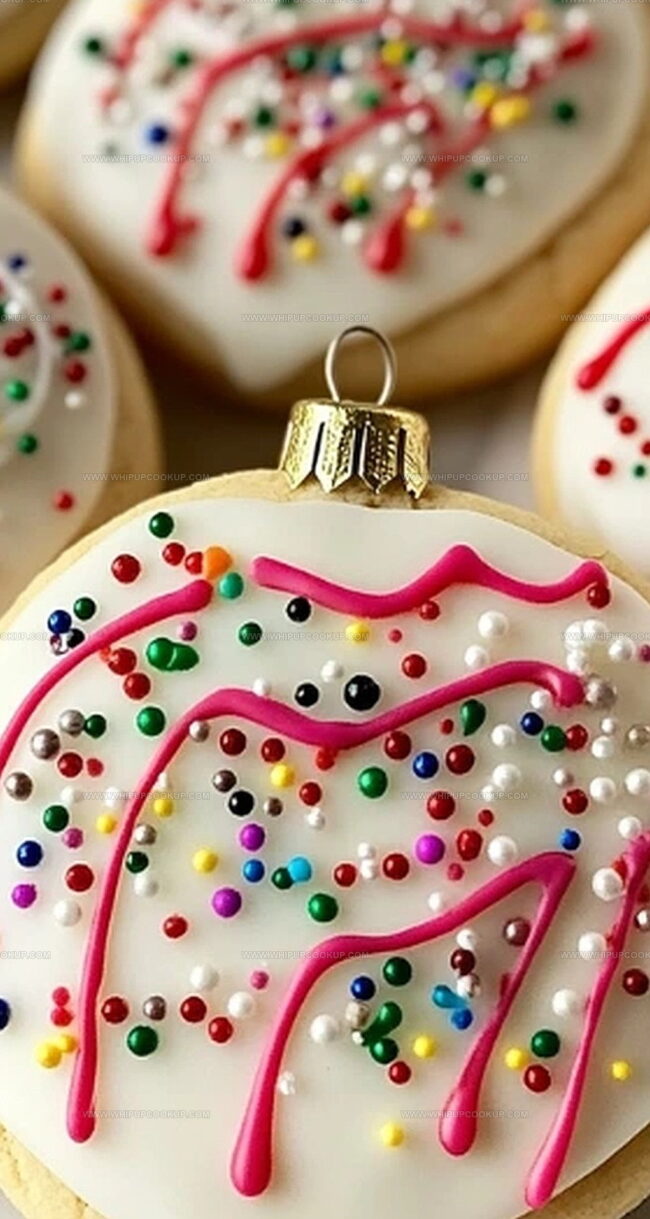
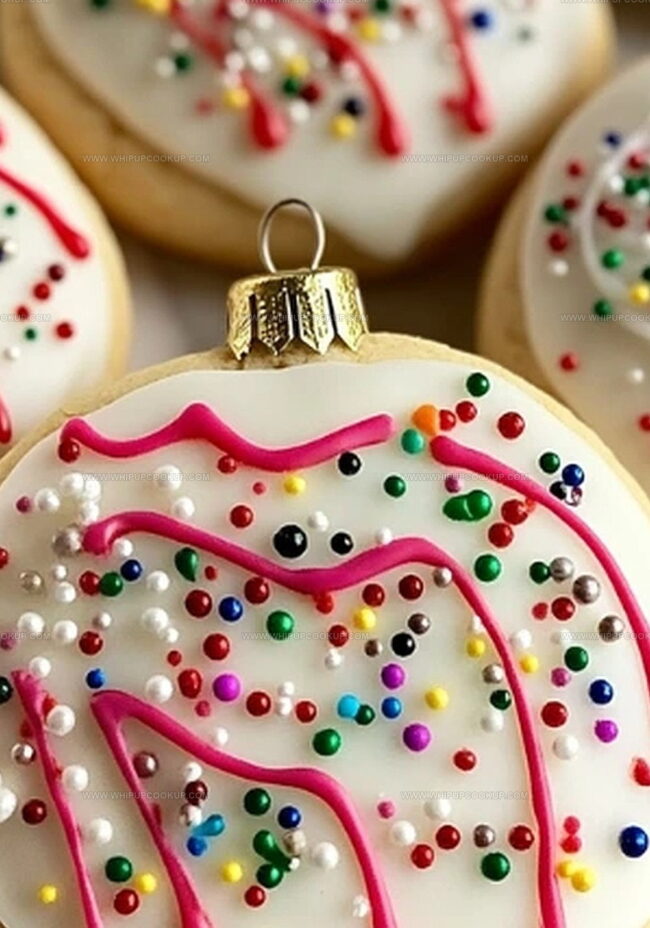
Delicate rounds sparkle with shimmer and shine, ready to become edible decorations.
Crafted with love, each cookie tells a story of celebration and joy.
Intricate designs transform simple ingredients into miniature works of art.
Pastry decorators will find pure delight in creating these whimsical treats.
Sprinkles, edible glitter, and royal icing become your artistic tools for crafting memories.
You can turn an ordinary afternoon into a magical holiday moment with these charming cookies.
Ornament Cookies That Look Like Decorations, Taste Like Treats
Holiday Ornament Cookies Ingredient Breakdown
Main Ingredients:
Dry Ingredients:Wet Ingredients:Flavor Enhancers:Decorating Ingredients:
Icing Components:Optional Decorative Extras:Decorating Holiday Ornament Sugar Cookies at Home
Step 1: Prepare Cookie Dough
Mix dry ingredients in a medium bowl. Cream butter and sugar in a large mixing bowl until fluffy. Blend in egg and vanilla extract. Gradually incorporate dry ingredients to form a smooth dough. Wrap the dough and refrigerate for about an hour to firm up.
Step 2: Shape Delightful Cookies
Warm up the oven to 350°F. Roll out the chilled dough to a quarter-inch thickness. Use holiday-themed cookie cutters to create ornament shapes. Arrange cookies on parchment-lined baking sheets.
Step 3: Bake to Golden Perfection
Slide cookies into the preheated oven. Bake for 8-10 minutes until edges turn a light golden color. Allow cookies to rest on baking sheets for five minutes. Transfer to a cooling rack to completely cool down.
Step 4: Whip Up Royal Icing
Combine in a mixing bowl:Beat ingredients until the mixture becomes smooth and glossy. Divide icing into separate bowls for different colors.
Step 5: Decorate with Festive Flair
Use piping bags to create a base layer of white icing on each cookie. Add vibrant colors and create intricate designs. Sprinkle decorative elements like edible glitter or small sugar pearls. Let cookies dry completely before storing or packaging.
Sugar Cookie Tips That Mimic Holiday Ornaments
Store Holiday Ornament Sugar Cookies the Right Way
Ornament Sugar Cookies Festive Companions
Festive Flavor Companions: Cookie Pairing Delights
Ornament Sugar Cookie Holiday Designs
FAQs
Yes, you can prepare the cookie dough up to 3 days in advance. Wrap it tightly in plastic wrap and store in the refrigerator until ready to roll and bake.
A piping bag or squeeze bottle helps create precise designs, but you can also use a zip-top bag with a corner snipped off for icing application.
Roll the dough to approximately 1/4-inch thickness for consistent baking and a tender cookie texture. Using rolling pin guide rings or wooden dowels can help achieve an even thickness.
Chill the cut-out cookie shapes on the baking sheet for 10-15 minutes before baking. This helps them maintain their shape and prevents excessive spreading.
Print
Holiday Ornament Sugar Cookies Recipe
- Total Time: 1 hour 25 minutes
- Yield: 24 1x
Description
Festive holiday ornament sugar cookies sparkle with sweet charm and delightful decorative magic. Christmas baking becomes a joyful celebration when you craft these elegant, personalized treats that bring whimsical cheer to seasonal gatherings.
Ingredients
Main Ingredients:
- 1 cup unsalted butter, softened
- 1 cup granulated sugar
- 1 large egg
- 2 3/4 cups all-purpose flour
Leavening and Seasoning:
- 1 teaspoon baking powder
- 1/2 teaspoon salt
Flavor Enhancers:
- 2 teaspoons vanilla extract
- 1/2 teaspoon almond extract (optional)
Instructions
- Craft the cookie foundation by whisking flour, baking powder, and salt in a medium mixing vessel. In a separate large bowl, thoroughly cream butter and sugar until achieving a cloud-like, aerated texture.
- Incorporate egg, vanilla, and optional almond extract into the butter mixture, blending until uniform. Gradually fold dry ingredients into the wet components, gently mixing until a cohesive dough materializes.
- Partition the dough, encase in plastic wrap, and refrigerate for a minimum of 60 minutes to firm and develop flavor complexity.
- Preheat the oven to 350°F, creating an ideal baking environment. Retrieve chilled dough and roll out to a precise 1/4-inch thickness on a lightly floured surface.
- Utilize festive cookie cutters to shape ornament-inspired circles, carefully transferring each delicate shape onto parchment-lined baking sheets.
- Position sheets in preheated oven, baking for 8-10 minutes until edges transform into a delicate golden hue. Allow cookies to rest on baking sheets for 5 minutes, then transition to wire cooling racks.
- Prepare royal icing by whipping powdered sugar, meringue powder, and water until achieving a silky, glossy consistency. Divide icing and experiment with vibrant color variations.
- Adorn each cookie with a smooth base layer of icing, then embellish with intricate piping, complementary colors, and sparkling sprinkles. Permit decorations to completely solidify before storing or packaging.
Notes
- Chill the dough thoroughly to prevent spreading and maintain crisp ornament shapes during baking.
- Use powdered sugar instead of granulated for a smoother, more delicate royal icing texture that sets beautifully.
- Create gluten-free versions by substituting all-purpose flour with a 1:1 gluten-free blend to accommodate dietary restrictions.
- Roll dough between parchment paper sheets to prevent sticking and ensure uniform thickness without adding extra flour.
- Prep Time: 1 hour 15 minutes
- Cook Time: 10 minutes
- Category: Desserts, Snacks
- Method: Baking
- Cuisine: American
Nutrition
- Serving Size: 24
- Calories: 150
- Sugar: 10 g
- Sodium: 50 mg
- Fat: 8 g
- Saturated Fat: 5 g
- Unsaturated Fat: 3 g
- Trans Fat: 0 g
- Carbohydrates: 20 g
- Fiber: 0 g
- Protein: 1 g
- Cholesterol: 30 mg
Marcus Hale
Founder & Recipe Storyteller
Expertise
Education
Holyoke Community College – HCC-MGM Culinary Arts Institute
Marcus grew up surrounded by maple trees, farm stands, and the smell of Sunday stew simmering on the stove. After earning his Culinary Arts Certificate from the HCC-MGM Culinary Arts Institute, he knew he didn’t want to work in fancy kitchens, he wanted to cook for real people.
At Whip Up Cook Up, Marcus is the guy turning memories into meals. His recipes are fast, full of flavor, and built for home cooks who want big taste without the drama.