The Best Homemade Chocolate Ice Cream Recipe for Sweet Treats
Crafting delectable homemade chocolate ice cream brings pure culinary magic right into your kitchen.
Sweet cocoa aromas will soon fill every corner of your space.
Creamy textures promise an indulgent dessert that surpasses store-bought versions.
Minimal ingredients combine to create something extraordinary and decadent.
Rich chocolate notes dance across your palate with each luxurious spoonful.
Professional pastry techniques become accessible through simple steps anyone can master.
You’ll feel like a gourmet chef after whipping up this delightful frozen treat.
What Chocolate Ice Cream Brings to the Table

Chocolate Ice Cream (Rich & Creamy) Ingredients
Main Ingredients:Flavor Enhancers:Optional Add-Ins:Chocolate Ice Cream Homemade Method
Step 1: Blend Creamy Base
Grab a spacious mixing bowl and whisk together the delightful ingredients:Whirl the ingredients until they transform into a silky, uniform mixture with no sugar crystals remaining.
Step 2: Chill the Mixture
Cover your bowl with plastic wrap and slide it into the refrigerator. Let the mixture cool and meld its flavors for about 30 minutes. This secret step ensures an ultracreamy texture that will make taste buds dance.
Step 3: Churn Into Dreaminess
Retrieve your ice cream maker and pour the chilled chocolate elixir into the machine. Let it work its magic, spinning and freezing for approximately 20-25 minutes. Watch as the liquid gradually transforms into a luscious, soft-serve consistency.
Step 4: Set and Solidify
Carefully transfer the freshly churned ice cream into a freezer-safe container with a tight-fitting lid. Nestle it in the freezer and allow it to set for a minimum of 4 hours. Patience rewards you with a gloriously firm, scoop-able chocolate indulgence.
Chocolate Ice Cream Tips for a Lush, Creamy Scoop
Store Homemade Chocolate Ice Cream with Ease
Sides That Fit Chocolate Ice Cream
Decadent Dessert Companions: Elevate Your Chocolate Ice Cream Experience
Chocolate Ice Cream Styles
FAQs
You’ll need heavy cream, whole milk, sugar, cocoa powder, vanilla extract, and a pinch of salt. These basic pantry staples create a rich, creamy chocolate ice cream from scratch.
While an ice cream maker helps create a smoother, creamier texture, you can still make ice cream without one by using a no-churn method or manually stirring the mixture every 30 minutes during freezing to break up ice crystals.
Use high-quality cocoa powder and consider adding a small amount of melted dark chocolate to the base mixture. This will intensify the chocolate flavor and create a more luxurious texture.
Absolutely! You can reduce or increase the sugar quantity to suit your taste preferences. If you want less sugar, start by reducing the amount by 1-2 tablespoons and taste the mixture before churning.
Print
Homemade Chocolate Ice Cream Recipe
- Total Time: 5 hours
- Yield: 4 1x
Description
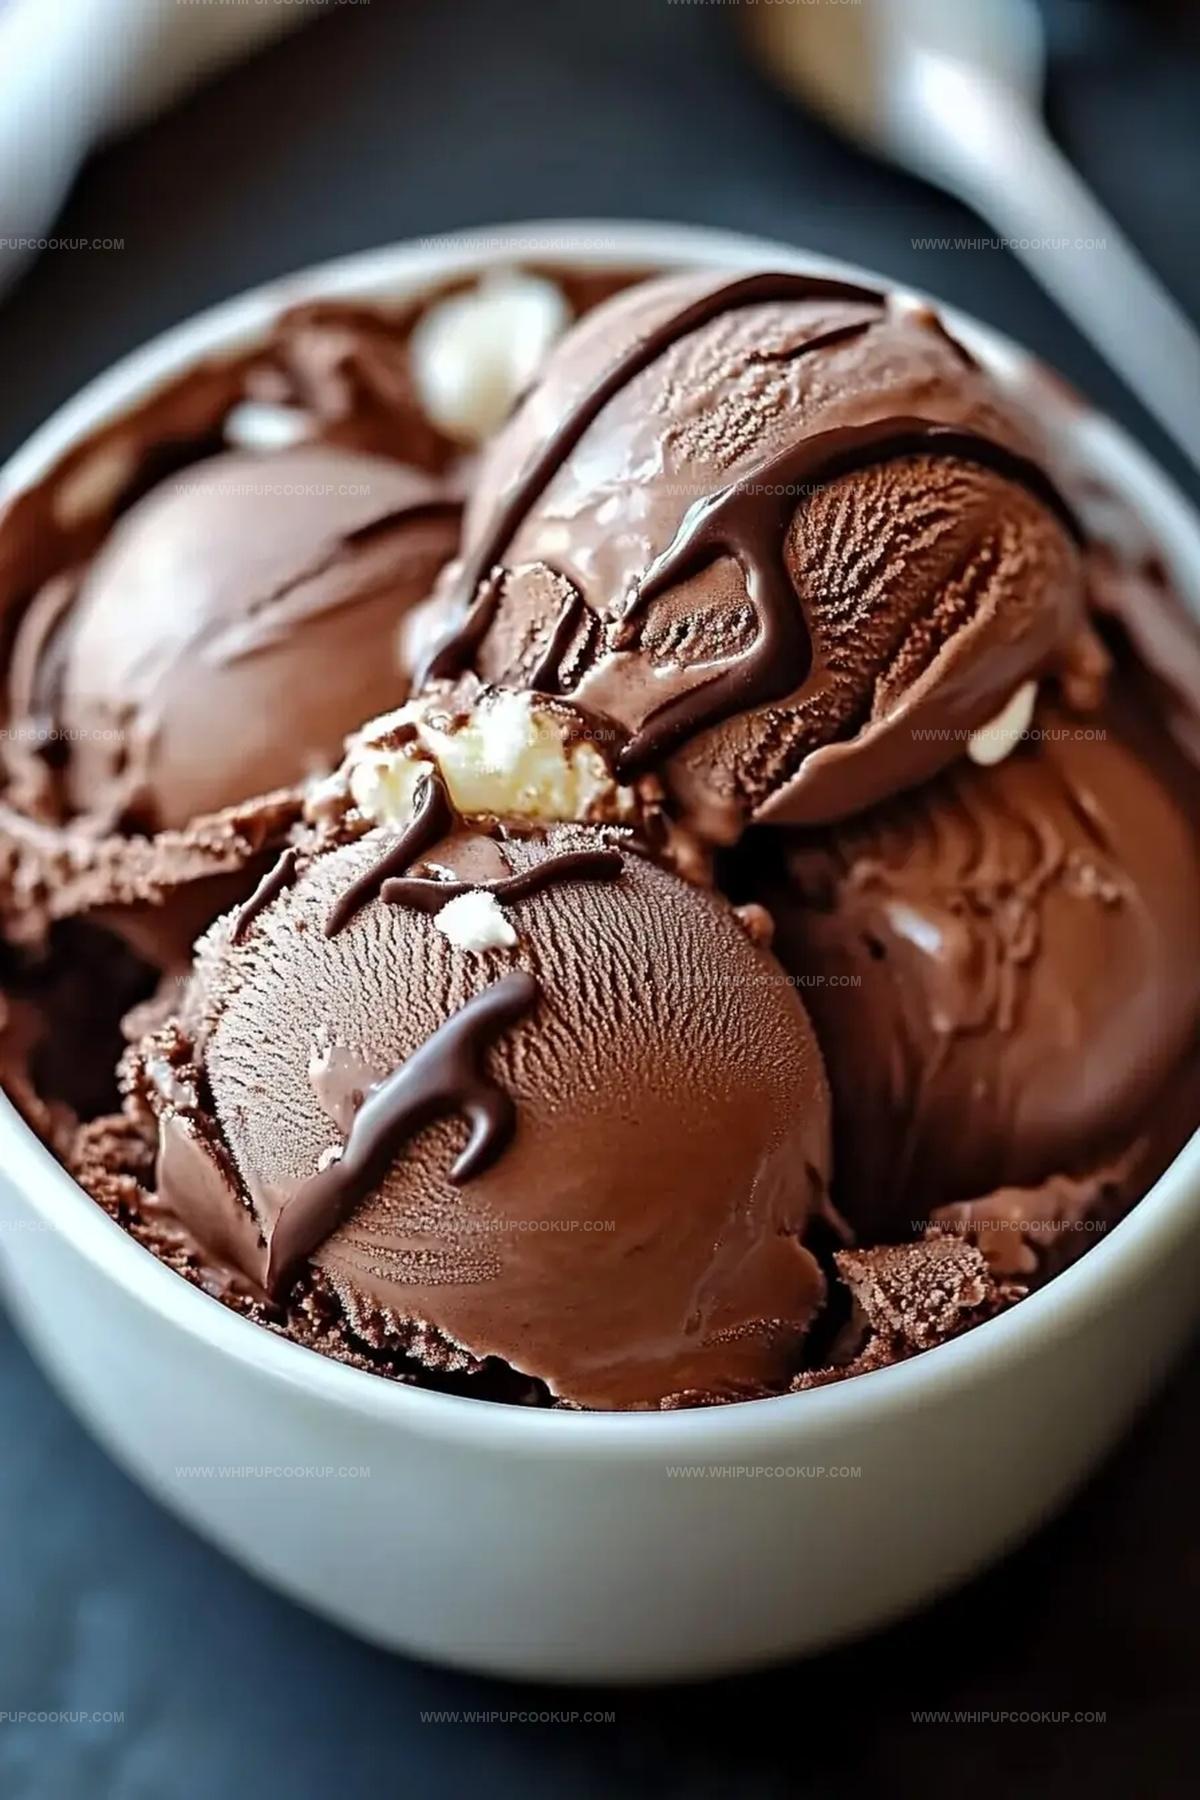
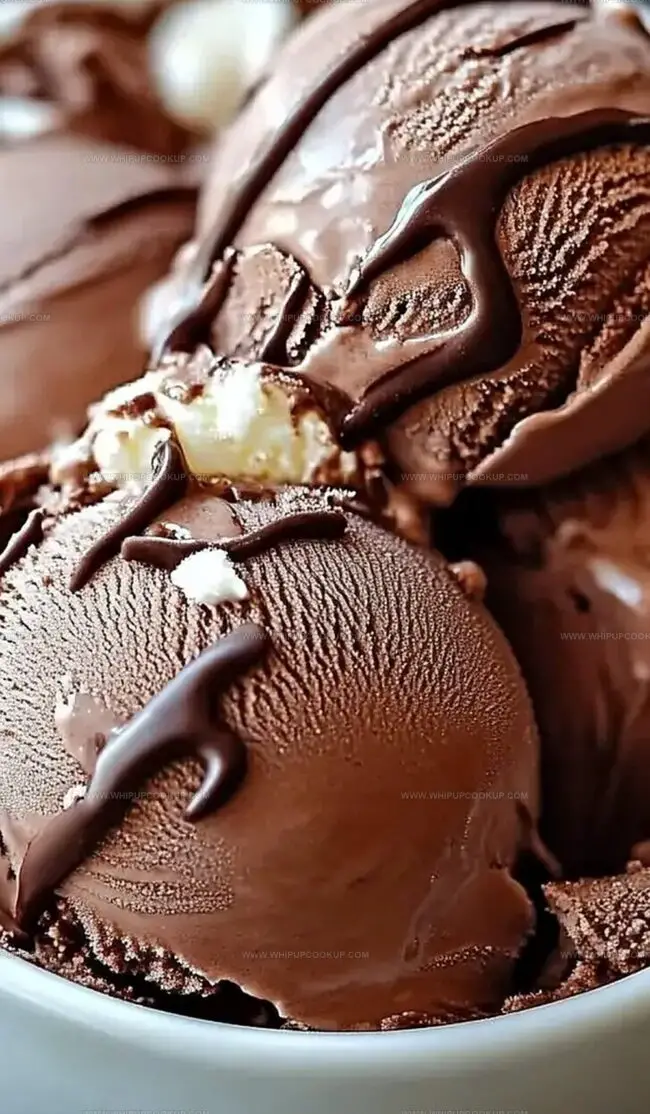
Indulgent homemade chocolate ice cream promises pure dessert bliss with rich, creamy layers of cocoa delight. Silky smooth chocolate swirls invite chocolate enthusiasts to savor each luxurious spoonful of this classic frozen treat.
Ingredients
Main Ingredients:
- 2 cups heavy cream
- 1 cup whole milk
- 3/4 cup granulated sugar
- 1/2 cup unsweetened cocoa powder
Flavor Enhancers:
- 1 teaspoon vanilla extract
- 1 pinch salt
Instructions
- Craft a silky chocolate base by vigorously whisking heavy cream, whole milk, sugar, cocoa powder, vanilla extract, and salt in a spacious mixing vessel until completely homogeneous and velvety smooth.
- Enhance the mixture’s potential by allowing it to rest and chill in the refrigerator for approximately 30 minutes, which will elevate the final texture and intensify flavor development.
- Transform the chilled liquid into a luxurious frozen dessert by carefully pouring the mixture into an ice cream machine, activating the churning process for 20-25 minutes until it achieves a soft, pillowy consistency.
- Transition the freshly churned ice cream into an insulated, sealed container, then position it in the freezer’s depths for a minimum of 4 hours, permitting the delicate crystals to stabilize and solidify into a rich, decadent treat.
- Prior to serving, allow the ice cream to soften slightly at room temperature for 3-5 minutes, which will render it effortlessly scoopable and reveal its full, profound chocolate essence.
Notes
- Chill the mixture thoroughly to enhance the smoothness and prevent ice crystals from forming during churning.
- Use high-quality cocoa powder for a richer, more intense chocolate flavor that elevates the entire dessert.
- Experiment with mix-ins like chocolate chips, chopped nuts, or a swirl of caramel to customize your homemade ice cream and add exciting texture.
- For a dairy-free version, substitute coconut milk or almond milk and use coconut cream instead of heavy cream to maintain a creamy consistency.
- Prep Time: 35 minutes
- Cook Time: 4 hours 25 minutes
- Category: Desserts, Snacks
- Method: Churning
- Cuisine: American
Nutrition
- Serving Size: 4
- Calories: 320
- Sugar: 12 g
- Sodium: 50 mg
- Fat: 24 g
- Saturated Fat: 14 g
- Unsaturated Fat: 10 g
- Trans Fat: 0 g
- Carbohydrates: 30 g
- Fiber: 1 g
- Protein: 4 g
- Cholesterol: 80 mg
Marcus Hale
Founder & Recipe Storyteller
Expertise
Education
Holyoke Community College – HCC-MGM Culinary Arts Institute
Marcus grew up surrounded by maple trees, farm stands, and the smell of Sunday stew simmering on the stove. After earning his Culinary Arts Certificate from the HCC-MGM Culinary Arts Institute, he knew he didn’t want to work in fancy kitchens, he wanted to cook for real people.
At Whip Up Cook Up, Marcus is the guy turning memories into meals. His recipes are fast, full of flavor, and built for home cooks who want big taste without the drama.