Try This Tasty Homemade Yakisoba Sauce Recipe Today
Crafting a delectable yakisoba sauce at home brings an authentic burst of Japanese culinary magic to your kitchen.
Regional ingredients blend seamlessly to create complex flavor profiles that dance across your palate.
Passionate cooks understand the nuanced art of balancing sweet, savory, and umami elements in this iconic condiment.
Small tweaks can dramatically enhance your noodle dishes with minimal effort.
Professional chefs often guard their secret sauce combinations, but we’re breaking down those barriers today.
Our straightforward method demystifies traditional techniques while keeping the essence of genuine Japanese cooking.
You’ll be amazed how simple ingredients can unlock such incredible taste sensations.
Grab your whisk and prepare to elevate every stir-fry with this game-changing sauce recipe.
What Makes Yakisoba Sauce a Pantry Essential

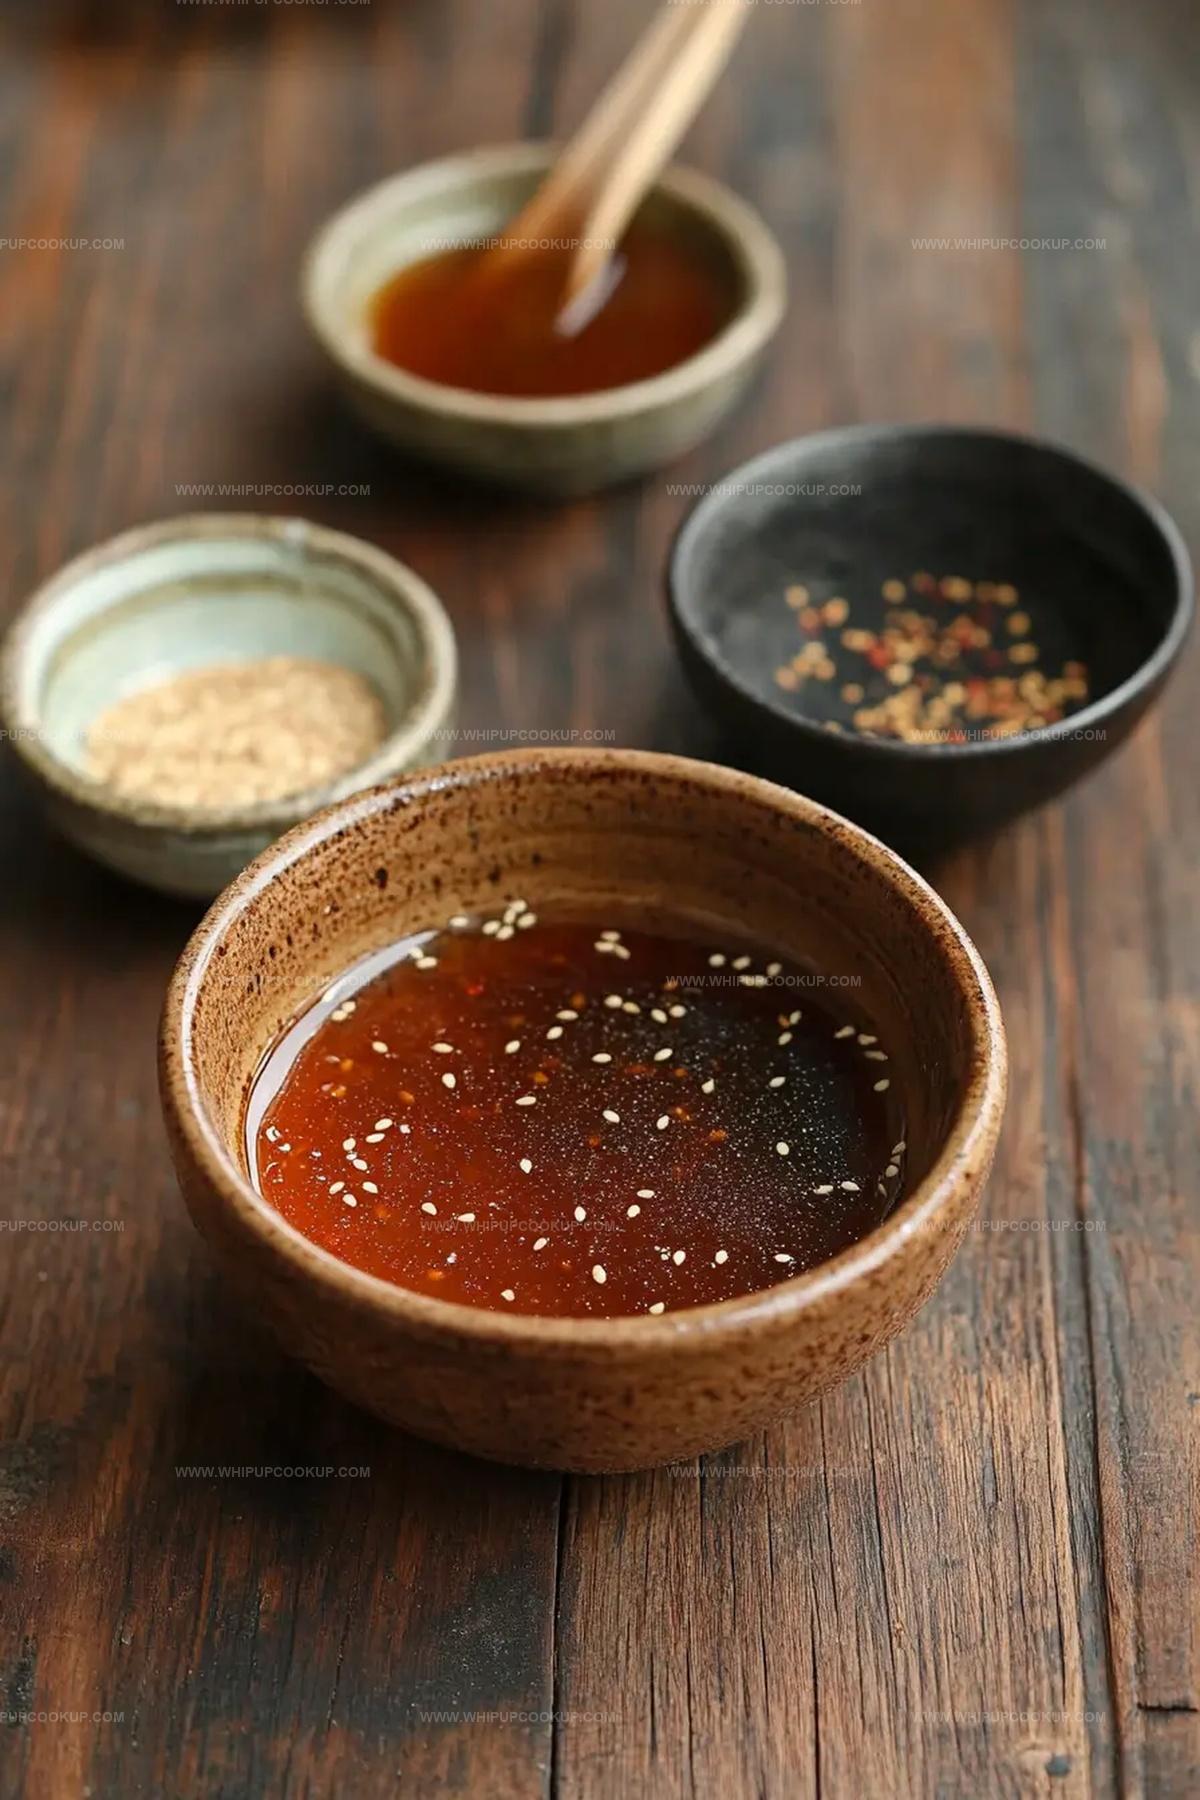
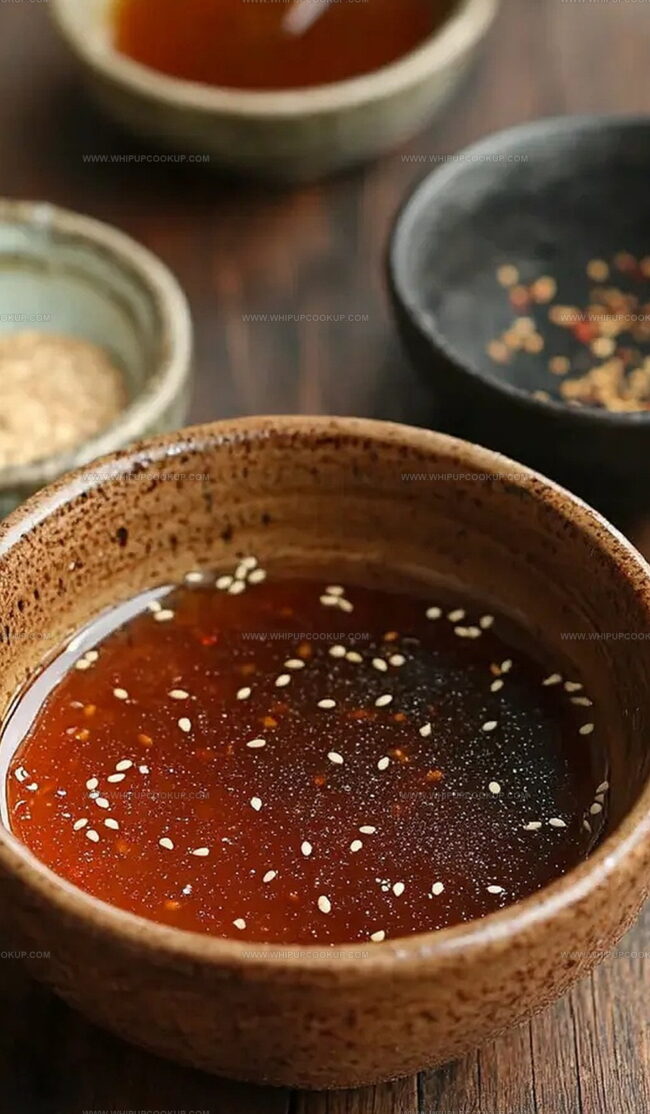
Yakisoba Sauce (Homemade) Ingredients
Main Sauce Ingredients:Sweet and Flavor Enhancers:Spice and Aromatic Boosters:Yakisoba Sauce Homemade Prep
Step 1: Prepare Mixing Station
Grab a small mixing bowl and place it on a clean, dry surface. This will be your sauce creation zone.
Step 2: Combine Flavor Powerhouses
Add these flavor-packed ingredients to your bowl:Step 3: Whisk Into Smooth Harmony
Use a whisk to blend all ingredients together. Stir vigorously until the sugar completely dissolves and the sauce transforms into a silky, well-integrated mixture. Keep whisking until no sugar crystals remain and the sauce looks glossy and uniform.
Step 4: Taste and Tweak
Give your sauce a quick taste test. If you want more depth, consider adding a tiny splash of rice vinegar for brightness or an extra pinch of sugar for rounded sweetness. The goal is a balanced sauce that dances between sweet, savory, and tangy notes.
Step 5: Store or Serve
Transfer the sauce to a clean jar or container. It’s now ready to elevate your yakisoba noodles or can be stored in the refrigerator for future culinary adventures.
Yakisoba Sauce Tips That Balance Umami and Sweetness
Save Homemade Yakisoba Sauce Correctly
Bites That Go with Yakisoba Sauce
Yakisoba Sauce Mix Styles
FAQs
Each sauce brings a unique flavor: soy sauce adds saltiness, Worcestershire sauce provides tanginess, oyster sauce contributes depth, ketchup adds sweetness and color, and mirin brings a mild rice wine sweetness.
This sauce is a modern, home-style adaptation of traditional Yakisoba sauce, which typically includes similar umami-rich ingredients commonly used in Japanese home cooking.
Yes, you can prepare the Yakisoba sauce in advance and store it in an airtight container in the refrigerator for up to one week. The flavors will actually meld and intensify over time.
You can substitute similar ingredients – for example, if you’re missing mirin, use a mix of rice vinegar and sugar, or replace oyster sauce with hoisin sauce for a comparable flavor profile.
Print
Homemade Yakisoba Sauce Recipe
- Total Time: 5 minutes
- Yield: 8 1x
Description
Tangy Japanese yakisoba sauce elevates noodle dishes with authentic street-food flavor. Home cooks can easily craft this magical blend of umami-rich ingredients that brings Japanese culinary magic right to your kitchen.
Ingredients
Main Sauce Components:
- 1/4 cup (60 ml) soy sauce
- 2 tablespoons (30 ml) Worcestershire sauce
- 1 tablespoon (15 ml) oyster sauce
- 1 tablespoon (15 ml) ketchup
- 1 tablespoon (15 ml) mirin
Sweetening Agents:
- 1 teaspoon (5 g) sugar
Spices and Flavor Enhancers:
- 1/2 teaspoon (2.5 g) garlic powder
- 1/2 teaspoon (2.5 g) ginger powder
- 1/2 teaspoon (2.5 g) black pepper
- 1 teaspoon (5 ml) sesame oil
Instructions
- Select a compact mixing vessel and combine the liquid and dry condiments, ensuring a comprehensive blend of soy sauce, Worcestershire sauce, oyster sauce, ketchup, mirin, sugar, garlic powder, ginger powder, ground black pepper, and fragrant sesame oil.
- Utilize a whisk to thoroughly integrate all components, stirring with consistent circular motions until the granulated sugar completely dissolves and transforms into a seamless, unified sauce.
- Evaluate the sauce’s flavor profile by conducting a taste test, making nuanced adjustments as necessary – incrementally introducing additional sweetener for enhanced depth or incorporating a modest splash of vinegar to amplify the tangy undertones.
- Once the sauce reaches an optimal balance of sweet, savory, and umami characteristics, transfer to a sealed container and refrigerate until prepared for culinary application.
Notes
- Customize the sweetness by adjusting sugar levels to match your taste preference.
- Swap ingredients for dietary needs like using gluten-free soy sauce or vegan Worcestershire sauce.
- Add a splash of rice vinegar for extra tang and brightness if the sauce feels too heavy.
- Store the sauce in an airtight container in the refrigerator for up to two weeks, allowing flavors to meld and develop deeper complexity.
- Prep Time: 5 minutes
- Cook Time: 0 minutes
- Category: Dinner, Lunch, Appetizer
- Method: Blending
- Cuisine: Japanese
Nutrition
- Serving Size: 8
- Calories: 25
- Sugar: 1 g
- Sodium: 800 mg
- Fat: 0 g
- Saturated Fat: 0 g
- Unsaturated Fat: 0 g
- Trans Fat: 0 g
- Carbohydrates: 5 g
- Fiber: 0 g
- Protein: 1 g
- Cholesterol: 0 mg
Marcus Hale
Founder & Recipe Storyteller
Expertise
Education
Holyoke Community College – HCC-MGM Culinary Arts Institute
Marcus grew up surrounded by maple trees, farm stands, and the smell of Sunday stew simmering on the stove. After earning his Culinary Arts Certificate from the HCC-MGM Culinary Arts Institute, he knew he didn’t want to work in fancy kitchens, he wanted to cook for real people.
At Whip Up Cook Up, Marcus is the guy turning memories into meals. His recipes are fast, full of flavor, and built for home cooks who want big taste without the drama.