Spooky Jack Skellington Chocolate Covered Oreos Recipe
Weird and whimsical jack skellington chocolate covered oreos spark magic in every Halloween-inspired treat.
Nightmarish decorations transform ordinary cookies into spooky delights that dance between sweet and sinister.
Dark chocolate becomes the perfect canvas for creating skeletal faces with precise white icing details.
Fans of tim burton’s beloved character will adore these playful confections that capture the essence of halloween spirit.
Simple ingredients and minimal techniques make these cookies accessible for bakers of all skill levels.
Crafting these cookies lets you channel your inner halloween artist and delight guests with unexpected culinary creativity.
Let’s bring some skellington charm to your dessert table and watch eyes light up with ghoulish glee.
Jack Skellington Chocolate Oreos Ingredients
Main Ingredients:Decorating Supplies:Additional Ingredients:Chocolate Covered Jack Skellington Oreos Decorating Guide
Step 1: Prepare Candy Coating
Gently warm white candy melts in a microwave-safe bowl, stirring every 30 seconds until completely smooth and silky. Work slowly to prevent burning the chocolate.
Step 2: Dunk Oreo Cookies
Carefully submerge each Oreo into the melted white coating using a dipping fork. Gently tap the fork on the bowl’s edge to remove excess chocolate, creating a clean, even layer.
Step 3: Create Smooth Surface
Delicately place the chocolate-covered Oreos onto a parchment-lined baking sheet. Allow them to rest and harden at room temperature or quickly set in the refrigerator.
Step 4: Sketch Spooky Face Design
Using black decorating icing or a piping bag, draw Jack Skellington’s iconic skeletal facial features. Focus on creating his wide grin, hollow eye sockets, and distinctive bone-like expressions.
Step 5: Add Final Touches
Let the decorated cookies sit until the black icing completely dries and sets. This ensures the design won’t smudge or run when handling.
Step 6: Store Properly
Transfer the finished Nightmare Before Christmas treats to an airtight container. Keep in a cool, dry place away from direct sunlight to maintain their crisp chocolate coating and detailed design.
Oreo Tips for Spooky Jack Skellington Chocolate Bites
Store Jack Skellington Oreos the Smart Way
Jack Skellington Oreos Party Companions
Hearty Chili Copycat Twists
FAQs
These cookies are super easy to create, even for beginners. You only need basic baking skills like melting candy melts and drawing a simple face design.
Black royal icing or black decorating icing from a tube works perfectly. Make sure the icing is thick enough to create clean lines and details.
Absolutely! Kids can help dip the Oreos in candy melts and have fun drawing faces. Adult supervision is recommended for the melting and coating steps.
No special tools required. You just need a fork for dipping, parchment paper for setting, and black icing for decorating. A simple kitchen setup works great.
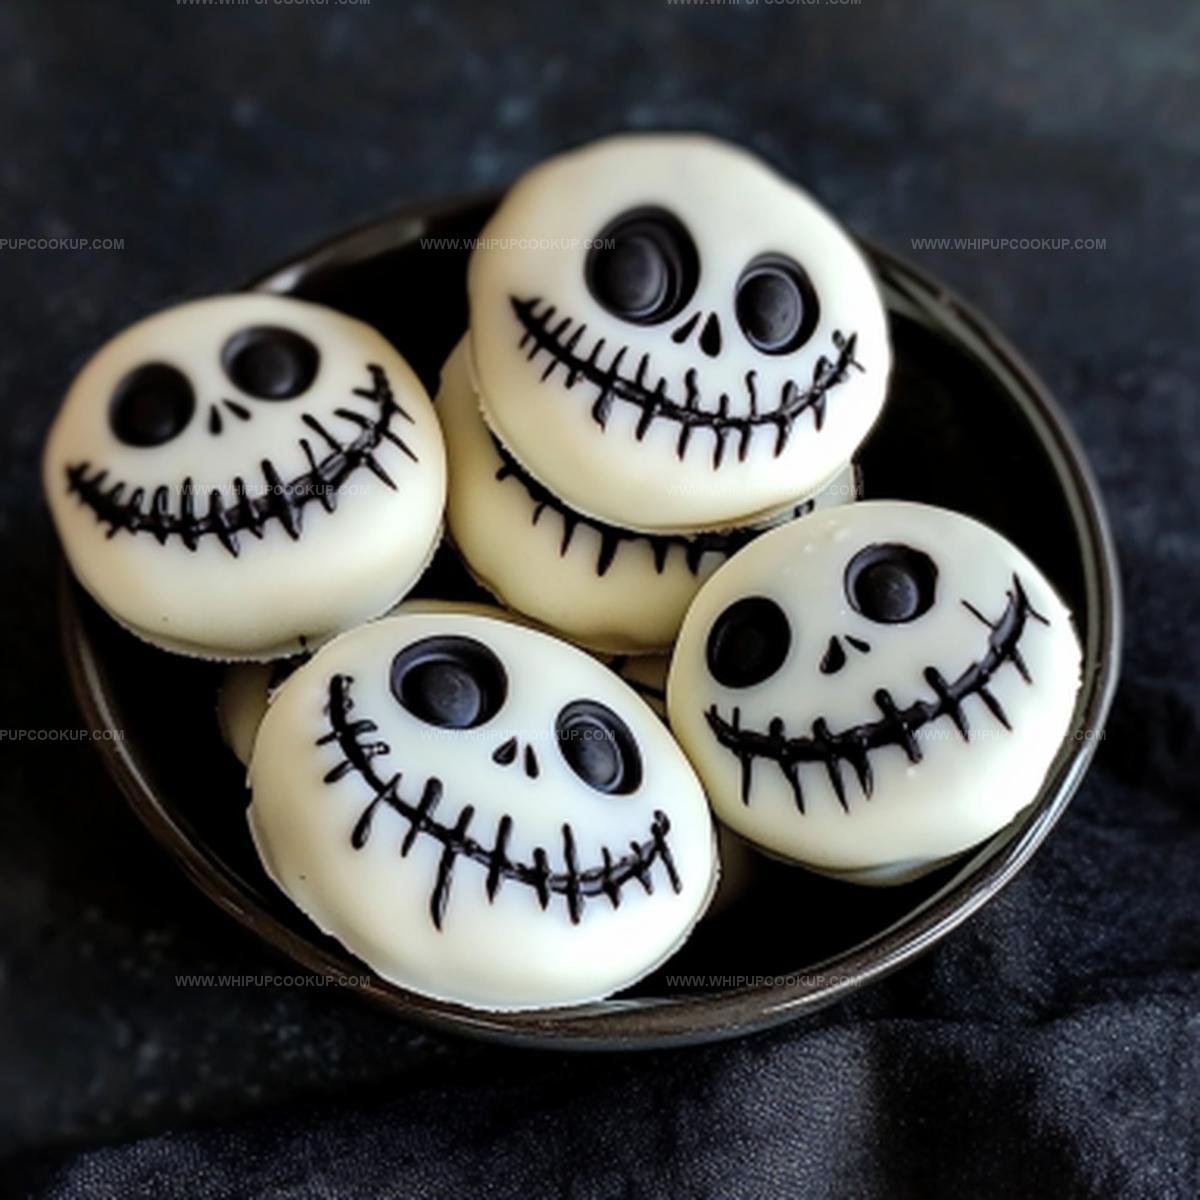
Chocolate-Covered Oreos with a Spooky Jack Skellington Twist
Print
Jack Skellington Chocolate Covered Oreos Recipe
- Total Time: 22 minutes
- Yield: 28 1x
Description
Spooky Halloween vibes meet sweet indulgence with Jack Skellington Chocolate Covered Oreos, a playful treat that brings Tim Burton’s iconic character to life. Creepy-cute cookie design perfectly captures nightmare-before-christmas magic for festive gatherings you’ll love.
Ingredients
Main Ingredients:
- 28 Oreo cookies or similar round cookies
- 12 ounces (340 grams) bright white candy melts
Decorative Ingredient:
- Black icing with a decorating tip (for Jack’s face)
Instructions
- Gently liquefy white chocolate candy melts in a microwave-safe bowl, stirring periodically to ensure a silky, uniform consistency without overheating.
- Delicately immerse each Oreo cookie into the molten chocolate, utilizing a specialized dipping fork to guarantee complete, even coverage.
- Carefully transfer the chocolate-enrobed cookies onto a pristine parchment-lined baking sheet, allowing excess chocolate to elegantly drip away.
- Allow the chocolate-coated cookies to solidify at room temperature, creating a smooth, glossy exterior.
- Once completely set, employ black decorative icing to meticulously craft Jack Skellington’s iconic skeletal facial features, focusing on precision and character details.
- Permit the facial design to thoroughly dry and set, ensuring crisp, clean lines of the character’s expression.
- Preserve the decorated Oreos in a sealed, moisture-resistant container, positioned in a cool environment to maintain their structural integrity and aesthetic appeal for an extended period.
Notes
- Customize candy melt colors by mixing different shades for a unique Halloween aesthetic.
- Use a dipping tool or fork with thin tines to ensure clean, even chocolate coating without crumbs.
- Create smoother surfaces by gently tapping excess chocolate off and letting cookies set at room temperature.
- Experiment with different facial expressions or add subtle white lines to capture Jack Skellington’s skeletal details for more character personality.
- Prep Time: 20 minutes
- Cook Time: 2 minutes
- Category: Desserts, Snacks
- Method: Coating
- Cuisine: American
Nutrition
- Serving Size: 28
- Calories: 120
- Sugar: 9g
- Sodium: 50mg
- Fat: 6g
- Saturated Fat: 3g
- Unsaturated Fat: 2g
- Trans Fat: 0g
- Carbohydrates: 16g
- Fiber: 1g
- Protein: 1g
- Cholesterol: 0mg
Marcus Hale
Founder & Recipe Storyteller
Expertise
Education
Holyoke Community College – HCC-MGM Culinary Arts Institute
Marcus grew up surrounded by maple trees, farm stands, and the smell of Sunday stew simmering on the stove. After earning his Culinary Arts Certificate from the HCC-MGM Culinary Arts Institute, he knew he didn’t want to work in fancy kitchens, he wanted to cook for real people.
At Whip Up Cook Up, Marcus is the guy turning memories into meals. His recipes are fast, full of flavor, and built for home cooks who want big taste without the drama.