Fluffy Cloud-Like Japanese Cheesecake Recipe for Beginners
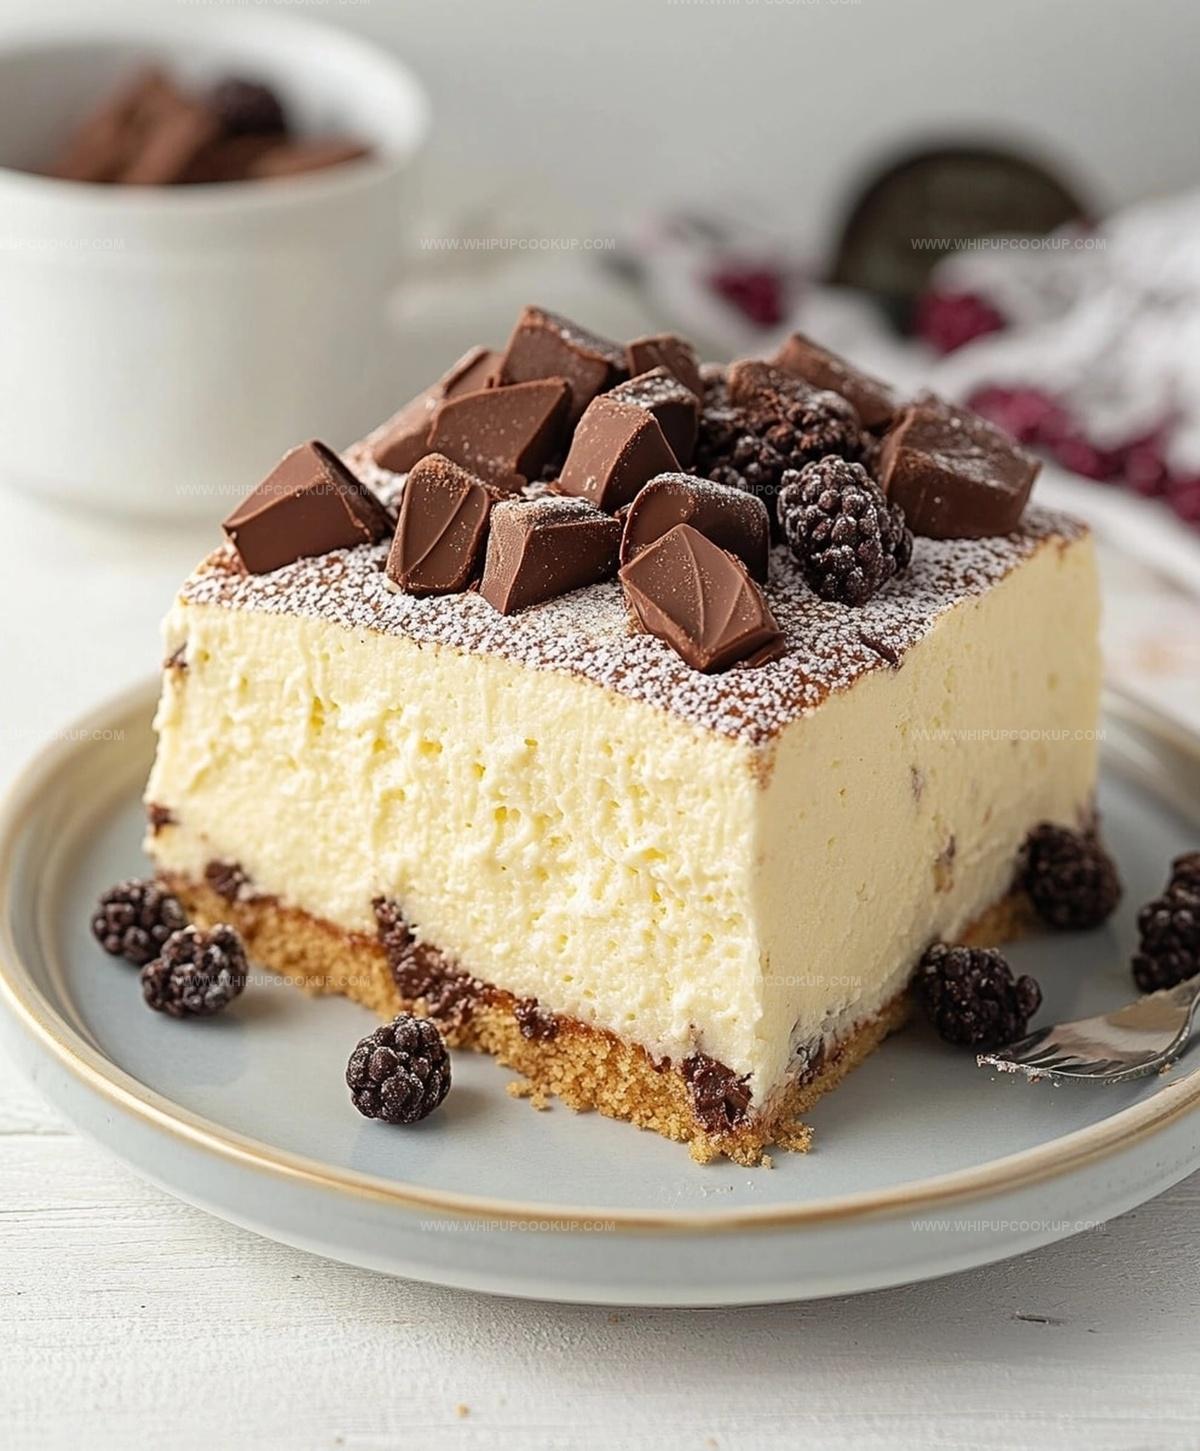
Soft, cloud-like Japanese cheesecake has stolen the hearts of dessert enthusiasts worldwide with its delicate texture and melt-in-your-mouth goodness.
This heavenly treat brings together the perfect balance of airy sponge and creamy richness.
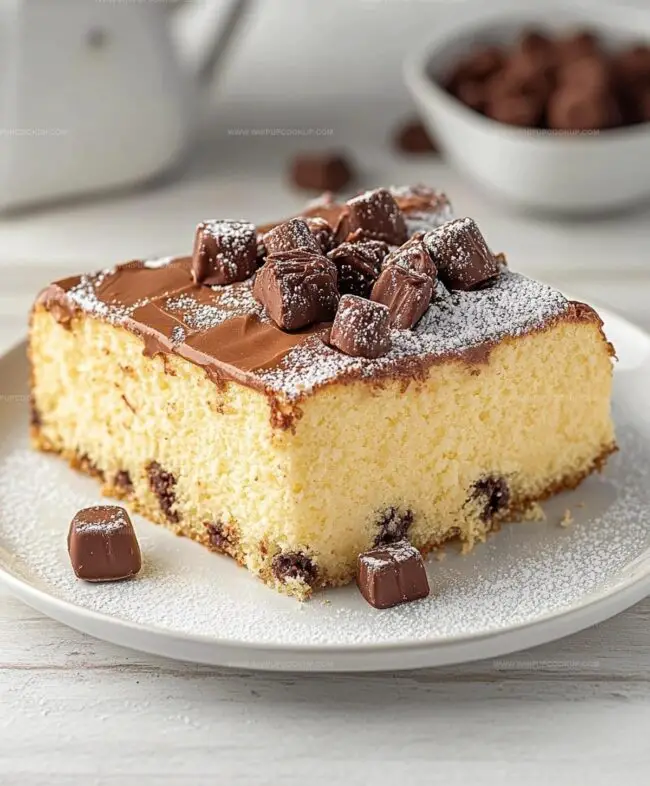
Light as a feather, the cake rises beautifully with a gentle golden top that promises pure indulgence.
Bakers adore this recipe for its unique jiggly consistency and subtle sweetness.
The technique requires precision and gentle handling to achieve that signature souffle-like structure.
Each slice promises a delightful experience that transports you to a pastry shop in Tokyo.
Prepare to savor a dessert that redefines your understanding of cheesecake.
Ingredients for Classic Japanese Cheesecake
Cake Base:Dry Ingredients:Liquid and Fat Components:Flavoring and Enhancers:Baking Preparation:How to Make Fluffy Japanese Cheesecake
Step 1: Warm Up The Oven
Set your oven to a cozy 300°F and grab an 8-inch round cake pan.
Gently line the bottom with parchment paper, creating a smooth surface for your cheesecake adventure.
Step 2: Create A Steamy Water Bath
Find a larger baking pan, like a 9 x 9-inch dish, that can cradle your cake pan comfortably.
Fill it halfway with hot water and slide it into the oven, creating a warm, misty environment that will help your cheesecake bake to perfection.
Step 3: Separate Egg Whites And Yolks
Carefully crack your eggs, separating the sunny yellow yolks from the clear, silky whites.
Place the whites in a clean, dry mixing bowl and the yolks in another bowl, ensuring no trace of yolk sneaks into the whites.
Step 4: Whip The Egg Whites
Grab an electric mixer and start whipping those egg whites.
Begin slowly, then increase speed until soft, billowy peaks form.
Gradually sprinkle in sugar, continuing to whip until the mixture becomes glossy and forms stiff, sturdy peaks.
Step 5: Blend Cream Cheese Mixture
In a separate bowl, create a smooth base by combining:Gently warm these ingredients and whisk until they become a silky, luxurious blend.
Step 6: Fold Ingredients Together
Carefully add egg yolks to the cream cheese mixture, stirring gently.
Then, in three delicate additions, fold the whipped egg whites into the mixture.
Use a gentle, sweeping motion to keep the mixture light and airy.
Step 7: Pour And Bake
Transfer the fluffy batter into your prepared cake pan.
Place the pan in the preheated water bath and bake for about 60-70 minutes.
The cheesecake is ready when it’s slightly golden and jiggles just a bit in the center.
Step 8: Cool And Chill
Once baked, turn off the oven and crack the door open.
Let the cheesecake rest inside for about 10 minutes.
Then remove it and let it cool completely at room temperature.
Refrigerate for several hours before serving to allow it to set perfectly.
Pro Tips for Perfect Japanese Cheesecake Texture
How to Store and Reheat Japanese Cheesecake
What Goes Well with Japanese Cheesecake
Flavor Variations for Japanese Cheesecake
FAQs
Japanese cheesecake is lighter, fluffier, and less dense compared to American-style cheesecake. It uses a technique of separating egg whites and whipping them to create a souffle-like texture that’s soft and airy.
You’ll need a stand mixer or electric hand mixer to properly whip egg whites, an 8-inch round cake pan, parchment paper, and a larger pan for creating a water bath. A kitchen scale can help with precise measurements.
The water bath helps create gentle, even heat around the cake, preventing cracks and ensuring a smooth, creamy texture. It also helps the cheesecake bake more evenly and maintain its delicate structure.
For best results, use full-fat cream cheese at room temperature. Philadelphia or other block-style cream cheeses work best. Avoid low-fat or whipped cream cheese as they can affect the texture and richness of the cake.
Why Japanese Cheesecake Is a Soft and Dreamy Dessert
Print
Japanese Cheesecake Recipe
- Total Time: 1 hour 45 minutes
- Yield: 8 1x
Description
Silky Japanese cheesecake whispers clouds of delicate sweetness, melting effortlessly on your palate. Gentle texture and subtle flavors promise a culinary journey that transports you straight to Tokyo’s most elegant bakeries.
Ingredients
Main Ingredients:
- 6 large eggs, separated
- 8 ounces (226 grams) cream cheese, softened
- 1/2 cup (120 milliliters) cake flour, fluffed, spooned, and leveled
Dairy and Sweet Components:
- 1/4 cup (60 milliliters) heavy cream or full-fat milk
- 4 tablespoons (56 grams) unsalted butter, cut into smaller pieces
- 1/3 cup (67 grams) granulated sugar
- 1 tablespoon lemon zest (optional)
- 1 1/2 teaspoons vanilla extract (optional)
- 2 teaspoons lemon juice (about 1/3 of a lemon)
Garnish and Toppings:
- Powdered sugar (for dusting)
- Apricot jam (slightly warmed up)
- Fresh berries
- Sweetened whipped cream
Instructions
- Calibrate the oven to 300°F (150°C) and meticulously line an 8-inch round cake pan’s bottom with parchment paper, ensuring complete coverage.
- Create a water bath by positioning a larger 9 x 9-inch baking pan in the preheated oven, filling it halfway with hot water to provide a moist, consistent baking environment.
- Separate egg whites and yolks with precision, placing whites in a clean, grease-free mixing bowl to prevent interference with whipping.
- Gently melt cream cheese and butter using a double boiler or microwave, stirring periodically to achieve a smooth, uniform consistency without overheating.
- Whisk egg yolks into the melted cream cheese mixture, incorporating gradually to maintain a silky texture and prevent curdling.
- Sift flour and cornstarch into the cream cheese blend, folding delicately to prevent lumps and ensure a light, airy batter.
- Whip egg whites using an electric mixer, starting at low speed and progressively increasing to medium-high until soft peaks form.
- Gradually add sugar to the egg whites, continuing to whip until stiff, glossy peaks develop, creating a stable meringue foundation.
- Carefully fold the meringue into the cream cheese mixture using a spatula, maintaining the mixture’s delicate volume and airiness.
- Transfer the batter into the prepared cake pan, smoothing the surface gently to eliminate air pockets.
- Position the filled cake pan into the preheated water bath in the oven, baking for approximately 60-65 minutes until the top is golden and the cake slightly jiggles when moved.
- Once baked, turn off the oven and leave the cheesecake inside with the door slightly ajar for 10 minutes to prevent sudden temperature changes.
- Remove from the oven, carefully extract from the water bath, and allow to cool completely at room temperature before refrigerating.
- Chill for minimum 4 hours or overnight to set, then gently remove from the pan and serve.
Notes
- Opt for room temperature ingredients to ensure smooth, lump-free batter and consistent texture.
- Separate egg whites and yolks carefully, making sure no yolk enters the whites to achieve perfect meringue.
- Gently fold egg whites into the batter using a spatula to maintain the delicate, airy structure of the cheesecake.
- Use a water bath to create a gentle, even heat that prevents cracking and ensures a silky, soft texture.
- Prep Time: 30 minutes
- Cook Time: 1 hour 15 minutes
- Category: Desserts
- Method: Baking
- Cuisine: Japanese
Nutrition
- Serving Size: 8
- Calories: 270
- Sugar: 12 g
- Sodium: 150 mg
- Fat: 18 g
- Saturated Fat: 10 g
- Unsaturated Fat: 6 g
- Trans Fat: 0 g
- Carbohydrates: 20 g
- Fiber: 0 g
- Protein: 5 g
- Cholesterol: 130 mg
Olivia Bennett
Recipe Developer & Culinary Educator
Expertise
Education
Schoolcraft College
With an Associate Degree in Culinary Arts from Schoolcraft College and a natural knack for teaching, Olivia Bennett’s all about making home cooking feel possible, even on your busiest day.
Her thing? Recipes that are budget-friendly, season-forward, and full of Southern warmth. Whether it’s a roasted veggie bowl or a five-ingredient skillet bake, Olivia makes sure it’s simple, satisfying, and something you’ll want to make again tomorrow.
When she’s not shooting step-by-step videos or testing spice blends, she’s out foraging, flipping through old cookbooks, or throwing laid-back dinner parties with a BYO-mason-jar theme.