
Amazing Mini Cherry Cheesecakes Recipe – Sweet Bite-Sized Joy
Sweet and creamy mini cherry cheesecakes bring joy to every dessert lover’s heart.
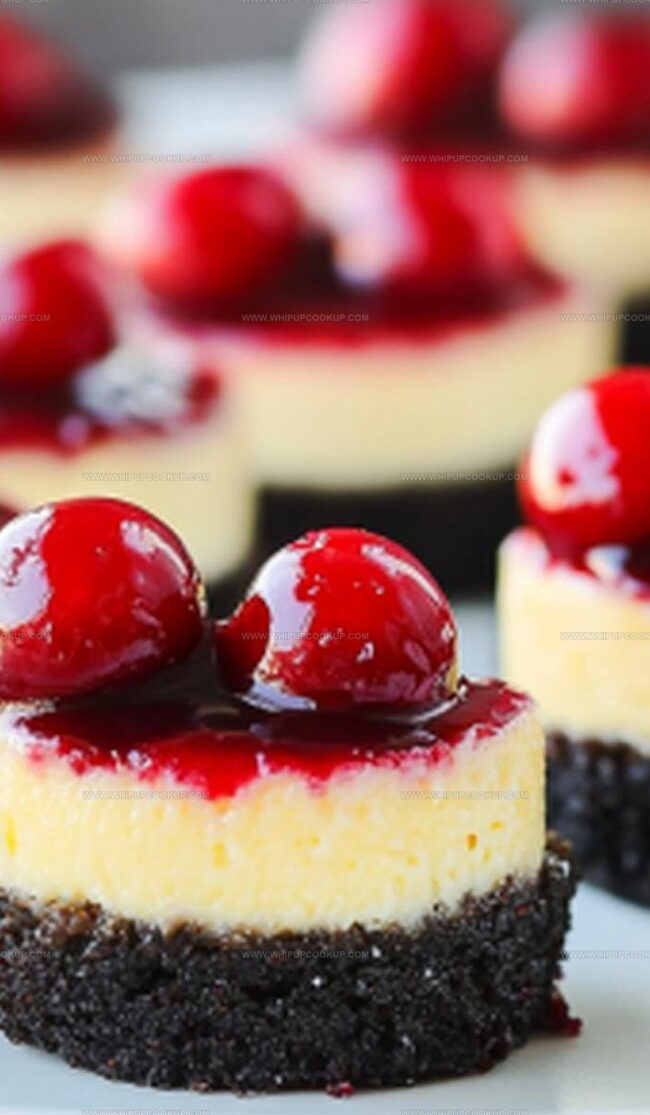
Compact little treats pack a powerful punch of flavor in each bite.
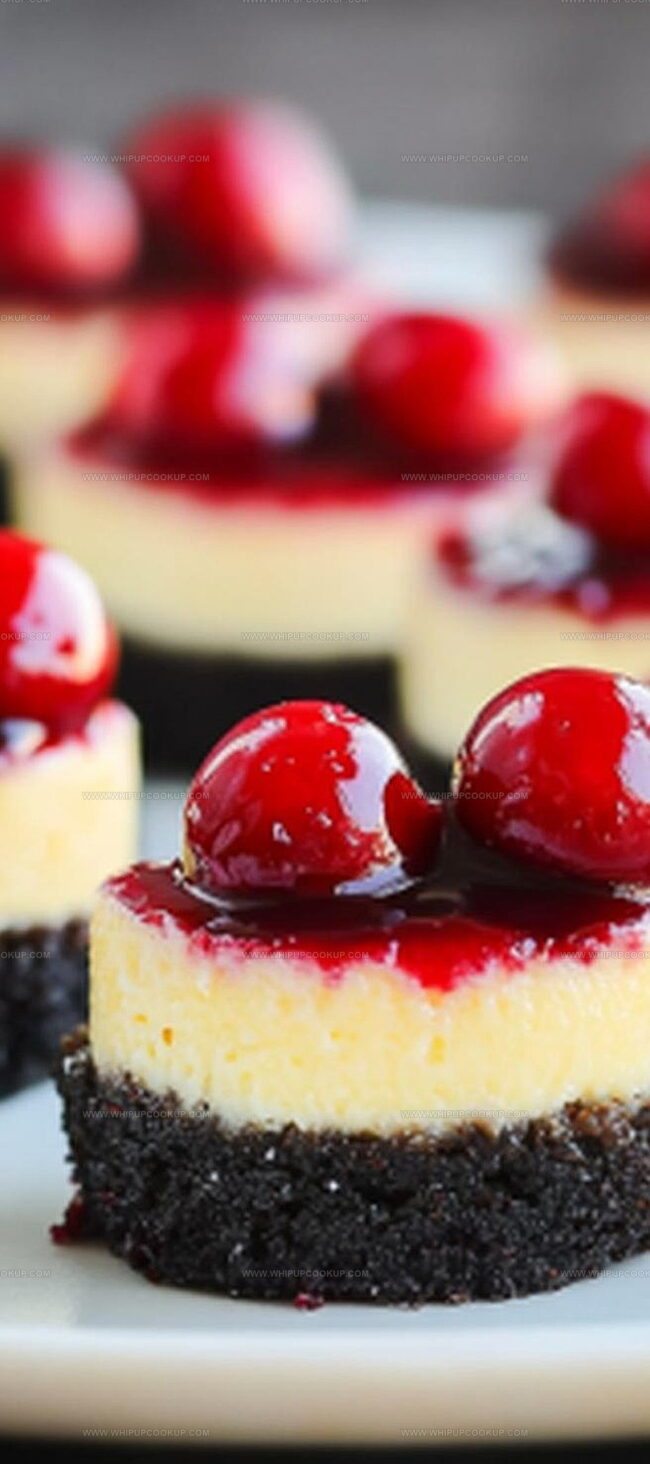
Cream cheese blends perfectly with fresh cherries to create a delightful miniature dessert.
Delicate graham cracker crusts provide a satisfying crunch underneath the smooth filling.
Simple ingredients come together quickly to make these adorable personal-sized delicacies.
Soft peaks of whipped topping add an elegant finish that makes you want to grab a fork immediately.
You’ll fall in love with how easy and impressive these mini cheesecakes can be for any gathering.
Mini Cherry Cheesecake Perks Everyone Notices
Mini Cherry Cheesecakes Ingredient List
Crust Ingredients:Cheesecake Filling Ingredients:Topping Ingredient:Crafting Mini Cherry Cheesecakes
Step 1: Warm Up the Oven
Preheat your oven to a cozy 325°F. This gentle temperature will help your mini cheesecakes bake evenly without burning.
Step 2: Create the Crunchy Cookie Base
Grab your Oreo cookies and transform them into a fine, delectable crumb mixture:Crush the cookies thoroughly and blend with melted butter. Press one tablespoon of this mixture firmly into each cavity of your mini cheesecake pan, creating a solid foundation for your sweet treats.
Step 3: Whip Up the Creamy Cheesecake Filling
In a mixing bowl, prepare your luscious filling with these ingredients:Beat the cream cheese until silky smooth. Incorporate heavy whipping cream and mix until beautifully combined. Gently add the egg, then sugar, and finish with vanilla extract. Continue mixing until the filling looks creamy and inviting.
Step 4: Fill the Cookie Crusts
Carefully spoon the cheesecake mixture into each crust, filling them about three-quarters full. This ensures perfect portioning and beautiful presentation.
Step 5: Bake to Perfection
Place the mini cheesecakes in the preheated oven and bake for 25 minutes. Watch for the centers to set gently, indicating they’re ready to come out.
Step 6: Cool and Decorate
Allow the mini cheesecakes to cool completely. Top each one with a generous dollop of cherry pie filling. Refrigerate for at least one hour to let the flavors meld and the texture firm up.
Step 7: Serve and Enjoy
Remove from the refrigerator and serve these delightful bite-sized treats. Watch as your guests fall in love with these miniature cheesecake wonders!
Cheesecake Tips That Make Cherry Mini Bites Shine
Mini Cherry Cheesecakes Storage and Reheating Guide
Ideal Add-Ons to Cherry Cheesecakes
Mini Cheesecake Flavor Spins
FAQs
Yes, graham crackers or vanilla wafers work great as alternatives to Oreo cookies for the mini cheesecake base.
Avoid overmixing the batter, bake at the correct temperature, and let the cheesecakes cool gradually to prevent cracking.
Absolutely! You can prepare these mini cheesecakes up to 3 days in advance and store them covered in the refrigerator.
Yes, you can freeze these cheesecakes for up to 2 months. Wrap them individually in plastic wrap and place in a freezer-safe container.
Print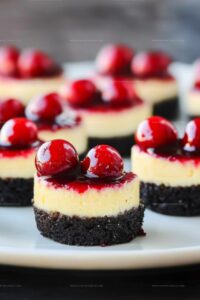
Mini Cherry Cheesecakes Recipe
- Total Time: 45 minutes
- Yield: 12 1x
Description
Delightful mini cherry cheesecakes dance with creamy indulgence, blending classic New York style into bite-sized perfection. Silky smooth filling topped with crimson cherries creates an irresistible dessert experience you’ll savor down to the last delectable crumb.
Ingredients
Main Ingredients:
- 8 ounces (226 grams) cream cheese, softened
- 1 egg
- 1 cup cherry pie filling
Crust Ingredients:
- 10 Oreo cookies, crushed
- 2 tablespoons (30 milliliters) melted butter
Additional Ingredients:
- 1/4 cup (50 grams) sugar
- 2 tablespoons (30 milliliters) heavy whipping cream
- 2 teaspoons vanilla extract
Instructions
- Prepare the oven environment by adjusting the temperature to 325°F (165°C), ensuring an ideal baking atmosphere.
- Transform Oreo cookies into delicate crumbs, combining them with melted butter to create a rich, compact base. Distribute this mixture evenly across mini cheesecake pan cavities, pressing firmly to establish a solid foundation.
- In a spacious mixing bowl, whip cream cheese until achieving a silky, uniform texture. Gradually incorporate heavy whipping cream, blending until harmoniously integrated.
- Introduce the egg into the mixture, followed by granulated sugar and vanilla extract. Continue mixing until the batter reaches a luxuriously smooth and creamy consistency.
- Carefully portion the cheesecake mixture into each prepared crust, filling approximately three-quarters of each cavity to allow room for gentle rising during baking.
- Transfer the pan to the preheated oven, allowing the mini cheesecakes to bake for roughly 25 minutes. Watch for subtle signs of setting in the center, indicating perfect doneness.
- Once baked, remove from the oven and permit the delicate treats to cool completely at room temperature, ensuring structural integrity.
- Crown each mini cheesecake with a generous dollop of vibrant cherry pie filling, creating a visually appealing and flavor-packed topping.
- Refrigerate the completed desserts for a minimum of one hour, enabling them to firm up and develop enhanced flavor profiles before serving.
Notes
- Swap regular Oreos with gluten-free alternatives for a celiac-friendly version.
- Use low-fat cream cheese and Greek yogurt to reduce overall calorie content while maintaining creamy texture.
- Experiment with fresh cherry compote instead of canned pie filling for a more vibrant, homemade flavor profile.
- Prepare mini cheesecakes ahead of time and freeze for up to two weeks, making them perfect for last-minute entertaining.
- Prep Time: 20 minutes
- Cook Time: 25 minutes
- Category: Desserts
- Method: Baking
- Cuisine: American
Nutrition
- Serving Size: 12
- Calories: 170
- Sugar: 10 g
- Sodium: 150 mg
- Fat: 8 g
- Saturated Fat: 4 g
- Unsaturated Fat: 3 g
- Trans Fat: 0 g
- Carbohydrates: 22 g
- Fiber: 1 g
- Protein: 2 g
- Cholesterol: 30 mg
Marcus Hale
Founder & Recipe Storyteller
Expertise
Education
Holyoke Community College – HCC-MGM Culinary Arts Institute
Marcus grew up surrounded by maple trees, farm stands, and the smell of Sunday stew simmering on the stove. After earning his Culinary Arts Certificate from the HCC-MGM Culinary Arts Institute, he knew he didn’t want to work in fancy kitchens, he wanted to cook for real people.
At Whip Up Cook Up, Marcus is the guy turning memories into meals. His recipes are fast, full of flavor, and built for home cooks who want big taste without the drama.