
Easy No Bake Eggnog Pie Recipe: A Festive Holiday Treat
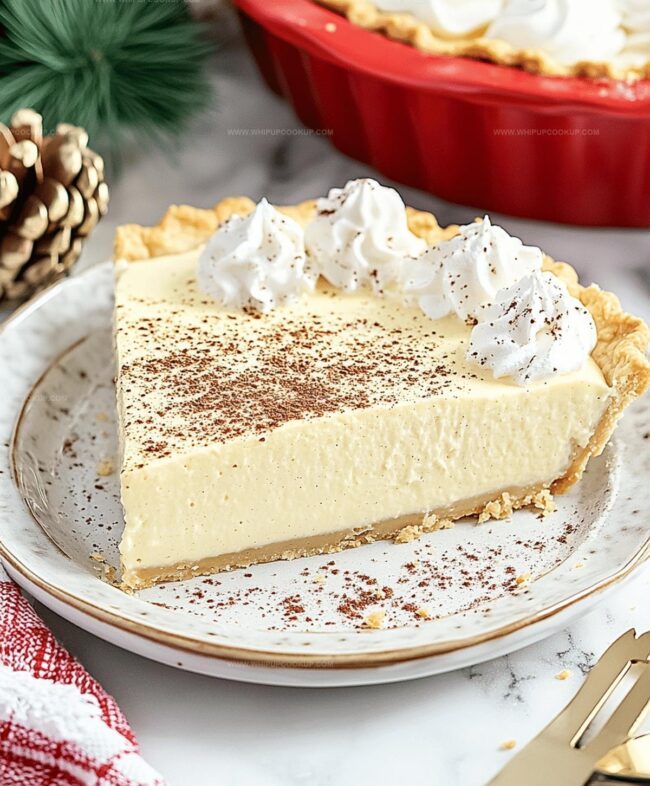
Creamy and rich holiday eggnog pie delivers a festive dessert that melts in your mouth.
Cold winter nights spark cravings for comforting sweets like this delightful treat.
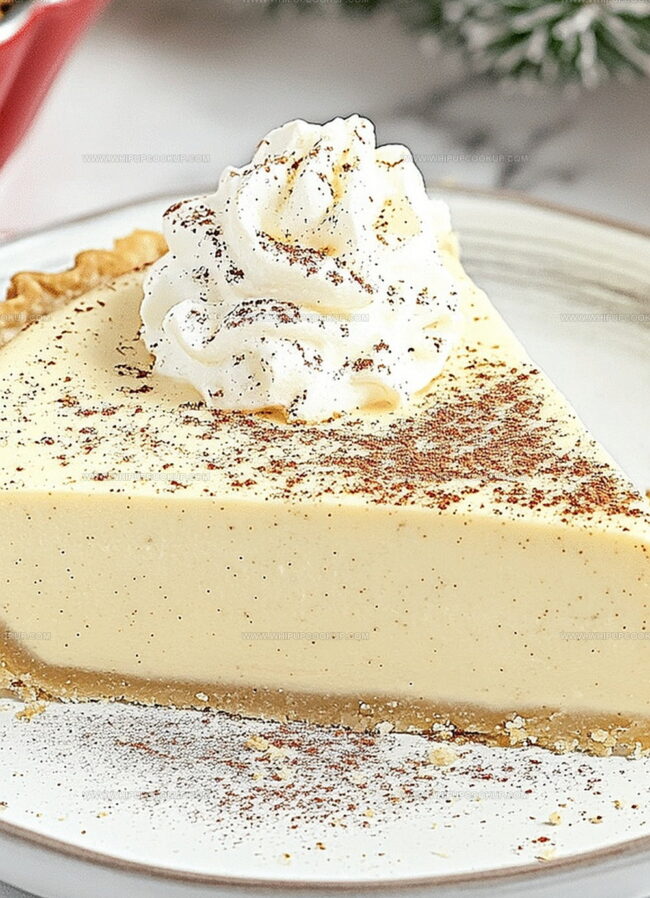
Traditional flavors dance through each silky slice, capturing the essence of seasonal celebrations.
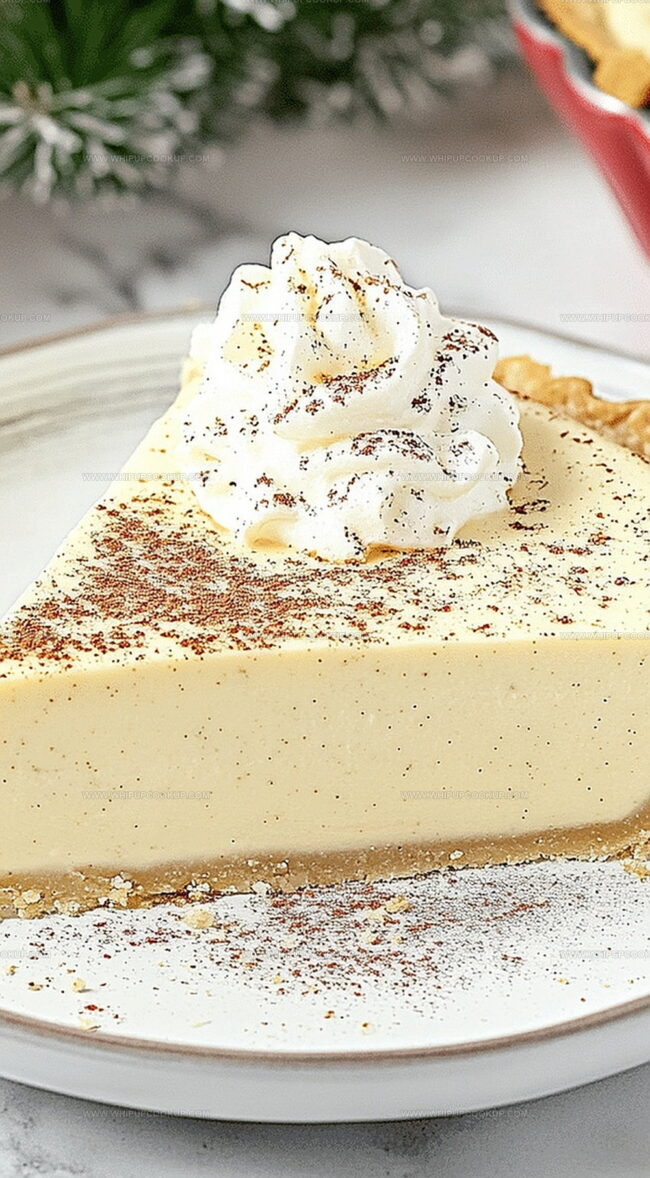
Spices blend seamlessly with smooth custard-like filling, creating a decadent experience.
no baking required means stress-free preparation for busy hosts during the holiday rush.
Whipped cream and a sprinkle of nutmeg crown this elegant dessert perfectly.
Guests will swoon over this delectable pie that transforms ordinary gatherings into memorable moments.
Why You’ll Love This No Bake Eggnog Pie
Ingredients for Eggnog Pie
Pie Base:Filling Ingredients:Spice and Garnish:How to Make No Bake Eggnog Pie
Step 1: Whip the Pudding Mixture
Grab a medium bowl and combine eggnog with instant pudding mix.
Use a hand mixer to beat the ingredients on medium speed until the mixture becomes smooth and starts to thicken.
The process takes about 2 minutes, with the pudding doing most of the work to create a creamy base.
Step 2: Incorporate Whipped Cream
Gently fold in the whipped cream and ground nutmeg into the pudding mixture.
Use a spatula and mix carefully to maintain a light and airy texture.
Avoid overmixing to keep the filling delicate and fluffy.
Step 3: Transfer to Crust
Pour the creamy filling into the graham cracker crust.
Spread the mixture evenly using a spatula, ensuring a smooth and uniform surface across the entire pie base.
Step 4: Add Finishing Touch
Sprinkle the remaining ground nutmeg over the top of the pie.
This final garnish adds a festive holiday flavor and elegant appearance to your dessert.
Step 5: Chill and Set
Refrigerate the pie for at least 5 hours or preferably overnight.
This resting time allows the filling to set properly, resulting in clean and beautiful slices when serving.
Patience is key to achieving the perfect texture.
Pro Tips for Creamy Eggnog Pie
How to Store and Reheat Eggnog Pie
What to Serve with Eggnog Pie
Pair Festive Eggnog Pie with Complementary Flavors:Fun Eggnog Pie Recipe Options
FAQs
Instant vanilla pudding mix is the ideal choice, as it blends seamlessly with the eggnog and helps thicken the filling quickly and effectively.
Absolutely! You can prepare the pie up to 2 days in advance. Just keep it refrigerated and covered until you’re ready to serve, which makes it perfect for holiday gatherings.
No special equipment is required. A hand mixer, spatula, and mixing bowl are all you’ll need to create this simple no-bake dessert.
You can garnish the pie with additional whipped cream, sprinkle extra nutmeg on top, or add crushed graham crackers or holiday-themed sprinkles for a more festive look.
Print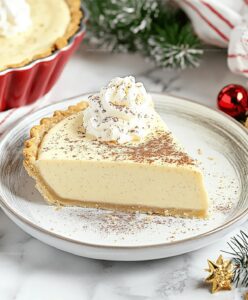
No Bake Eggnog Pie Recipe
- Total Time: 10 minutes
- Yield: 8 1x
Description
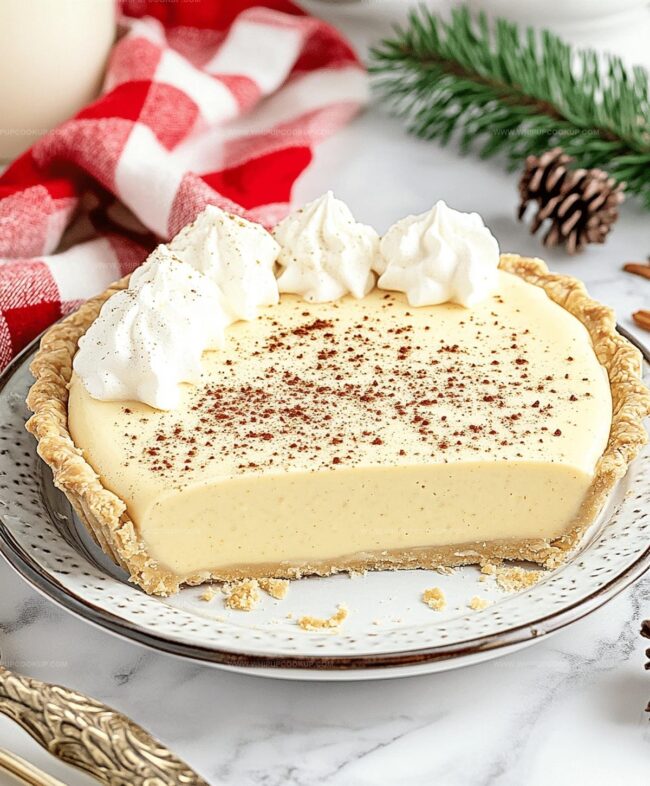
Creamy holiday classic no bake eggnog pie brings festive cheer to winter dessert tables. Smooth spiced filling and graham cracker crust promise delightful indulgence that will transport you straight to seasonal celebration bliss.
Ingredients
Main Ingredients:
- 1 graham cracker crust
- 1 1/2 cups (360 milliliters) eggnog
- 2 cups (480 milliliters) whipped cream
Dry Ingredients:
- 1 vanilla instant pudding mix, 153 grams (5.4 ounces) box
Spices:
- 1/2 teaspoon ground nutmeg
Instructions
- In a medium mixing bowl, whisk together eggnog and instant pudding mix using an electric mixer at medium speed for approximately 2 minutes until the mixture transforms into a smooth, thickening consistency.
- Incorporate whipped cream and ground nutmeg into the pudding base, gently folding with a spatula to maintain a light, airy texture without deflating the mixture.
- Transfer the creamy filling into the prepared graham cracker crust, carefully spreading it evenly across the surface using a spatula to ensure a uniform layer.
- Dust the top of the pie with remaining ground nutmeg, creating a festive and aromatic garnish that enhances the holiday flavor profile.
- Refrigerate the pie for a minimum of 5 hours or preferably overnight, allowing the filling to set completely and develop a firm, sliceable consistency that holds its shape when served.
Notes
- Whip cream carefully to maintain a light, fluffy texture that prevents the pie from becoming dense and heavy.
- Ensure pudding mix is fully incorporated to create a smooth, creamy filling without lumps or uneven consistency.
- Refrigerate pie for optimal setting, allowing flavors to meld and structure to firm up for clean, perfect slices.
- Prep Time: 10 minutes
- Cook Time: 0 minutes
- Category: Desserts
- Method: None
- Cuisine: American
Nutrition
- Serving Size: 8
- Calories: 300
- Sugar: 18g
- Sodium: 250mg
- Fat: 20g
- Saturated Fat: 12g
- Unsaturated Fat: 8g
- Trans Fat: 0g
- Carbohydrates: 30g
- Fiber: 0g
- Protein: 3g
- Cholesterol: 40mg
Olivia Bennett
Recipe Developer & Culinary Educator
Expertise
Education
Schoolcraft College
With an Associate Degree in Culinary Arts from Schoolcraft College and a natural knack for teaching, Olivia Bennett’s all about making home cooking feel possible, even on your busiest day.
Her thing? Recipes that are budget-friendly, season-forward, and full of Southern warmth. Whether it’s a roasted veggie bowl or a five-ingredient skillet bake, Olivia makes sure it’s simple, satisfying, and something you’ll want to make again tomorrow.
When she’s not shooting step-by-step videos or testing spice blends, she’s out foraging, flipping through old cookbooks, or throwing laid-back dinner parties with a BYO-mason-jar theme.