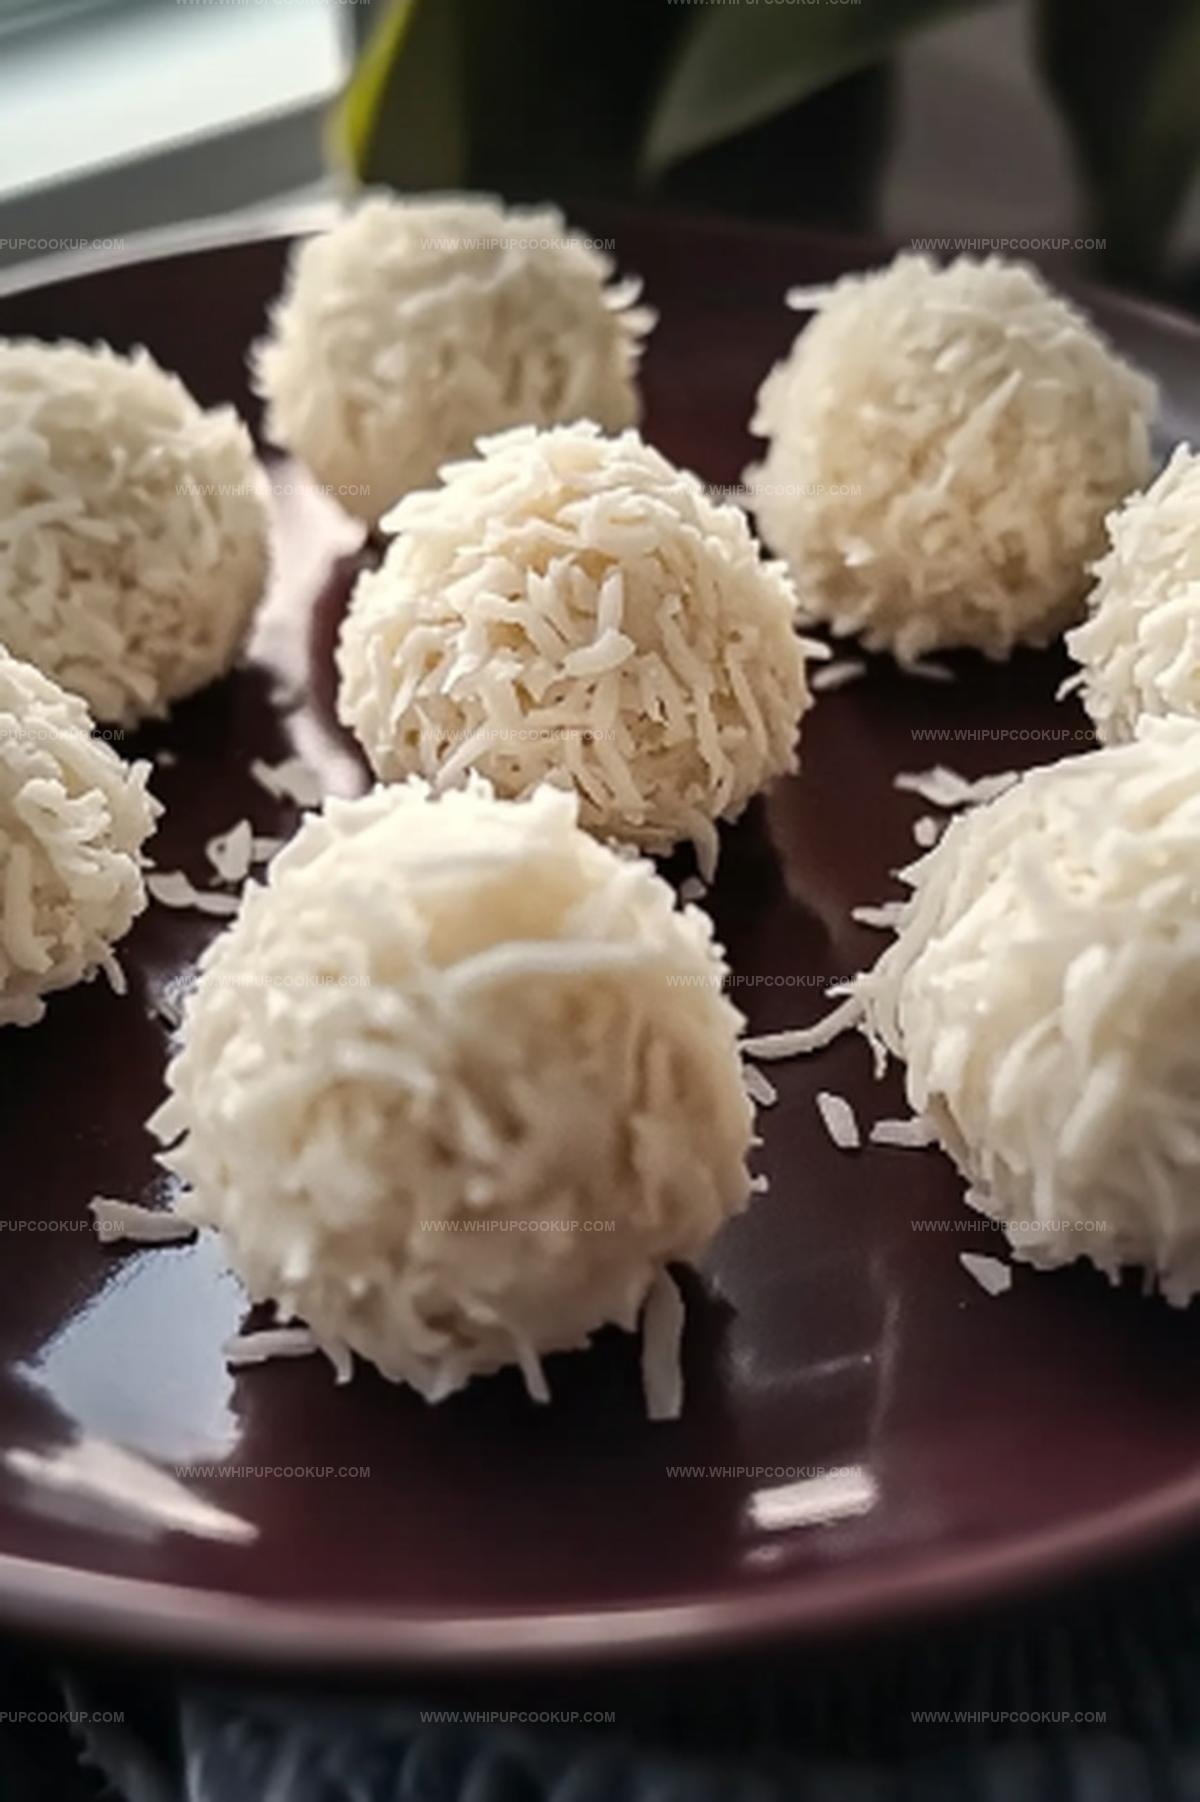
Dreamy No-Bake Coconut Balls with Condensed Milk Recipe
Sweet and creamy no-bake coconut balls have become my latest obsession in quick dessert making.
Coconut lovers will adore this simple treat that comes together in minutes without turning on the oven.
Condensed milk creates a luscious binding that holds these delectable morsels perfectly.
Effortless preparation means you can whip up these delightful bites faster than brewing coffee.
Chilling helps the balls firm up and intensify their rich, tropical flavor profile.
Cool kitchen tricks make this recipe a breeze for anyone wanting a scrumptious sweet without complicated steps.
Indulge your coconut craving with these irresistible no-fuss treats that promise pure deliciousness in every single bite.
Coconut Balls That Keep Things Easy and Sweet
Christmas Rice Krispie Bites Ingredient List
Main Ingredients:Optional Coating:Preparation Ingredients:Coconut Balls Assembly Guide (No Bake)
Step 1: Prepare Coconut Coating
Set aside a portion of coconut flakes on a small plate. This will be used for rolling and creating a beautiful exterior for your sweet treats.
Step 2: Create Creamy Coconut Mixture
Grab a spacious mixing bowl and combine the remaining coconut flakes with sweetened condensed milk. Blend thoroughly until the ingredients form a uniform, sticky consistency that holds together perfectly.
Step 3: Shape Heavenly Spheres
Using a tablespoon, scoop out portions of the coconut mixture. Gently roll each portion between your palms to form smooth, round balls. Work carefully to ensure each ball is compact and uniform in size.
Step 4: Roll in Coconut Wonderland
Take each formed ball and lovingly roll it through the reserved coconut flakes. Ensure every surface is generously covered, creating a delightful textured exterior that sparkles with coconut goodness.
Step 5: Chill and Solidify
Arrange the coated balls on a clean tray, keeping them in a single layer without touching. Place in the refrigerator and let them cool and set for at least one hour. This chilling time helps the balls firm up and intensifies their delicious flavor.
Step 6: Serve and Savor
Remove the coconut balls from the refrigerator and present these delectable treats. Enjoy the sweet, tropical flavor that melts in your mouth with each delightful bite.
Coconut Ball Tips for a Smooth, No-Fuss Treat
Best Way To Store No-Bake Coconut Balls
What Works Well with No-Bake Coconut Balls
Pair Sweet Coconut Bliss with Complementary Flavors
Christmas Rice Krispie Bite Combos
FAQs
Yes, the basic ingredients of coconut flakes and condensed milk are naturally gluten-free, making them safe for people with gluten sensitivities.
Absolutely! You can enhance the taste by adding vanilla extract, almond extract, or even a dash of rum for a more sophisticated flavor profile.
When stored in an airtight container in the refrigerator, these coconut balls will remain delicious for up to 5-7 days.
No special equipment is needed. You only require a large mixing bowl, a spoon, and your hands to roll the balls.
Print
No-Bake Coconut Balls with Condensed Milk Recipe
- Total Time: 15 minutes
- Yield: 12 1x
Description
Heavenly no-bake coconut balls dance with sweet condensed milk, creating a tropical treat that melts in your mouth. Creamy, nutty delights bring vacation vibes to your kitchen, promising pure bliss with each irresistible bite you savor.
Ingredients
Main Ingredients:
- 14 ounces (397 grams) unsweetened coconut flakes
- 1 can (14 ounces/397 milliliters) sweetened condensed milk
Coating:
- 1/2 cup (40 grams) unsweetened coconut flakes
Instructions
- Gently separate and set aside a portion of coconut flakes for the exterior coating, ensuring a pristine surface for rolling.
- Combine the remaining coconut flakes with sweetened condensed milk in a spacious mixing vessel, thoroughly blending until the mixture achieves a uniform consistency.
- Using a spoon or small scoop, gather compact portions of the mixture and delicately shape into round spheres with smooth, consistent surfaces.
- Transfer each crafted sphere into the reserved coconut flakes, gently rotating to ensure complete and even exterior coverage.
- Arrange the coconut-encrusted spheres on a flat tray, maintaining sufficient spacing between each ball to prevent sticking.
- Place the tray in the refrigerator, allowing the coconut balls to firm and chill for approximately 60-90 minutes, which enhances their structural integrity and flavor profile.
- Once adequately cooled and solidified, remove from refrigeration and serve immediately for optimal taste and texture.
Notes
- Toasting coconut flakes before mixing can enhance the nutty flavor and add a delightful crunch to the balls.
- For a gluten-free version, ensure all ingredients are certified gluten-free and avoid cross-contamination during preparation.
- Add a splash of vanilla extract or almond extract to introduce a subtle, sophisticated flavor profile to the sweet treat.
- Experiment with rolling the balls in different coatings like crushed nuts, cocoa powder, or melted chocolate for variety and visual appeal.
- Prep Time: 15 minutes
- Cook Time: 0 minutes
- Category: Snacks, Desserts
- Method: Rolling
- Cuisine: American
Nutrition
- Serving Size: 12
- Calories: 115
- Sugar: 10 g
- Sodium: 60 mg
- Fat: 5 g
- Saturated Fat: 4.5 g
- Unsaturated Fat: 0.5 g
- Trans Fat: 0 g
- Carbohydrates: 15 g
- Fiber: 1 g
- Protein: 1 g
- Cholesterol: 5 mg
Marcus Hale
Founder & Recipe Storyteller
Expertise
Education
Holyoke Community College – HCC-MGM Culinary Arts Institute
Marcus grew up surrounded by maple trees, farm stands, and the smell of Sunday stew simmering on the stove. After earning his Culinary Arts Certificate from the HCC-MGM Culinary Arts Institute, he knew he didn’t want to work in fancy kitchens, he wanted to cook for real people.
At Whip Up Cook Up, Marcus is the guy turning memories into meals. His recipes are fast, full of flavor, and built for home cooks who want big taste without the drama.