
The Coziest Old Fashioned Chocolate Pie Recipe for Sweet Bliss
Crafting an old fashioned chocolate pie brings back memories of sweet family gatherings and comforting desserts.
Grandmothers across the South perfected this classic treat with rich, velvety filling and flaky crust.
Simple ingredients dance together to create a nostalgic masterpiece that melts in your mouth.
Chocolate lovers will appreciate the deep, intense flavor balanced by a tender pastry shell.
Each slice tells a story of culinary tradition passed down through generations.
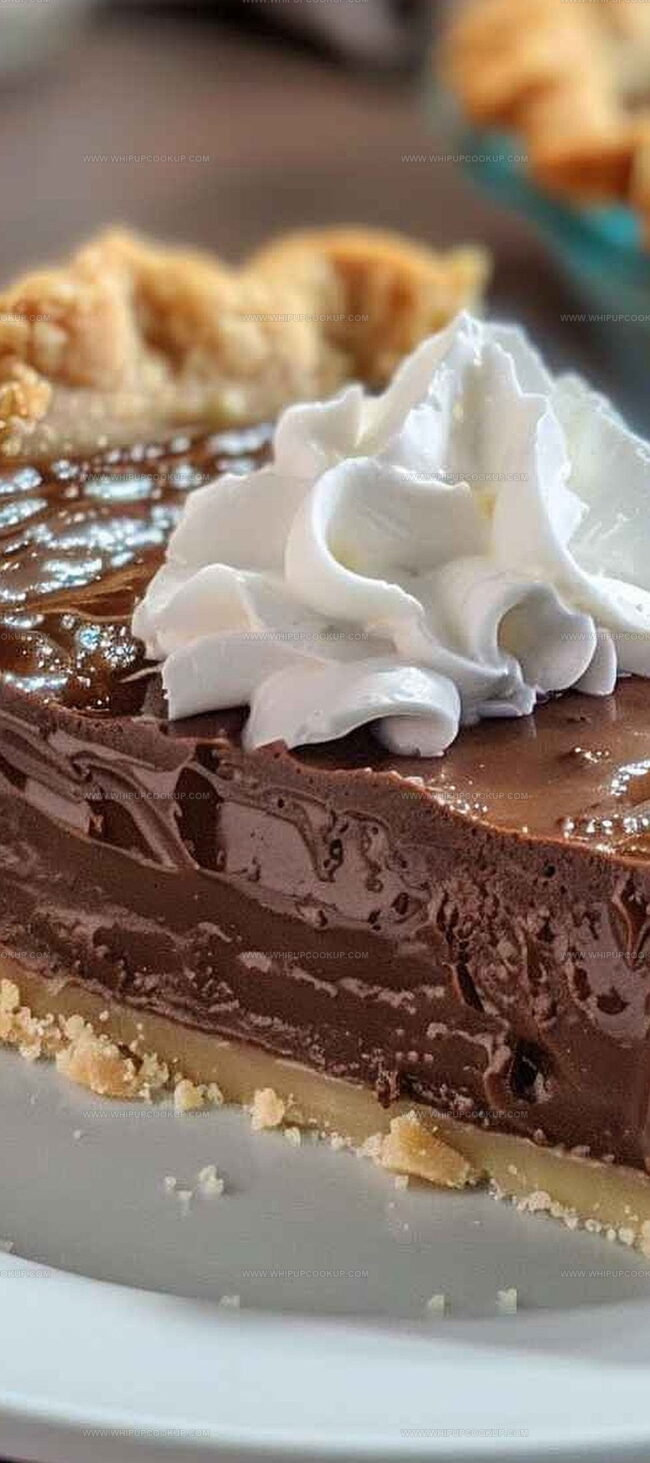
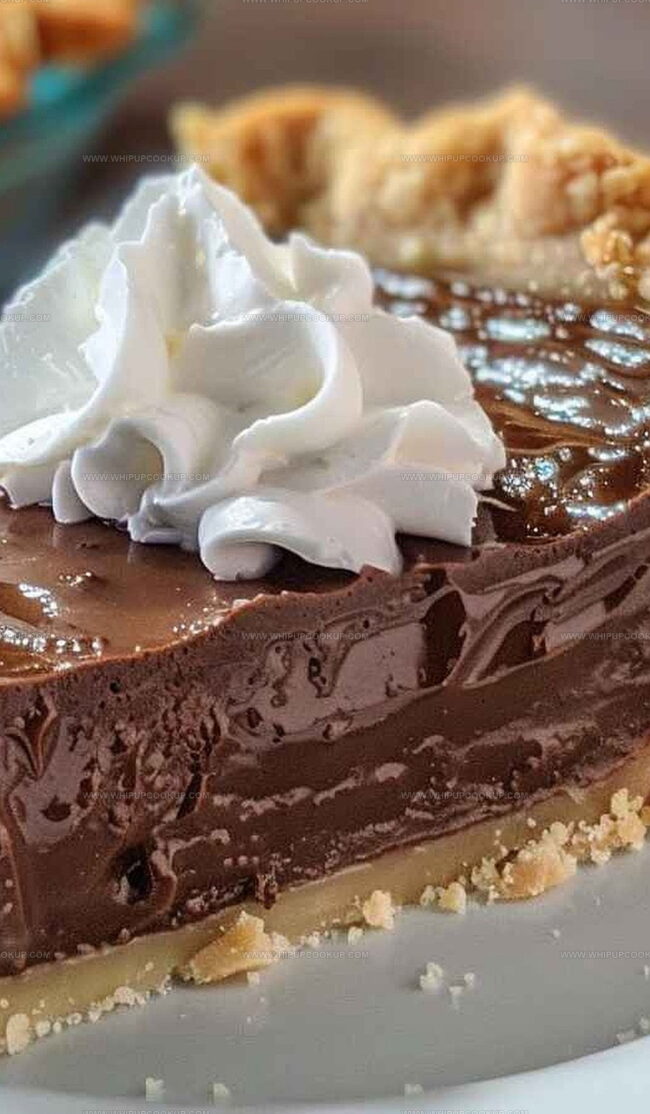
Smooth, decadent, and utterly irresistible, this pie promises to become a cherished favorite at your table.
Chocolate Pie That Brings Back Old-Fashioned Comfort
Old Fashioned Chocolate Pie Pantry Guide
Main Ingredients:Primary Liquid Ingredients:Supporting Ingredients:Topping Options:Old-Fashioned Chocolate Pie Recipe Baking Instructions
Step 1: Prepare Pie Crust
Roll out a pre-made pie crust and carefully place it into a 9-inch pie dish. Crimp the edges decoratively and prick the bottom with a fork to prevent bubbling. Bake the crust according to package instructions until golden brown and set aside to cool completely.
Step 2: Create Chocolate Filling
In a medium saucepan, combine:Whisk these dry ingredients together until well blended. Gradually pour in whole milk, stirring constantly to prevent lumps. Cook over medium heat, stirring continuously until the mixture thickens and begins to bubble.
Step 3: Temper Egg Yolks
Separate egg yolks into a separate bowl. Slowly add a small amount of the hot chocolate mixture to the egg yolks, whisking rapidly to prevent scrambling. Pour the tempered egg mixture back into the saucepan and continue cooking until the filling becomes thick and glossy.
Step 4: Finish Chocolate Filling
Remove from heat and stir in:Whisk until smooth and butter is completely melted. Pour the warm filling into the prepared pie crust, smoothing the top with a spatula.
Step 5: Top With Meringue
Whip egg whites until soft peaks form. Gradually add sugar while continuing to beat until stiff, glossy peaks develop. Spread the meringue over the chocolate filling, creating decorative peaks and swirls.
Step 6: Bake and Brown Meringue
Place the pie in a preheated oven and bake until the meringue turns a beautiful golden brown. The meringue should be lightly toasted and crisp on the outside.
Step 7: Chill and Serve
Allow the pie to cool completely at room temperature. Refrigerate for at least 3 hours before serving to allow the filling to set fully. Slice and enjoy this classic chocolate dessert that brings back memories of grandma’s kitchen.
Chocolate Pie Tips That Bring Back Old-Fashioned Flavor
Storing Old Fashioned Chocolate Pie Made Right
Chocolate Pie Old Fashioned Style Pairings
Hawaiian Crockpot Chicken Flavor Ideas
FAQs
The secret is using high-quality chocolate, cornstarch for thickening, and tempering the eggs to prevent curdling, which creates a silky custard-like texture.
Yes, you can swap milk, dark, or semi-sweet chocolate depending on your preference, but maintain the same total chocolate quantity for the best consistency.
Pre-bake the pie crust (blind baking) and let it cool completely before adding the chocolate filling. This creates a barrier that keeps the crust crisp and prevents it from becoming wet.
Not at all! While it requires some careful technique like tempering eggs and cooking the filling, the steps are straightforward and the result is impressive, making it a great recipe for home bakers looking to expand their skills.
Print
Old Fashioned Chocolate Pie Recipe
- Total Time: 1 hour 15 minutes
- Yield: 8 1x
Description
Silky chocolate heaven awaits with this classic old fashioned chocolate pie, a nostalgic dessert that whispers comfort from grandma’s kitchen. Rich chocolate custard nestled in a flaky crust promises pure indulgence you won’t forget.
Ingredients
Chocolate Filling Ingredients:
- 1 cup granulated sugar
- 4 tablespoons unsweetened cocoa powder
- 4 tablespoons all-purpose flour
- 1/4 teaspoon salt
Main Ingredients:
- 4 large egg yolks
- 2 cups whole milk
Finishing Ingredients:
- 2 tablespoons unsalted butter
- 1 teaspoon vanilla extract
Meringue Ingredients (Optional):
- 4 large egg whites
- 1/2 cup granulated sugar
- 1/2 teaspoon vanilla extract
Pie Crust:
- 1 9-inch pie crust (homemade or store-bought)
Instructions
- Craft a perfectly flaky pie crust, ensuring it’s pre-baked to a golden-brown hue to prevent a soggy bottom and create a crisp foundation for the luscious chocolate filling.
- Combine chocolate, sugar, and cornstarch in a heavy-bottomed saucepan, whisking constantly to prevent scorching and create a smooth, velvety custard base.
- Gradually introduce scalded milk into the chocolate mixture, stirring continuously to maintain a silky texture and prevent lumps from forming.
- Allow the chocolate custard to simmer gently, stirring persistently until the mixture thickens and coats the back of a spoon, indicating it has reached the perfect consistency.
- Remove the custard from heat and fold in rich egg yolks, creating a luxurious, glossy filling that will set beautifully in the pre-baked crust.
- Pour the warm chocolate mixture into the prepared pie shell, smoothing the surface with a spatula to ensure an even layer and eliminate any potential air pockets.
- For a classic presentation, top the pie with billowy meringue, carefully spreading it to the edges and creating decorative peaks that will brown beautifully under the broiler.
- Alternatively, for a lighter topping, whip fresh cream with a touch of vanilla and powdered sugar, creating a cloud-like garnish that complements the intense chocolate flavor.
- Refrigerate the pie for at least three hours, allowing the filling to set completely and the flavors to meld into a truly decadent dessert.
- For extended storage, the pie can be wrapped securely and frozen up to two months, preserving its rich, nostalgic flavor for future enjoyment.
Notes
- Swap meringue with fluffy whipped cream for a lighter topping that’s just as delicious and easier to prepare.
- Chilling the pie for at least 2-3 hours helps the filling set perfectly, creating a smooth and decadent texture that slices beautifully.
- Freeze the pie without the topping for a make-ahead dessert that can be quickly dressed up when guests arrive, making it a convenient option for busy home bakers.
- Use dark chocolate instead of milk chocolate for a richer, more intense flavor that will elevate this classic dessert to new heights of deliciousness.
- Prep Time: 45 minutes
- Cook Time: 30 minutes
- Category: Desserts
- Method: Baking
- Cuisine: American
Nutrition
- Serving Size: 8
- Calories: 250
- Sugar: 20g
- Sodium: 150mg
- Fat: 12g
- Saturated Fat: 7g
- Unsaturated Fat: 4g
- Trans Fat: 0g
- Carbohydrates: 30g
- Fiber: 2g
- Protein: 4g
- Cholesterol: 60mg
Marcus Hale
Founder & Recipe Storyteller
Expertise
Education
Holyoke Community College – HCC-MGM Culinary Arts Institute
Marcus grew up surrounded by maple trees, farm stands, and the smell of Sunday stew simmering on the stove. After earning his Culinary Arts Certificate from the HCC-MGM Culinary Arts Institute, he knew he didn’t want to work in fancy kitchens, he wanted to cook for real people.
At Whip Up Cook Up, Marcus is the guy turning memories into meals. His recipes are fast, full of flavor, and built for home cooks who want big taste without the drama.