Silky Turkey Gravy Recipe: Every Cook’s Secret Weapon
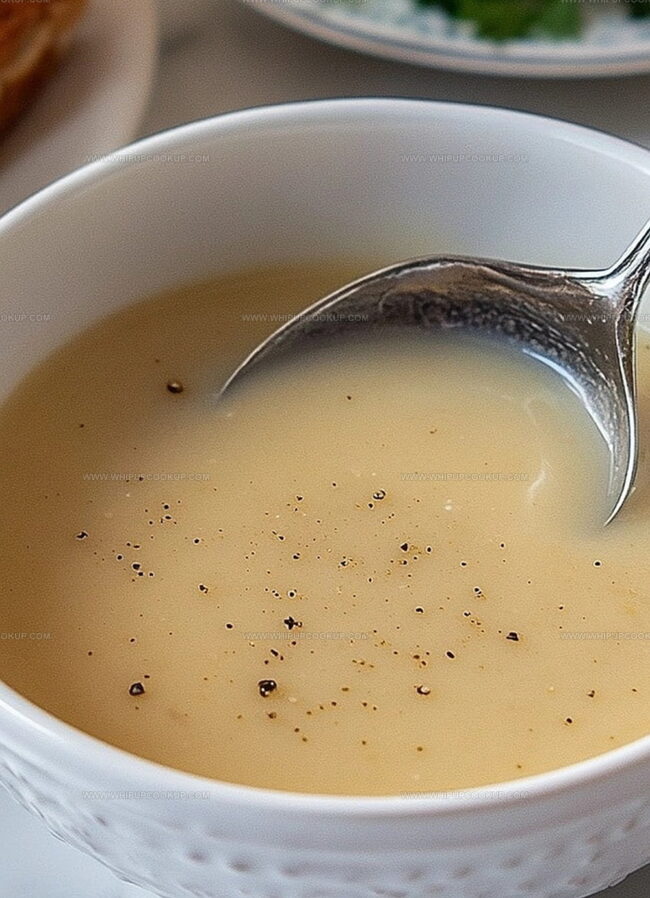
Rich, velvety turkey gravy brings holiday magic to this classic side that will make drool-worthy drippings into a smooth, silky sauce.
turkey gravy transforms simple roasted meat into a culinary masterpiece that elevates every bite.
Homemade gravies beat store-bought versions hands down with their depth of flavor and luxurious texture.
Professional chefs know the secret is using pan drippings for maximum taste and richness.
Collecting those golden-brown pan juices creates the foundation for an extraordinary sauce that complements roasted meats perfectly.
Whisking carefully and seasoning thoughtfully turns basic ingredients into a restaurant-quality condiment.
You’ll want to save this recipe for every special meal that demands a seriously delicious gravy.
What Makes This Turkey Gravy Perfect
Turkey Gravy Ingredients That Work Best
Main Turkey Base:Thickening Agents:Seasoning Blend:How to Make Perfect Turkey Gravy
Step 1: Collect Turkey Drippings
If roasting a turkey, carefully transfer the drippings from the roasting pan into a fine mesh strainer.
This helps remove any solid particles and ensures a smooth gravy.
Allow the drippings to cool briefly, which will cause the fat to rise and solidify on top.
Gently use a spoon to skim off the fat layer.
To achieve the perfect liquid volume, combine drippings with chicken or turkey stock until you reach 4 cups total.
Step 2: Prepare Fat Base
Heat a saucepan over medium heat.
Melt butter or reserved turkey fat until it becomes smooth and bubbling.
Gradually whisk in flour to create a roux, stirring constantly to prevent burning.
Continue cooking the roux for 2-3 minutes, which helps eliminate raw flour taste and creates a rich golden color.
Step 3: Blend Liquid and Roux
Slowly pour the prepared drippings or stock into the roux, whisking vigorously to prevent lumps.
Keep stirring until the mixture becomes thick and smooth.
The constant whisking helps create a silky, lump-free gravy texture.
Step 4: Season and Enhance Flavor
Add seasonings to elevate the gravy’s taste:Taste and adjust seasonings as needed, ensuring a balanced and delicious flavor profile.
Step 5: Simmer and Thicken
Reduce heat to low and continue simmering the gravy.
Stir occasionally to prevent sticking and allow the gravy to reach desired consistency.
If the gravy becomes too thick, thin it with additional stock.
If too thin, continue simmering to reduce and concentrate flavors.
Step 6: Strain and Serve
Pour the gravy through a fine mesh strainer one final time to ensure ultimate smoothness.
Transfer to a gravy boat or serving dish.
Serve hot alongside roasted turkey or other dishes.
Tips to Perfect Your Homemade Gravy
Storing and Reheating Turkey Gravy
What to Serve With Classic Turkey Gravy
Gravy Variations You’ll Want to Try
FAQs
Yes, you can prepare the gravy base in advance by making a roux with butter and flour, then adding stock. Cool and refrigerate for 2-3 days. When ready to serve, reheat and whisk in additional warm stock to restore consistency.
Whisk constantly when adding flour to the fat, and add liquid gradually while continuing to whisk. If lumps form, use a wire mesh strainer or blend the gravy briefly to smooth it out.
Dilute the drippings with unsalted chicken or turkey stock. Start by mixing half drippings and half stock, then adjust to taste. This helps control the salt level without losing flavor.
Create a quick slurry by mixing 1 tablespoon cornstarch with 2 tablespoons cold water, then slowly whisk into simmering gravy. This will thicken the sauce without creating lumps.
Print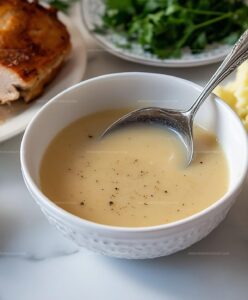
Perfect Turkey Gravy Recipe
- Total Time: 10 minutes
- Yield: 4 1x
Description
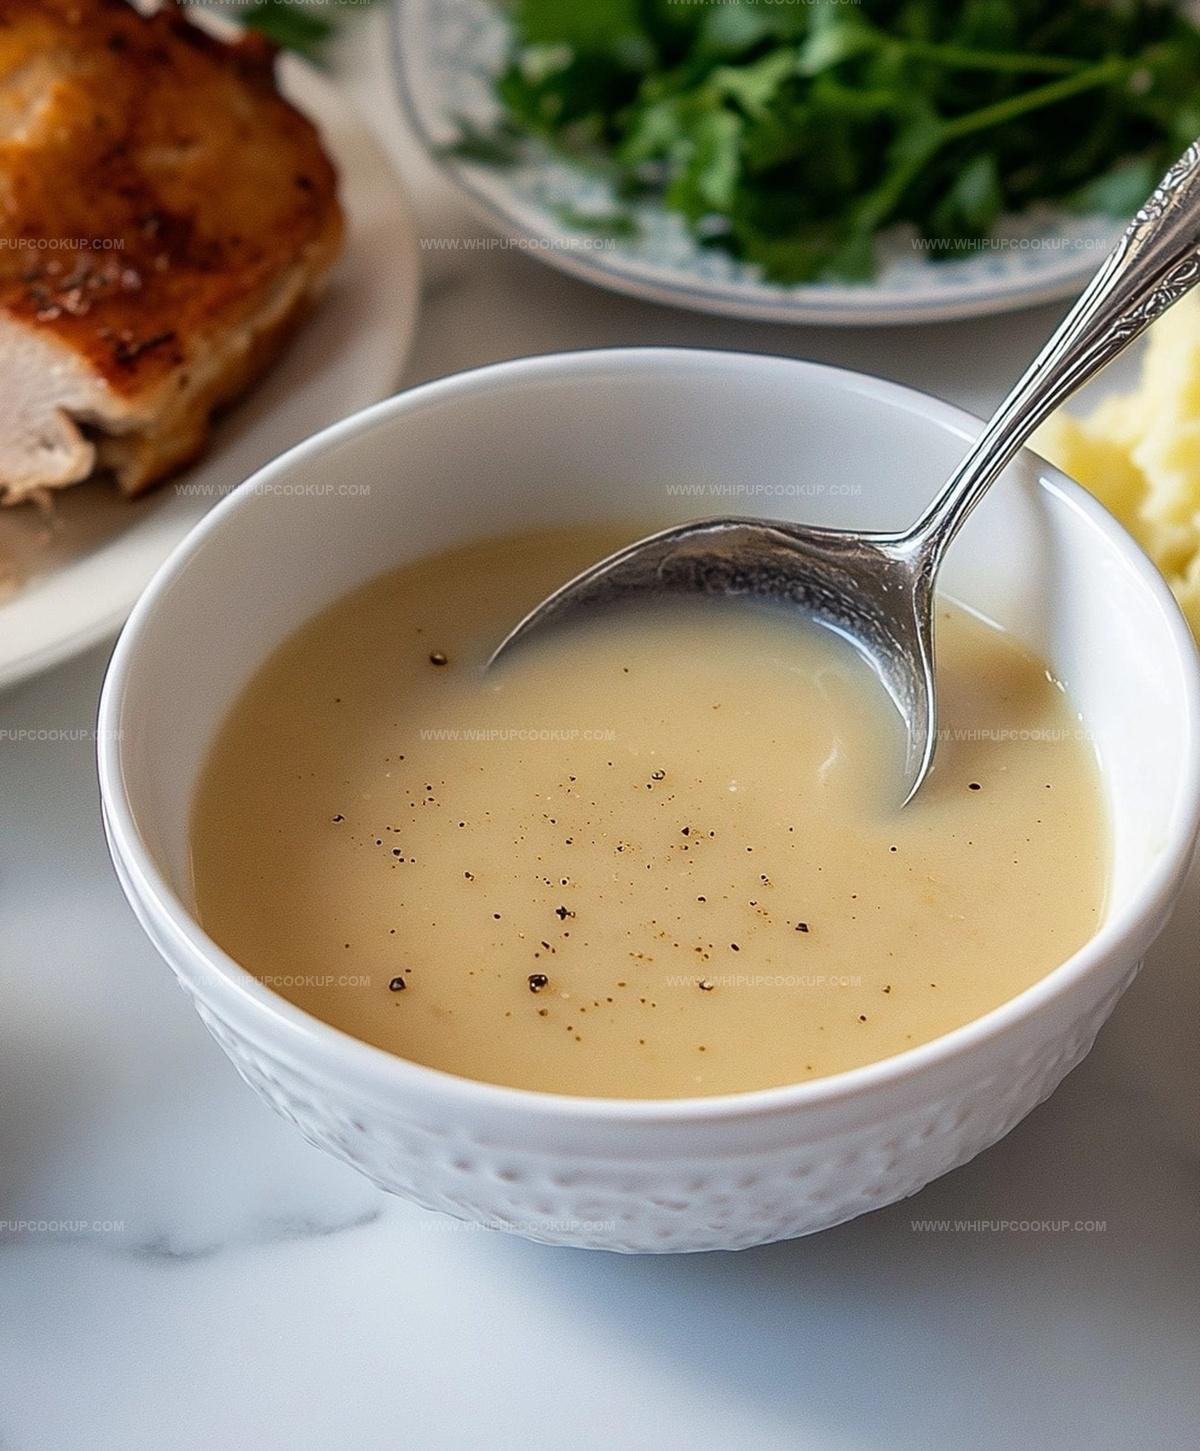
Silky smooth Perfect Turkey Gravy elevates holiday meals with rich, savory depth drawn from roasted pan drippings. Rich flavors meld together, creating a luxurious sauce you’ll drizzle generously over roasted meats and sides.
Ingredients
Main Ingredients:
- 4 cups pan drippings OR 4 cups chicken stock
- 1/2 cup butter
- 1/2 cup all-purpose flour
Seasoning:
- 1 teaspoon coarse black pepper
Preparation Ingredients:
(None)
Instructions
- Carefully transfer the roasted turkey drippings through a fine mesh strainer, capturing any solid particles and allowing the liquid to settle.
- Allow the drippings to cool momentarily, enabling the fat to naturally separate and rise to the surface.
- Gently skim the accumulated fat layer using a spoon, creating a clearer liquid base for the gravy.
- Verify the total liquid volume, ensuring you have 4 cups of gravy-making liquid by supplementing with chicken or turkey stock if necessary.
- For alternative preparation without turkey drippings, directly measure 4 cups of high-quality poultry stock as your gravy foundation.
- This method works perfectly for large gatherings or when a turkey hasn’t been recently roasted, providing a versatile gravy solution.
Notes
- Strain drippings carefully through a fine mesh sieve to remove any unwanted turkey bits and ensure a smooth, silky gravy texture.
- Allow drippings to cool slightly, helping fat separate naturally, which makes skimming easier and creates a cleaner, less greasy sauce.
- Supplement stock strategically if drippings are insufficient, maintaining the rich flavor profile while ensuring enough gravy for everyone at the table.
- Consider using low-sodium stock to control salt levels, giving you more flexibility in seasoning and preventing an overly salty final result.
- Prep Time: 10 minutes
- Cook Time: 0 minutes
- Category: Dinner, Appetizer
- Method: Simmering
- Cuisine: American
Nutrition
- Serving Size: 4
- Calories: 150
- Sugar: 0 g
- Sodium: 500 mg
- Fat: 12 g
- Saturated Fat: 7 g
- Unsaturated Fat: 4 g
- Trans Fat: 0 g
- Carbohydrates: 10 g
- Fiber: 0 g
- Protein: 2 g
- Cholesterol: 30 mg
Olivia Bennett
Recipe Developer & Culinary Educator
Expertise
Education
Schoolcraft College
With an Associate Degree in Culinary Arts from Schoolcraft College and a natural knack for teaching, Olivia Bennett’s all about making home cooking feel possible, even on your busiest day.
Her thing? Recipes that are budget-friendly, season-forward, and full of Southern warmth. Whether it’s a roasted veggie bowl or a five-ingredient skillet bake, Olivia makes sure it’s simple, satisfying, and something you’ll want to make again tomorrow.
When she’s not shooting step-by-step videos or testing spice blends, she’s out foraging, flipping through old cookbooks, or throwing laid-back dinner parties with a BYO-mason-jar theme.