The Best Red Velvet Cinnamon Rolls Recipe for Sweet Mornings
Whipping up a batch of red velvet cinnamon rolls can transform an ordinary morning into a delightful celebration.
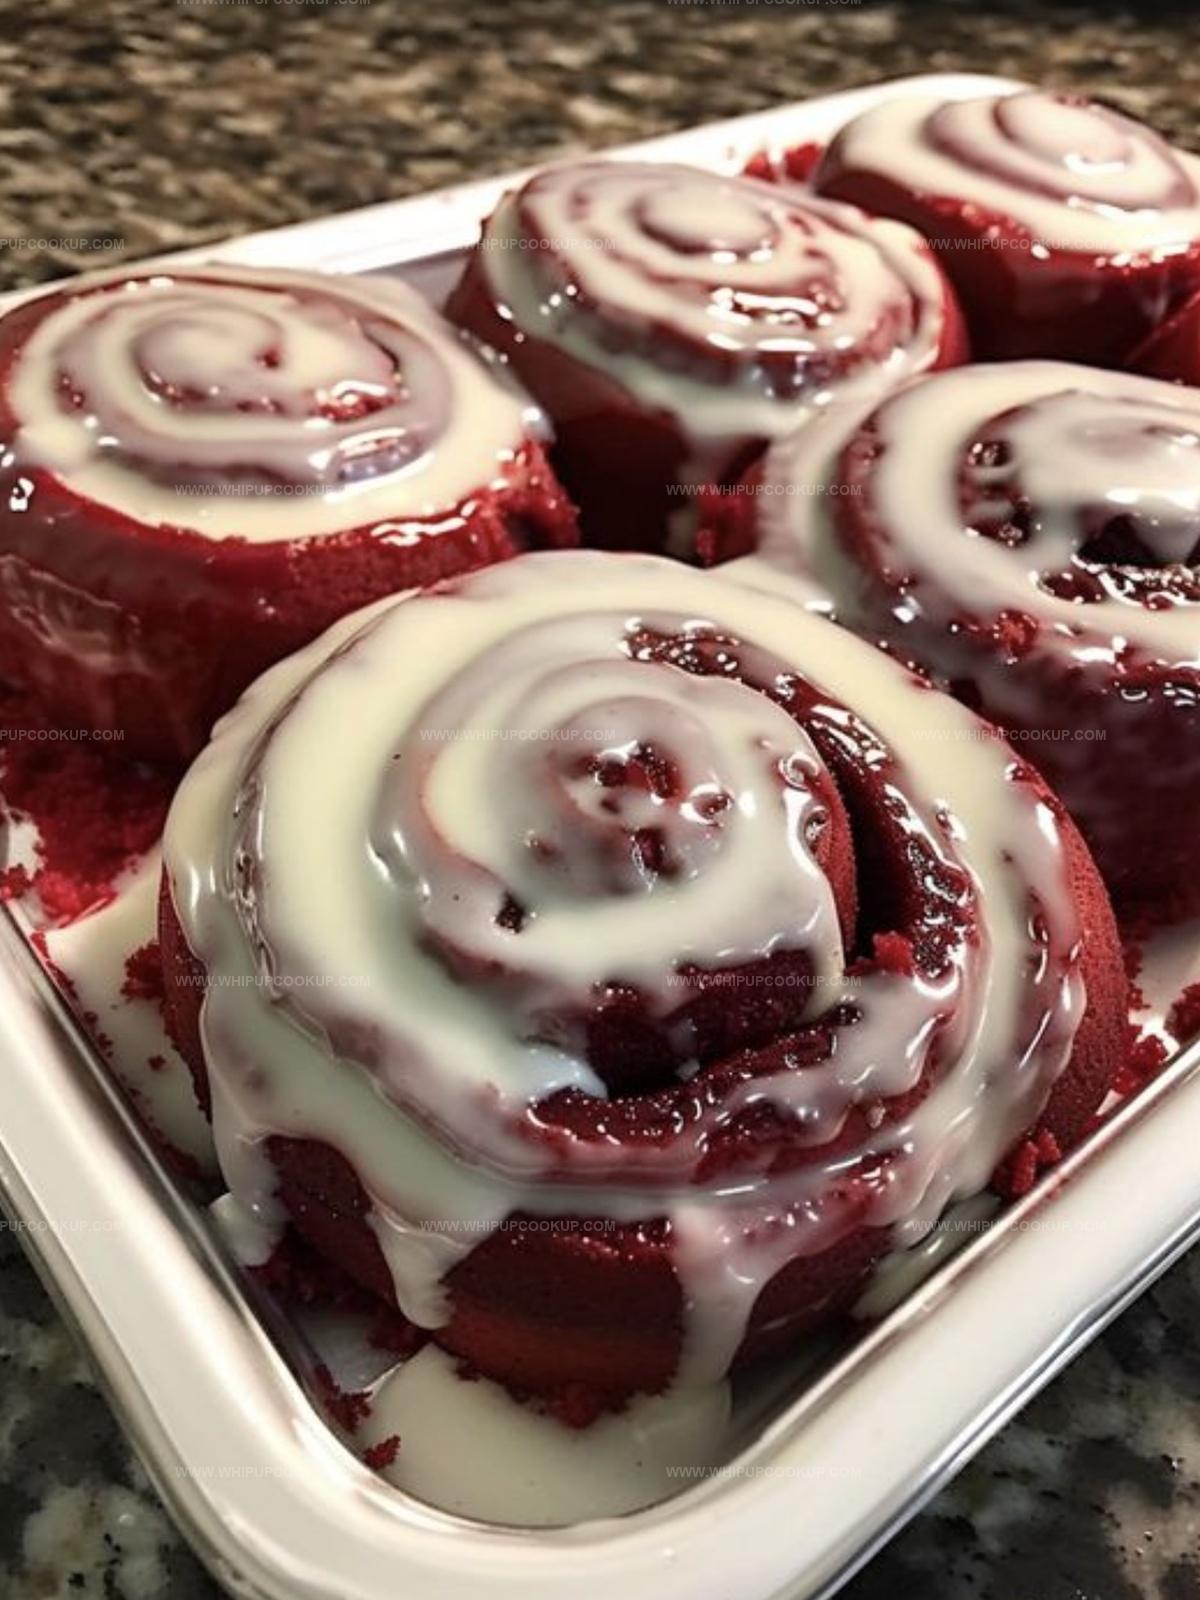
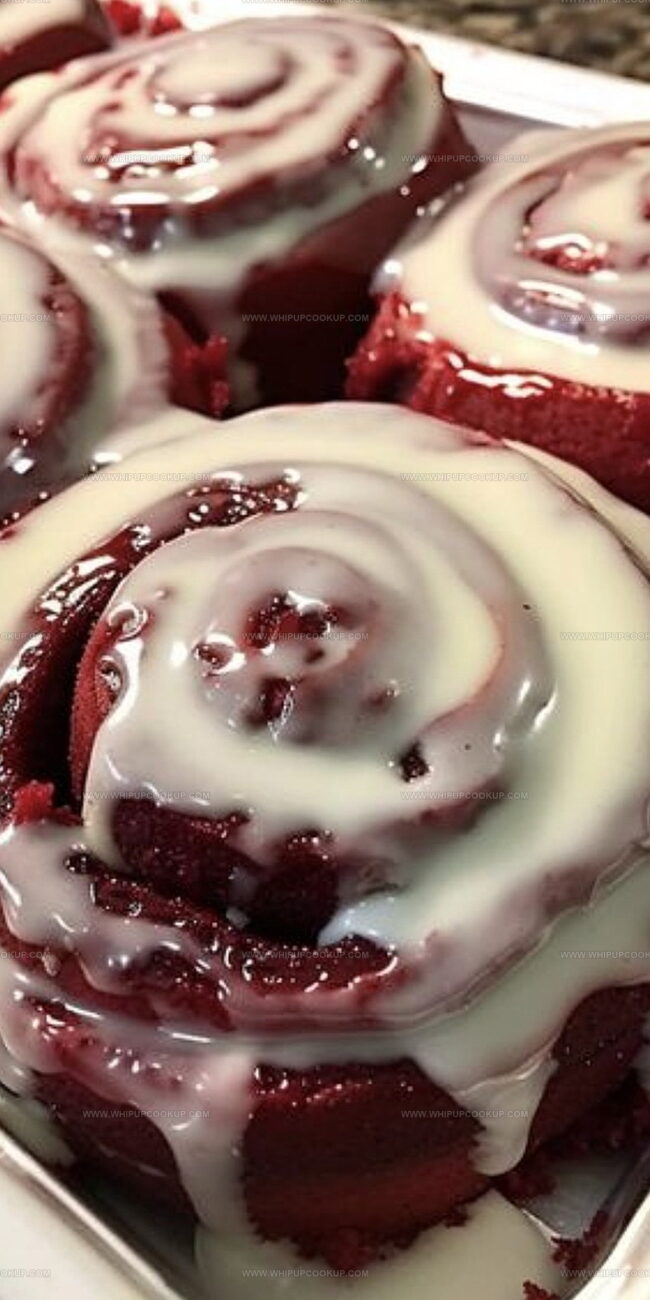
Crimson swirls of decadent dough promise a sensory adventure for anyone who loves sweet breakfast treats.
Soft, pillowy layers melt with rich cream cheese frosting that whispers indulgence.
Southern kitchens often buzz with these spectacular pastries that feel like a warm hug.
Subtle cocoa notes dance through each tender spiral, creating a luxurious experience you’ll crave repeatedly.
Passionate bakers understand how these rolls can elevate a simple weekend breakfast into something magical.
Let’s dive into this irresistible recipe that will make your taste buds sing with pure joy.
Why Red Velvet Cinnamon Rolls Are Worth the Effort
Red Velvet Cinnamon Rolls Ingredients
Base Ingredients:Liquid Ingredients:Filling Ingredients:Icing Ingredients:Additional Ingredients:Baking Red Velvet Cinnamon Rolls

Step 1: Create Dough Base
In a spacious mixing bowl, blend red velvet cake mix, flour, and yeast. Pour warm water and mix vigorously until smooth. Gradually incorporate remaining flour until a soft, slightly sticky dough forms.
Step 2: Knead and Allow Rising
Transfer dough onto a lightly dusted surface and gently knead 6-8 times. Nestle the dough into a greased bowl, ensuring the top is lightly coated. Cover and let rest in a cozy spot until volume doubles, approximately 2 hours.
Step 3: Whip Up Cinnamon Filling
Combine brown sugar and cinnamon in a small bowl, creating a fragrant mixture.
Step 4: Roll and Spread Flavor
Deflate the risen dough and spread onto a floured surface. Stretch into an expansive rectangle. Generously brush with melted butter, leaving a slim border. Sprinkle the cinnamon-sugar mixture evenly across the surface.
Step 5: Shape Delightful Swirls
Roll the dough tightly from the long edge, creating a perfect spiral. Seal the seam by pinching. Slice into 12 uniform pieces. Arrange cut-side up in a buttered baking pan.
Step 6: Final Rising Stage
Drape a kitchen towel over the rolls and let them rise in a warm environment until nearly doubled, about 1 hour.
Step 7: Bake to Golden Perfection
Heat oven to 350°F. Bake rolls until they puff up and turn a light golden brown, roughly 15-20 minutes.
Step 8: Craft Creamy Topping
In a mixing bowl, whip together:Step 9: Serve and Savor
Cascade the luscious icing over warm rolls and enjoy immediately.
Cinnamon Roll Tips with a Red Velvet Twist
Red Velvet Cinnamon Rolls: Store for Later Bliss
Pairings for Red Velvet Cinnamon Rolls
Velvet Cinnamon Roll Takes
FAQs
Cake mix provides a unique flavor and color, making the rolls softer and more tender compared to traditional yeast dough.
Yes, you can prepare the dough the night before. After the first rise, cover and refrigerate overnight. Let it come to room temperature before rolling and filling.
The dough should double in size and feel puffy when gently pressed. In a warm environment, this usually takes about 2 hours.
Add flour gradually, one tablespoon at a time, while kneading. Be careful not to add too much, as this can make the rolls tough.
Print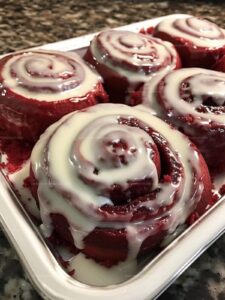
Red Velvet Cinnamon Rolls Recipe
- Total Time: 1 hour 10 minutes
- Yield: 12 1x
Description
Indulgent red velvet cinnamon rolls bring Southern charm to classic breakfast pastries with rich cocoa and cream cheese frosting. Sweet spirals of decadence melt in your mouth, promising pure comfort in each delightful bite.
Ingredients
Main Ingredients:
- 1 package (15.25 ounces / 432 grams) red velvet cake mix
- 2.5 to 3 cups all-purpose flour
- 1 package (0.25 ounces / 7 grams) active dry yeast
- 1.25 cups warm water (120°F to 130°F)
Filling Ingredients:
- 0.5 cup packed brown sugar
- 1 teaspoon ground cinnamon
- 0.25 cup butter, melted
Icing Ingredients:
- 2 cups confectioners’ sugar
- 2 tablespoons butter, softened
- 1 teaspoon vanilla extract
- 3–5 tablespoons 2% milk
Instructions
- Craft the foundational mixture by blending red velvet cake mix, flour, and yeast in a spacious mixing bowl, creating a smooth base for your cinnamon rolls.
- Gradually introduce warm water to the dry ingredients, beating thoroughly until the mixture transforms into a cohesive, slightly tacky dough.
- Gently manipulate the dough on a flour-dusted surface, kneading minimally to develop its texture without overworking.
- Transfer the dough to a greased container, ensuring complete surface coverage, and allow it to rest and expand in a warm environment until its volume noticeably increases.
- Simultaneously prepare the aromatic filling by combining brown sugar and ground cinnamon, creating a sweet and spicy mixture.
- Deflate the risen dough and stretch it into a rectangular shape, maintaining consistent thickness across the surface.
- Generously apply melted butter across the dough’s expanse, leaving a narrow perimeter untouched.
- Evenly distribute the cinnamon-sugar blend over the buttered surface, ensuring complete and uniform coverage.
- Carefully roll the dough from its longest edge, creating a tightly wound cylindrical shape and sealing the seam firmly.
- Slice the rolled dough into uniform segments, positioning them cut-side upward in a prepared baking vessel.
- Allow the rolls a second rising period, covering them loosely to retain moisture and encourage gentle expansion.
- Heat the oven to a precise temperature, creating an ideal baking environment for golden, pillowy rolls.
- Bake until the rolls achieve a light golden hue and emit an irresistible fragrance, signaling their perfect doneness.
- Craft a luxurious icing by whipping confectioners’ sugar with butter, vanilla, and milk until it reaches a silky, drizzle-ready consistency.
- Lavish the warm rolls with the creamy icing, serving them immediately to capture their peak deliciousness.
Notes
- Swap regular flour with gluten-free blend for celiac-friendly version, ensuring same soft texture and rise.
- Reduce sugar content by using monk fruit sweetener or stevia for low-carb and diabetic-friendly alternative.
- Enhance red color naturally by adding beetroot powder instead of artificial food coloring for healthier option.
- Allow dough to develop maximum flavor by letting first rise happen slowly in refrigerator overnight, developing deeper taste profile.
- Prep Time: 45 minutes
- Cook Time: 25 minutes
- Category: Breakfast, Snacks, Desserts
- Method: Baking
- Cuisine: American
Nutrition
- Serving Size: 12
- Calories: 320
- Sugar: 28 g
- Sodium: 180 mg
- Fat: 10 g
- Saturated Fat: 5 g
- Unsaturated Fat: 4 g
- Trans Fat: 0 g
- Carbohydrates: 53 g
- Fiber: 1 g
- Protein: 3 g
- Cholesterol: 15 mg
Marcus Hale
Founder & Recipe Storyteller
Expertise
Education
Holyoke Community College – HCC-MGM Culinary Arts Institute
Marcus grew up surrounded by maple trees, farm stands, and the smell of Sunday stew simmering on the stove. After earning his Culinary Arts Certificate from the HCC-MGM Culinary Arts Institute, he knew he didn’t want to work in fancy kitchens, he wanted to cook for real people.
At Whip Up Cook Up, Marcus is the guy turning memories into meals. His recipes are fast, full of flavor, and built for home cooks who want big taste without the drama.