Easy Beef Steak Fingers Recipe That Kids Adore
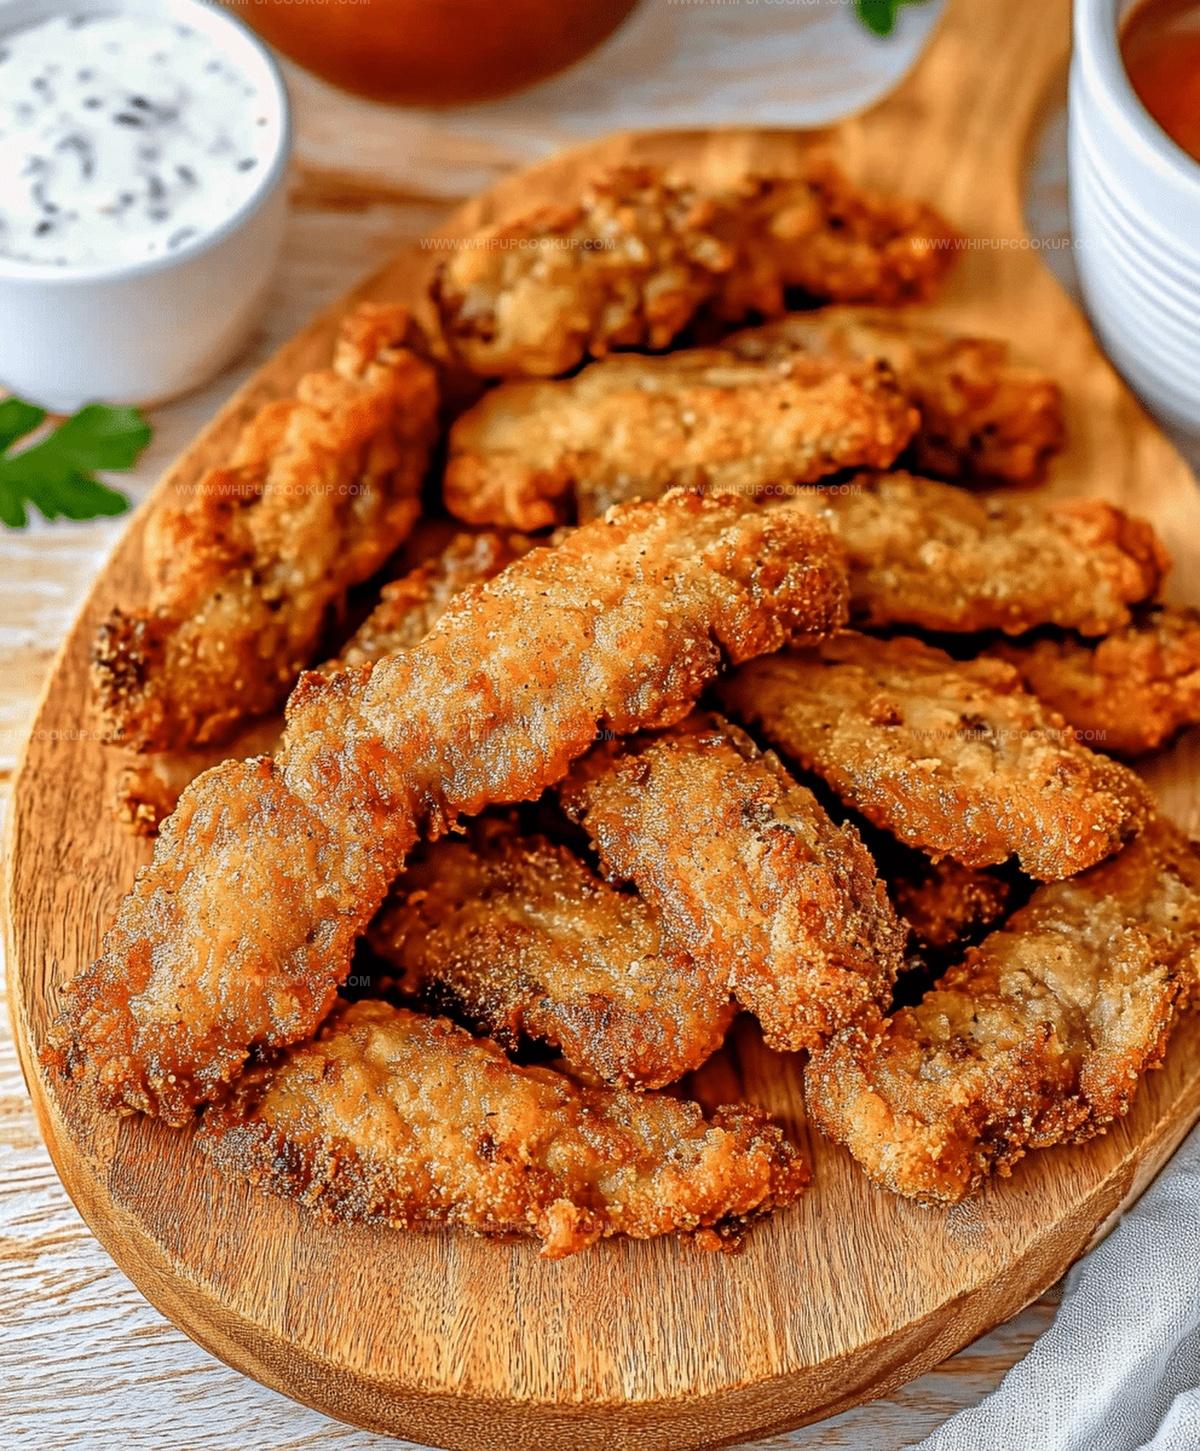
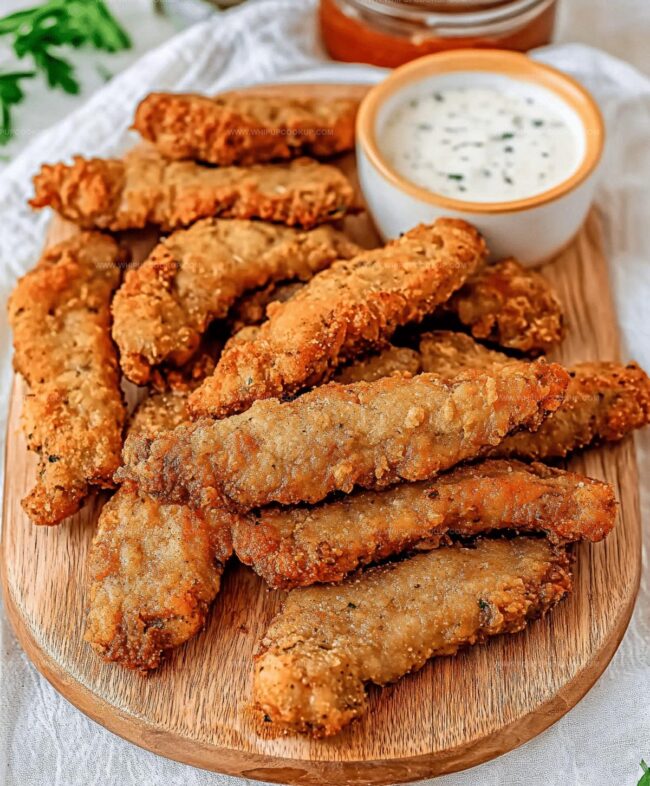
These crispy, golden steak fingers bring Southern comfort straight to your dinner table with a mouthwatering crunch that’ll make taste buds dance.
Tender beef strips coated in a perfectly seasoned breading create an irresistible meal everyone craves.
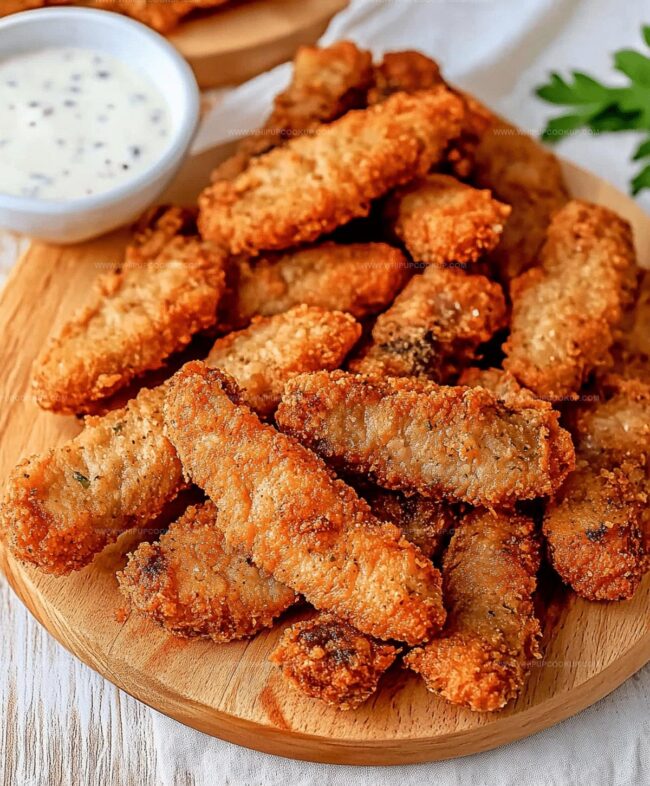
Each bite delivers a satisfying blend of savory flavors and delightful texture.
The homemade breading ensures a crisp exterior that locks in all the juicy goodness of the meat.
Simple ingredients come together quickly to produce a crowd-pleasing dish that feels like a warm culinary hug.
Serve these delectable steak fingers alongside creamy mashed potatoes or a fresh garden salad for a complete meal that’ll have everyone asking for seconds.
What’s Great About Steak Fingers
Everything You Need for Steak Fingers
Main Protein:Dredging Ingredients:Wet Ingredients:Frying and Gravy Ingredients:How to Cook Steak Fingers at Home
Step 1: Slice and Trim Ribeye
Cut the ribeye into half-inch strips.
Keep the cuts relatively uniform for even cooking.
Feel free to trim excess fat, but leaving a bit adds delicious flavor.
Step 2: Prepare Dredging Stations
Create two separate bowls for coating:
First Bowl Ingredients:Second Bowl Ingredients:Whisk each bowl’s contents thoroughly.
Step 3: Coat Meat Perfectly
Dip each steak strip into the flour mixture, shaking off excess.
Next, dunk the strip in buttermilk mixture, allowing dripping.
Finally, coat again in flour, pressing firmly to ensure coating adheres.
Place coated strips on parchment-lined tray.
Step 4: Heat Cooking Oil
Pour peanut oil into skillet, creating quarter-inch depth.
Heat over medium flame until temperature reaches 325°F.
Use a cooking thermometer for precise temperature control.
Step 5: Fry Steak Fingers
Gently place steak strips into hot oil.
Fry in batches to prevent overcrowding.
Cook approximately 5 minutes, flipping midway.
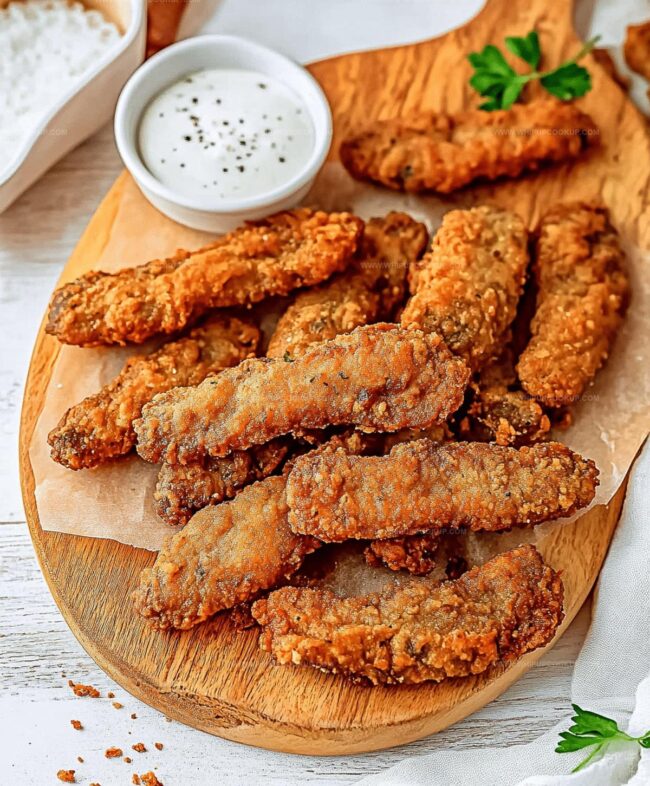
Aim for golden, crispy exterior.
Transfer finished strips to wire rack for draining.
Step 6: Create Creamy Gravy
Remove most oil, keeping quarter cup in skillet.
Whisk in flour and cook briefly.
Slowly stream milk while continuously whisking.
Season with salt and pepper.
Simmer until gravy thickens, approximately 5 minutes.
Steak Finger Cooking Tips
Save and Reheat Steak Fingers Easily
Tasty Sides for Steak Fingers
Ideas to Change Up Steak Fingers
FAQs
Look for a golden-brown, crispy exterior and an internal temperature of 135°F for medium-rare. The coating should be crunchy and the meat inside should be tender and juicy.
Peanut oil works best for its high smoke point, but you can substitute with vegetable or canola oil. Just ensure the oil is at the right temperature (325°F) for even cooking.
Create a quick substitute by adding 1 tablespoon of vinegar or lemon juice to 1 cup of regular milk. Let it sit for 5 minutes before using. This will give you a similar tangy flavor and tenderizing effect.
Double-coat the steak strips by dredging in flour, dipping in buttermilk mixture, then coating in flour again. Press the flour firmly onto the meat to help the coating stick during frying.
Print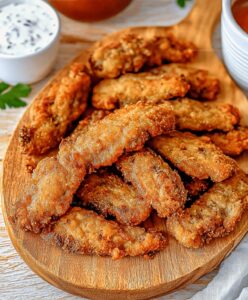
Steak Fingers Recipe
- Total Time: 30 minutes
- Yield: 4 1x
Description
Crispy golden steak fingers bring Southern comfort to your dinner table with a delightful crunch. Seasoned beef strips coated in perfectly seasoned breading promise a mouthwatering meal you’ll crave again and again.
Ingredients
Main Protein:
- 2 pounds (907 grams) ribeye steak
Dry Ingredients for Coating:
- 1 1/2 cups (180 grams) all-purpose flour
- 1/3 cup (40 grams) all-purpose flour
- 1 1/2 teaspoons baking powder
- 3/4 teaspoon baking soda
- 3/4 teaspoon kosher salt
- 3/4 teaspoon black pepper
- 3/4 teaspoon garlic powder
Wet Ingredients and Frying Components:
- 3/4 cup (180 milliliters) buttermilk
- 1 large egg
- 1 tablespoon hot sauce
- Peanut oil for frying
- 1/4 cup (60 milliliters) reserved cooking oil
- 2 cups (480 milliliters) whole milk
- 1/2 teaspoon kosher salt
- 1/2 teaspoon black pepper
Instructions
- Slice the ribeye into uniform ½-inch strips, maintaining consistent thickness for even cooking and preserving a hint of fat for enhanced flavor.
- Prepare two separate mixing vessels: one for dry ingredients combining flour, baking powder, baking soda, garlic powder, salt, and pepper; another for wet ingredients mixing buttermilk, egg, and hot sauce.
- Create a three-stage coating process for each steak strip: first dredge in flour mixture, shaking off excess; next immerse in buttermilk blend, allowing dripping; finally recoat thoroughly in flour, pressing firmly to ensure adherence. Arrange coated pieces on parchment-lined tray.
- Heat peanut oil in skillet to 325°F, using a thermometer for precise temperature control. Aim for approximately ¼-inch oil depth to guarantee optimal frying conditions.
- Gently introduce coated steak strips into hot oil, maintaining sufficient spacing between pieces. Fry for approximately 5 minutes, rotating midway to achieve golden, crispy exterior. Transfer completed strips to wire rack for excess oil drainage.
- After frying, retain roughly ¼ cup oil in skillet. Incorporate flour and cook momentarily, then gradually whisk in milk while continuously stirring. Season with salt and pepper, simmering for 5 minutes until gravy reaches desired consistency and thickness.
Notes
- Customize meat cuts by using sirloin or chicken for variety, which works great for different protein preferences.
- Swap buttermilk with regular milk mixed with lemon juice or apple cider vinegar for a quick alternative if buttermilk isn’t available.
- Control oil temperature precisely using a digital thermometer to ensure consistent, crispy coating without burning or undercooking the meat.
- Reduce gluten by substituting all-purpose flour with gluten-free flour blend for those with wheat sensitivities, maintaining similar texture and crunch.
- Prep Time: 20 minutes
- Cook Time: 10 minutes
- Category: Dinner, Appetizer, Snacks
- Method: Frying
- Cuisine: American
Nutrition
- Serving Size: 4
- Calories: 600
- Sugar: 2 g
- Sodium: 800 mg
- Fat: 30 g
- Saturated Fat: 10 g
- Unsaturated Fat: 15 g
- Trans Fat: 0 g
- Carbohydrates: 50 g
- Fiber: 2 g
- Protein: 40 g
- Cholesterol: 100 mg
Olivia Bennett
Recipe Developer & Culinary Educator
Expertise
Education
Schoolcraft College
With an Associate Degree in Culinary Arts from Schoolcraft College and a natural knack for teaching, Olivia Bennett’s all about making home cooking feel possible, even on your busiest day.
Her thing? Recipes that are budget-friendly, season-forward, and full of Southern warmth. Whether it’s a roasted veggie bowl or a five-ingredient skillet bake, Olivia makes sure it’s simple, satisfying, and something you’ll want to make again tomorrow.
When she’s not shooting step-by-step videos or testing spice blends, she’s out foraging, flipping through old cookbooks, or throwing laid-back dinner parties with a BYO-mason-jar theme.