The Ultimate Party Pleaser: Irresistible Taco Dip Recipe
Creamy and zesty, this incredible taco dip promises a flavor explosion that’ll make your taste buds dance.
Mexican-inspired ingredients come together in a mouthwatering blend of textures and spices.
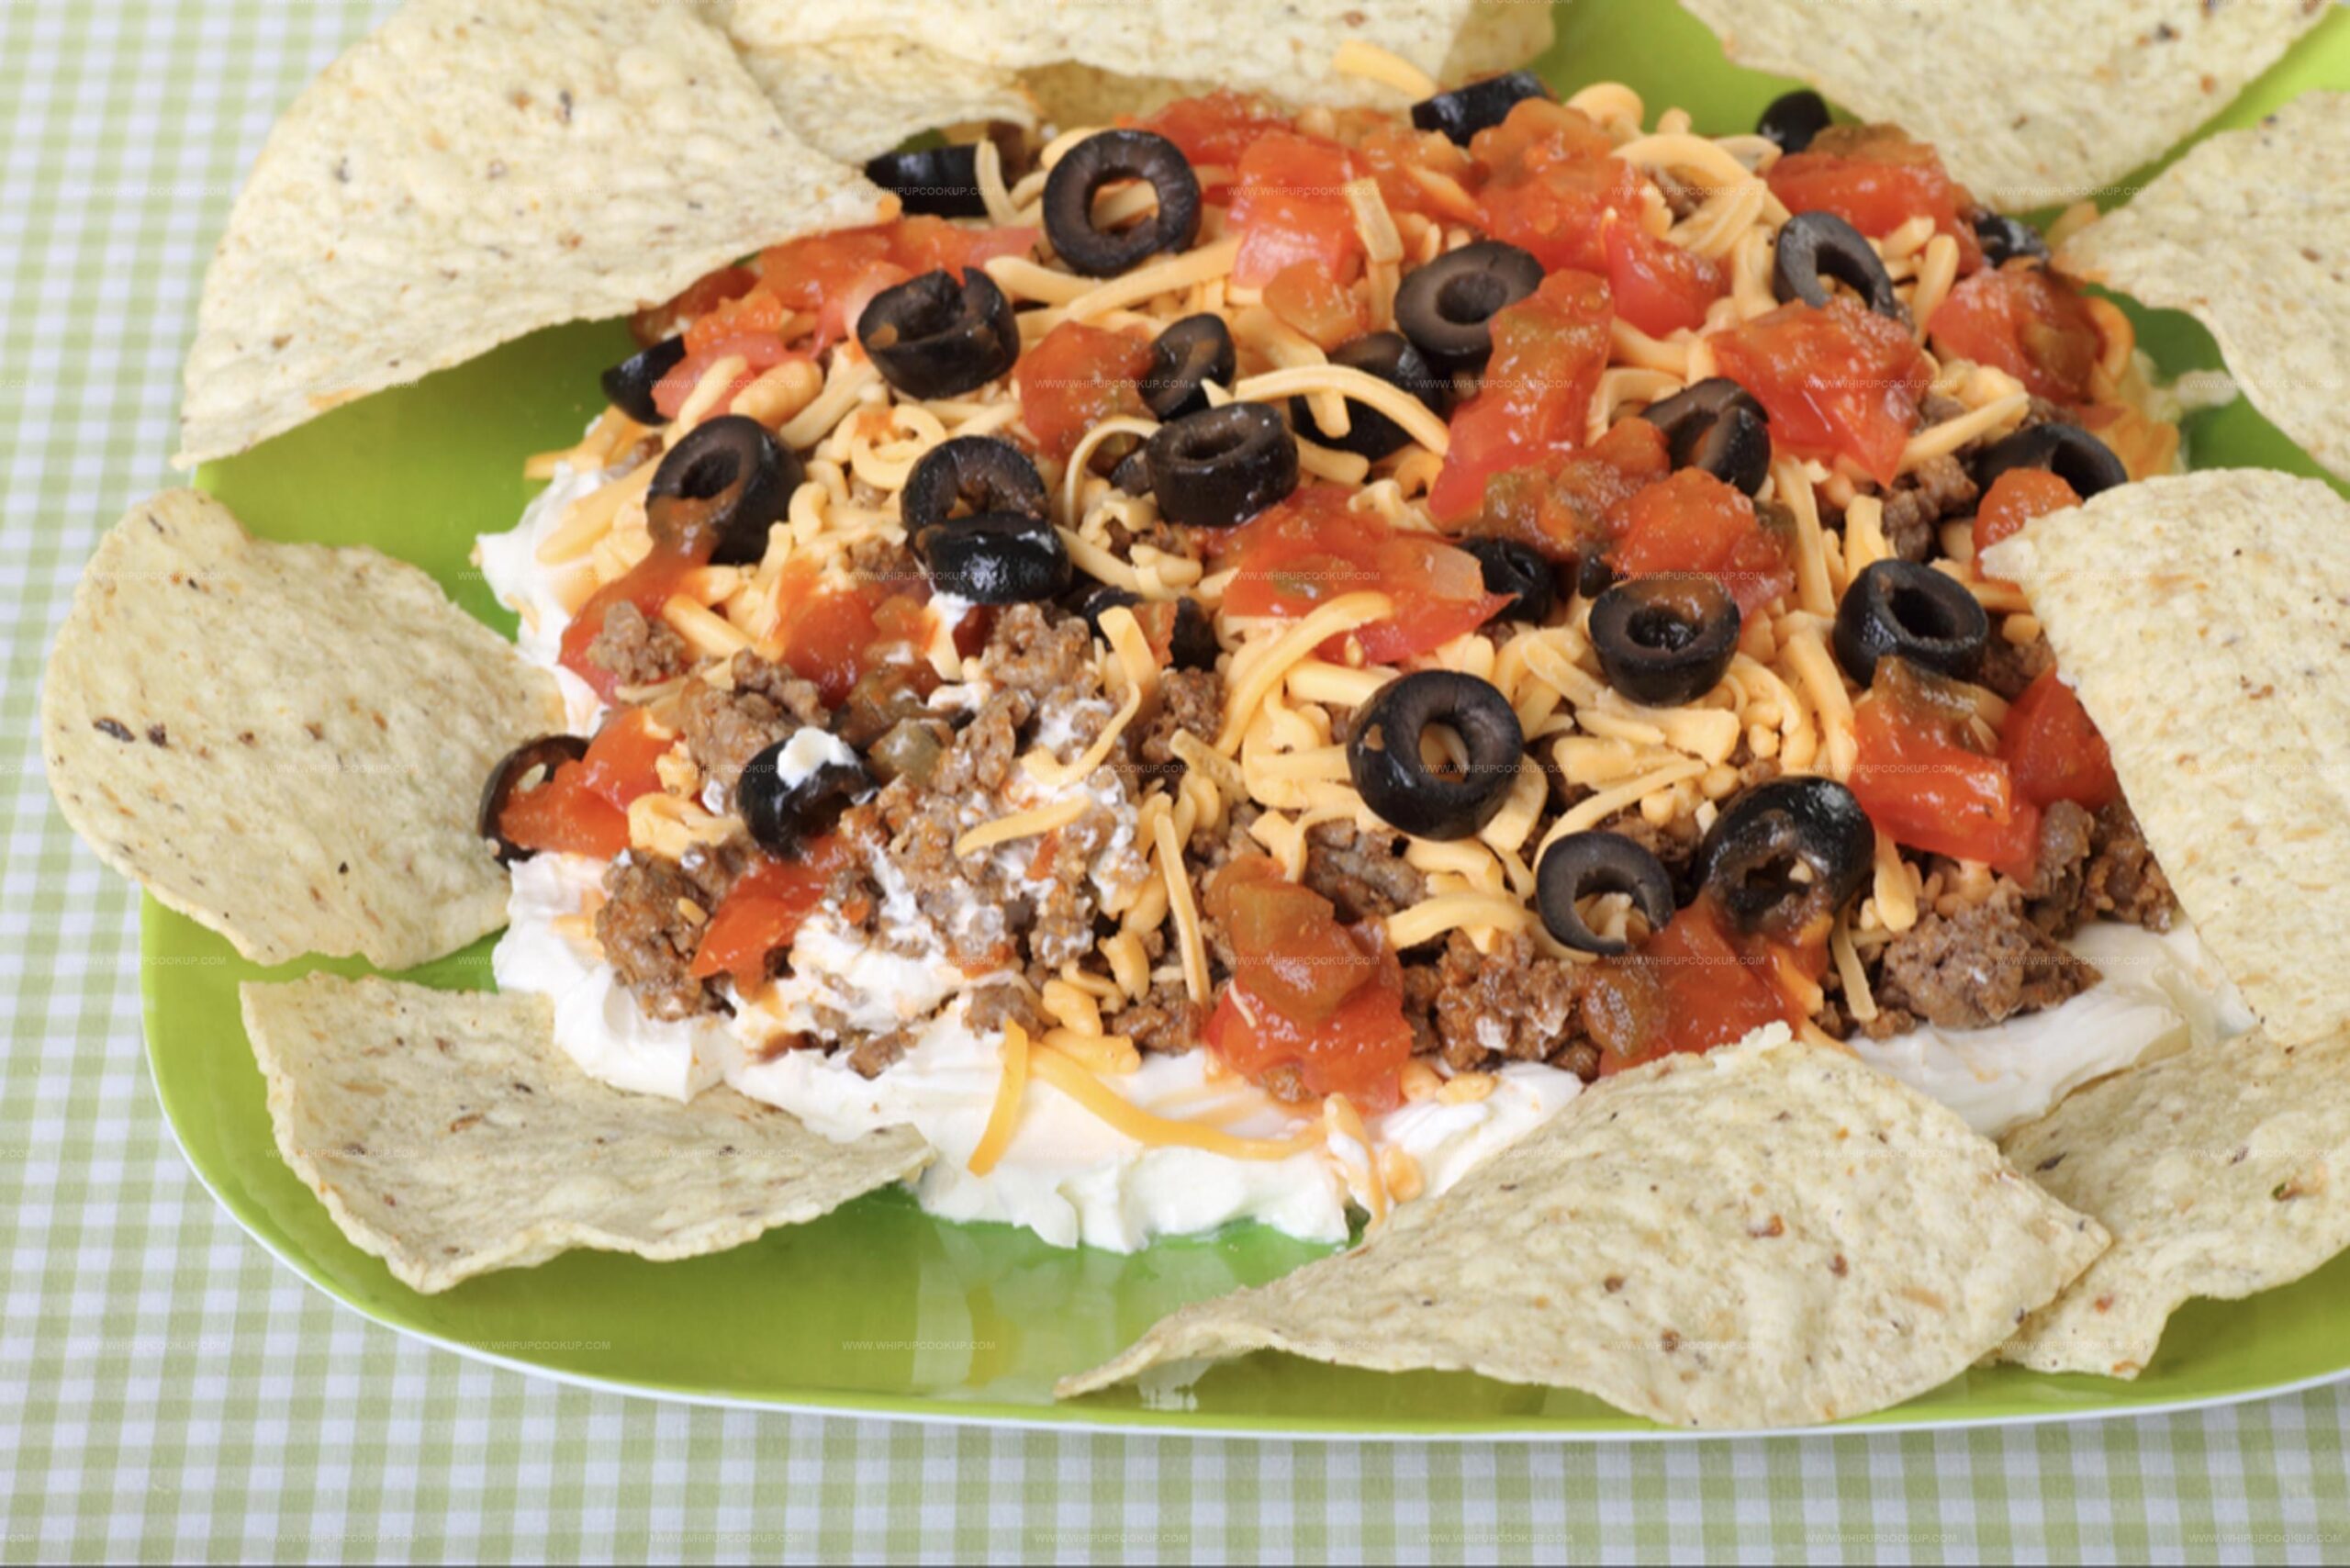
Layers of rich cream cheese, tangy salsa, and seasoned ground beef create a crowd-pleasing appetizer.
Colorful toppings like fresh tomatoes, crisp lettuce, and sharp cheddar cheese add visual appeal and crunch.
Weekend gatherings or game nights just got way more delicious with this easy-to-assemble treat.
Quick to prepare and even faster to devour, you’ll want to keep this recipe on constant rotation.
Dive in and watch everyone gather around for seconds!
What Sets Taco Dip Apart at Parties

Taco Dip Ingredients
Protein Base:Seasoning:Layering Ingredients:Serving Accompaniment:Making Taco Dip for Your Party
Step 1: Brown The Ground Beef
Heat a large skillet over medium flame. Crumble the ground beef into the pan and cook until completely browned. Eliminate any extra grease by draining the meat thoroughly. Sprinkle taco seasoning over the beef and blend according to package guidance.
Step 2: Create Meat Foundation
Transfer the seasoned beef into a rectangular serving dish. Distribute the meat evenly across the bottom, creating a uniform base for the dip. Allow the meat layer to cool and settle in the refrigerator for approximately one hour.
Step 3: Spread Creamy Sour Cream
Remove the meat layer from the refrigerator. Gently cover the beef with a smooth, consistent layer of sour cream. Use a spatula to ensure an even distribution across the entire surface.
Step 4: Add Zesty Salsa Topping
Pour salsa over the sour cream layer. Carefully spread the salsa to create a vibrant, colorful layer that covers the entire surface of the sour cream.
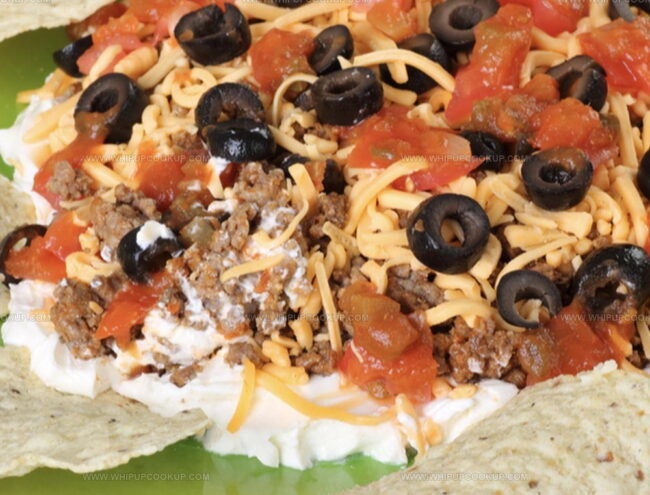
Step 5: Sprinkle Cheese Finale
Generously scatter shredded cheddar cheese across the salsa layer. Ensure complete coverage for a delicious cheesy finish.
Step 6: Chill And Serve
Return the dip to the refrigerator for another hour to allow layers to merge and flavors to meld. When ready, serve alongside tortilla chips for a perfect party appetizer.
Dip Tips That Make Taco Appetizers Crowd Favorites
Taco Dip Storage Tips for Later Parties
Flavors That Fit with Taco Dip
Taco Dip Appetizer Swaps
FAQs
Lean ground beef with 80/20 or 85/15 fat content is ideal. It provides good flavor and prevents the dip from becoming too greasy.
Yes, you can prepare the taco dip 1-2 days in advance. Just keep it covered in the refrigerator and add fresh toppings right before serving to maintain the best texture.
Chill the dip between each layer and use a gentle spreading technique. Use the back of a spoon or spatula and spread carefully to keep layers distinct and clean.
Add diced jalapeños, use hot salsa instead of mild, or sprinkle red pepper flakes between layers to increase the heat level according to your preference.
Print
Taco Dip Recipe
- Total Time: 30 minutes
- Yield: 12 1x
Description
Spicy Mexican Taco Dip brings zesty flavors from traditional Latin American cuisine, blending creamy textures with bold seasonings. Guests will savor each delicious scoop, enjoying a perfect party appetizer that sparks conversation and delights taste buds.
Ingredients
Main Ingredients:
- 2 pounds ground beef
- 2 (8 oz) bags shredded sharp cheddar cheese
- 2 (16 oz) jars salsa (mild, medium, or hot)
Creamy Components:
- 1 (24 oz) container sour cream
- 2 packets taco seasoning
Serving:
- Tostitos chips
Instructions
- In a spacious skillet, thoroughly cook ground beef over medium heat until no pink remains, carefully draining excess fat.
- Incorporate taco seasoning into the meat, following packet instructions to infuse robust flavor throughout the protein.
- Transfer seasoned ground beef into a large serving dish, creating an even, compact foundation for the layered dip.
- Refrigerate the meat layer for approximately one hour, allowing it to solidify and develop enhanced texture.
- Delicately spread a smooth, consistent layer of sour cream atop the chilled meat, ensuring complete coverage.
- Gently distribute salsa across the sour cream, creating a vibrant and zesty intermediate layer.
- Generously cascade shredded cheddar cheese over the salsa, coating the surface with a rich, melty blanket.
- Return the assembled dip to the refrigerator, permitting layers to meld and settle for roughly one hour.
- Retrieve from refrigeration and serve immediately alongside crisp tortilla chips, inviting guests to scoop and enjoy this crowd-pleasing appetizer.
Notes
- Drain ground beef thoroughly to prevent excess grease making the dip soggy and unappetizing.
- Choose lean ground beef (90/10) for a healthier version without compromising flavor intensity.
- Customize taco seasoning intensity by adjusting packet amount or making homemade blend for personalized spice level.
- Prepare dip a day ahead to enhance flavor melding and allow layers to settle perfectly, making it ideal for parties and gatherings.
- Prep Time: 15 minutes
- Cook Time: 15 minutes
- Category: Appetizer
- Method: Sautéing
- Cuisine: Mexican
Nutrition
- Serving Size: 12
- Calories: 290
- Sugar: 3 g
- Sodium: 850 mg
- Fat: 20 g
- Saturated Fat: 10 g
- Unsaturated Fat: 8 g
- Trans Fat: 0 g
- Carbohydrates: 14 g
- Fiber: 1 g
- Protein: 15 g
- Cholesterol: 60 mg
Marcus Hale
Founder & Recipe Storyteller
Expertise
Education
Holyoke Community College – HCC-MGM Culinary Arts Institute
Marcus grew up surrounded by maple trees, farm stands, and the smell of Sunday stew simmering on the stove. After earning his Culinary Arts Certificate from the HCC-MGM Culinary Arts Institute, he knew he didn’t want to work in fancy kitchens, he wanted to cook for real people.
At Whip Up Cook Up, Marcus is the guy turning memories into meals. His recipes are fast, full of flavor, and built for home cooks who want big taste without the drama.